If you know how to make someone into a picture in Photoshop, you will unlock fun and creative way to use image editing tools. If you want to delete a person from one image and place it in another image, we will put together a tutorial for beginners to take you to step by step. This course aims to increase personnel, but the same technique can be used for various synthesis tasks. Let’s get it!
1. Find your image
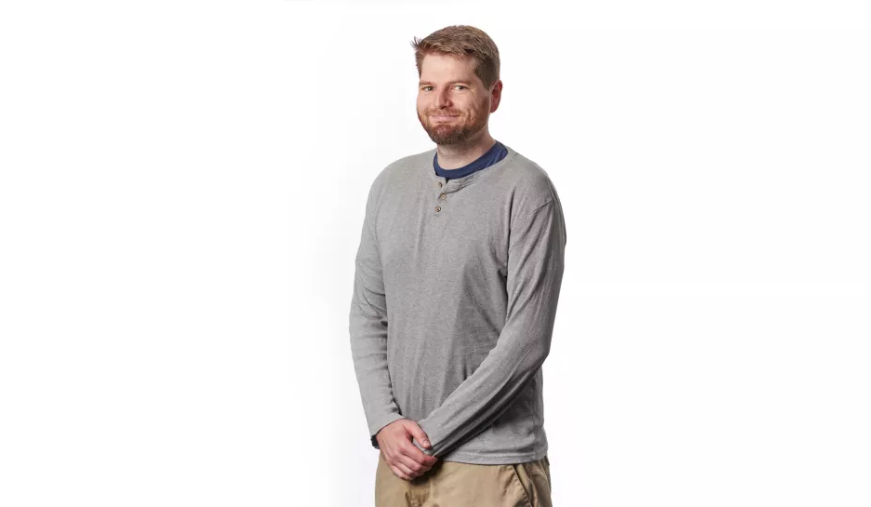
The first step in conquering how to Photoshop someone into a picture is to find the perfect image. When choosing two pictures, it is important to consider the matching of perspective and angle to ensure that any pictures inserted have the best chance of natural and in-situ appearance. The key part of mastering how to make someone into a picture with Photoshop is to imitate the resolution and lighting conditions of the original image because small differences will immediately destroy the credibility of the composition.
When removing someone from their background, it is best to have sharp edges around the subject. If the background is clean enough, such as solid colors, blocky colors, you can usually use the Magic Eraser tool to quickly cut out the image.
This involves cycling through the eraser tools by clicking and holding an icon on the toolbar or pressing Shift + E until you enter the magic eraser. After selecting this tool, click on the unwanted area on the image to delete it. If it is a blank white background, it should usually disappear with a single click. This is destructive and permanent, so it is worth duplicating layers or backing up images.
2. Use the Pen tool
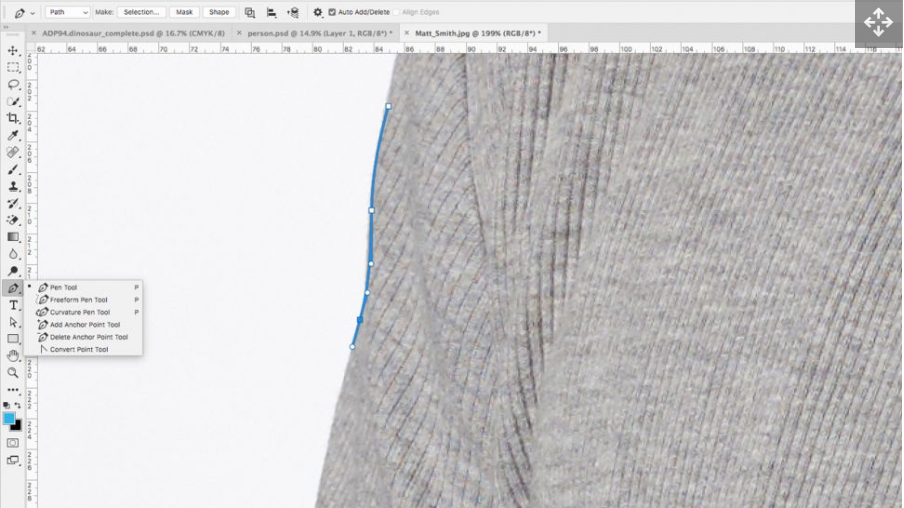
The most accurate way to cut objects in Photoshop is to use the Pen tool to draw a path. Select the Pen tool in the toolbar or use the shortcut key P, and then click on the canvas somewhere on the edge of the subject to determine the first point on the path. Continue to click on the entire body until the last point is connected to the first point (ignore the head and hair for now and just draw a rough outline around it).
While clicking, hold down the mouse to drag out the bezier handle and draw the curve. You can add it to the anchor point later using the Convert Point tool, or use the Direct Selection tool to edit an existing point. Hold down the alt key while clicking to change only one handle, making it independent of the other handle. You can save the path in the Paths panel, or select it by right-clicking and pressing Make Selection.
3. Focus on the hair
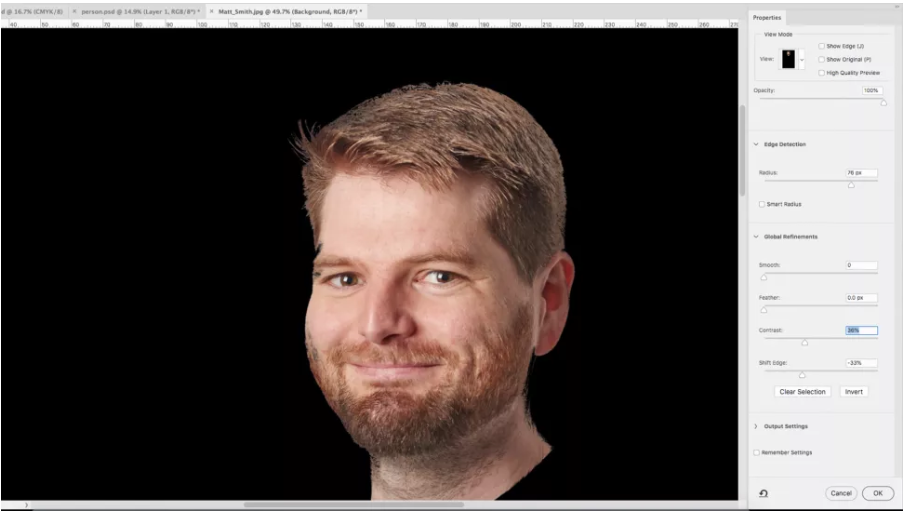
When learning how to turn someone into a photo with Photoshop, you need to think about hair. The Pen tool is great for hard, sharp lines, but not for anything with rough edges, such as hair or fabric. Every designer has his own technique to deal with this problem, including any combination of masks, brushes, and alpha channels. But the fastest and most effective method is Select and Mask (previously called Refine Edge).
Use the Quick Selection tool and use the square bracket keys to change the size of the brush to roughly select the subject’s head and hair. Then click the Select and Mask button in the taskbar to refine the selection. Then you need to experiment and improve, try to use Radius, Contrast, and Shift Edge until you remove as much of the background as possible. You can then use this selection to mask or remove the background until you have removed as much background as possible and the hair looks natural.
Confirm the selection, then press the mask button in the layers tab or undo the selection (right-click and Select Inverse) and delete. You can use it in conjunction with the Pen tool by performing each process on a separate layer and then merging the layers later (select the layers and right-click in the layers panel).
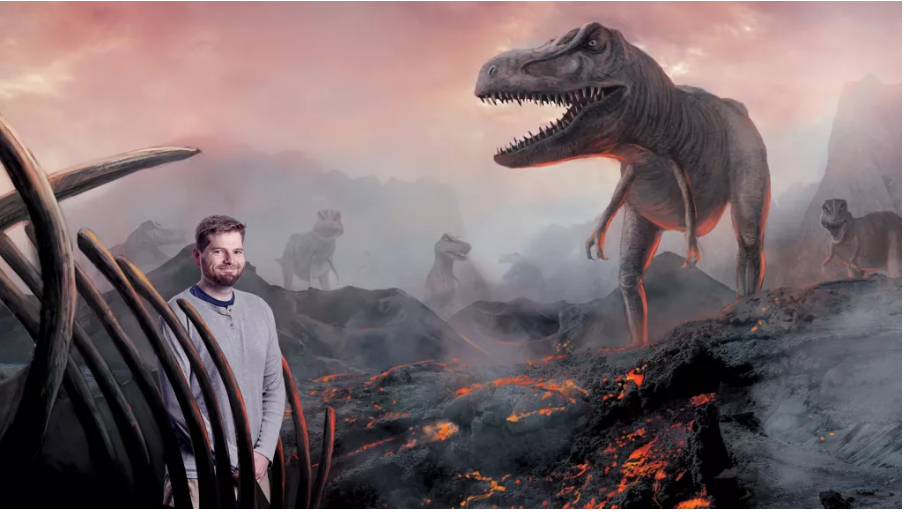
4. Copy person into your image
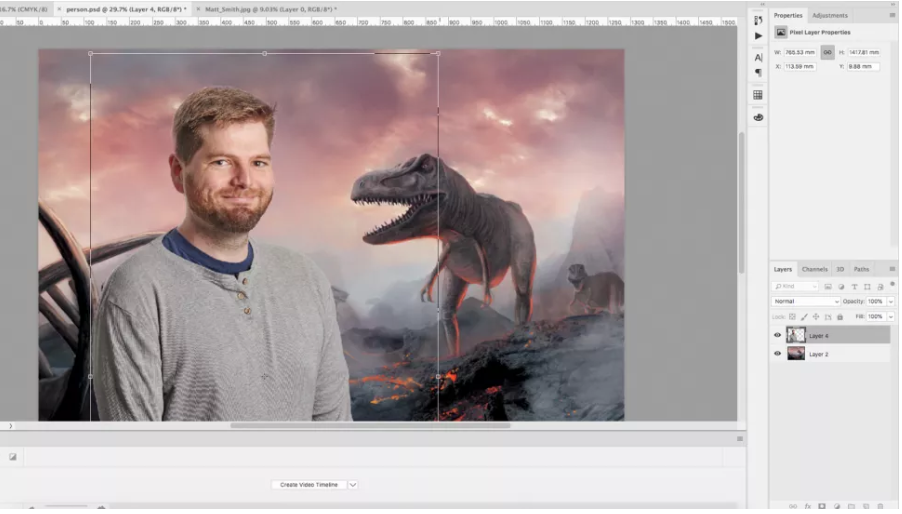
After cutting out the subject with the Pen tool and Select and Mask, flatten all the layers, then copy and paste into other documents. Place your person in the most natural-looking position without breaking any angles or proportions. Use Edit> Free Transform to resize and rotate the layer. You may need to cover all the areas behind the foreground object. You can use the Pen tool for this and select your area before pressing the mask button.
5. Consider lighting
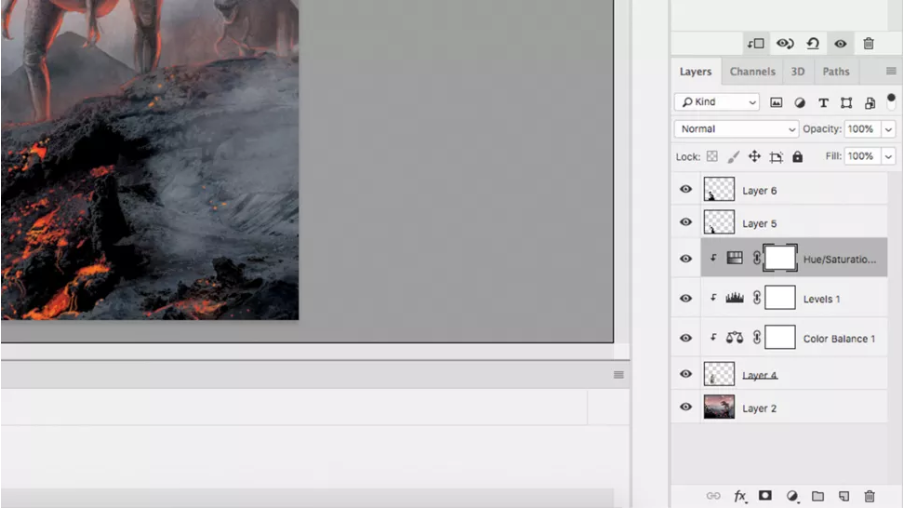
Simulating the lighting conditions of the original image will help your subject truly live in the world of the image. Since you are just learning how to make Photoshop into pictures, you will need the easiest way to do this. This method is achieved by adding shadows and editing the color balance. You can add simple shadows by applying black to a new layer with a feather brush. You can then use the opacity of this layer to control the weight of the shadow. Alternatively, you can use the Burn tool to darken areas of the image that require more shadows, although it is worth duplicating the layer first so that you don’t have to make permanent changes.
Normally, you can adjust the color balance by clicking the Adjustment Layer button in the Layer panel, and then select the adjustment you want, but this will affect every layer below it in the composition. To ensure that the adjustment layer only works on the desired layer, place it above the active layer, and then hold down the ALT key and click between the layers. You can repeat the adjustment by clicking on the layer and pressing Command + J.
If you have learned it, try it out in Photoshop!