Tool: iPhone 12
Step 1: find something interesting
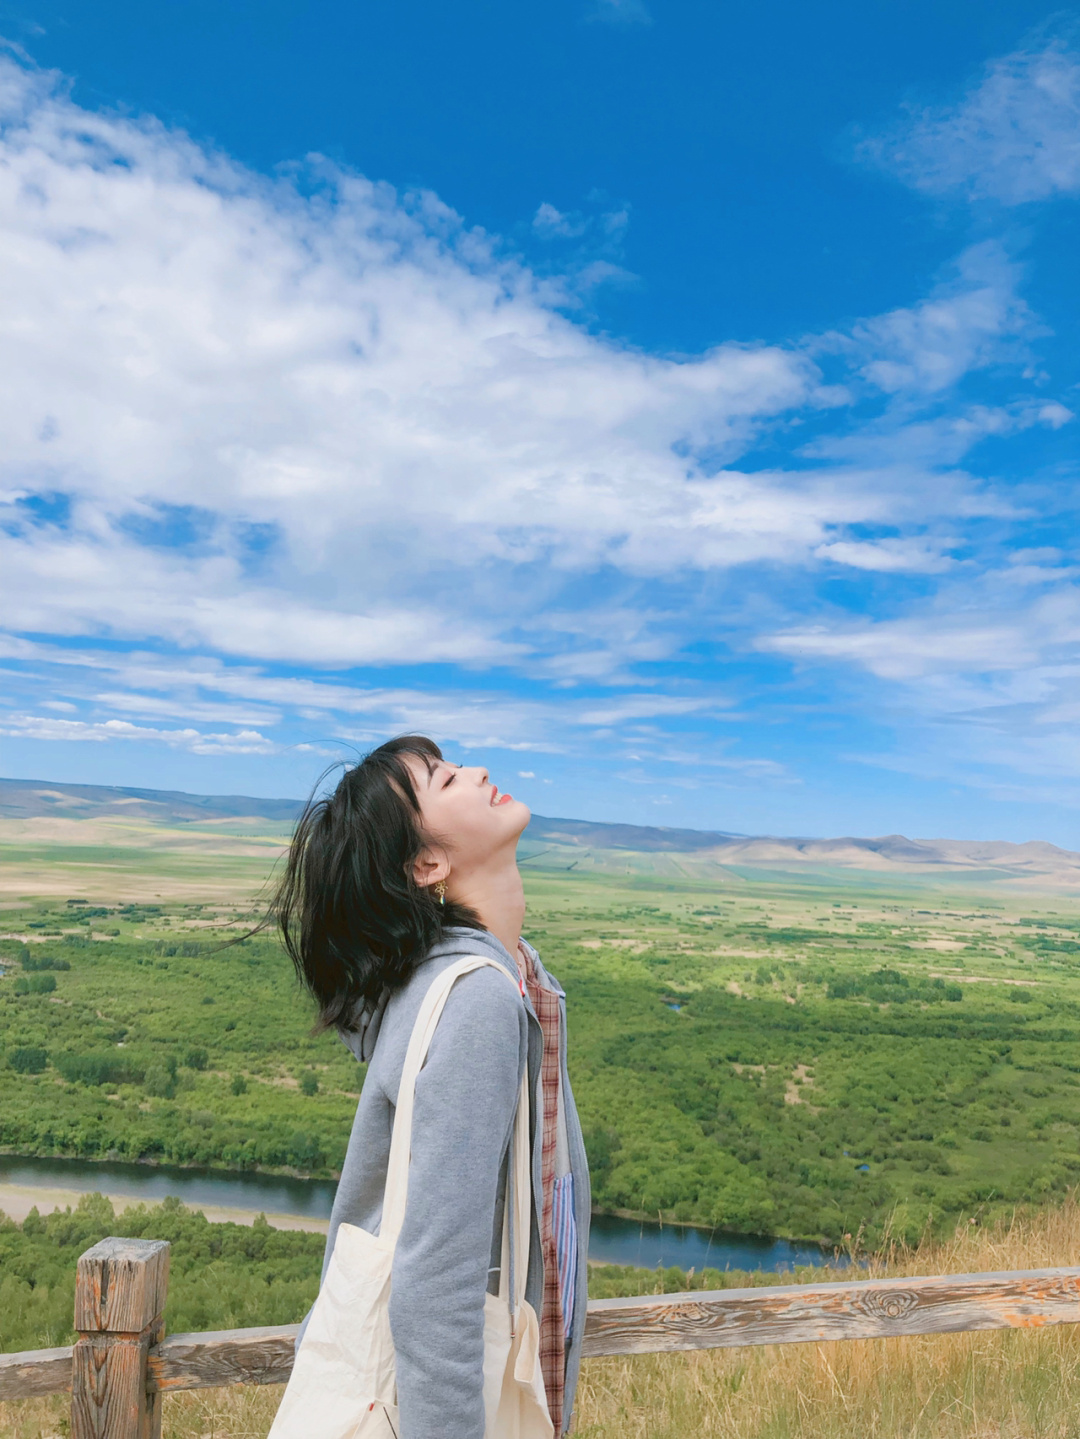
This is very simple. When I see something interesting to me, I take a picture after I am interested. Everyone’s focus is different, and this varies from person to person.
The surrounding things make me feel very interesting, with a breath of life.
Step 2: Consciousness of composition
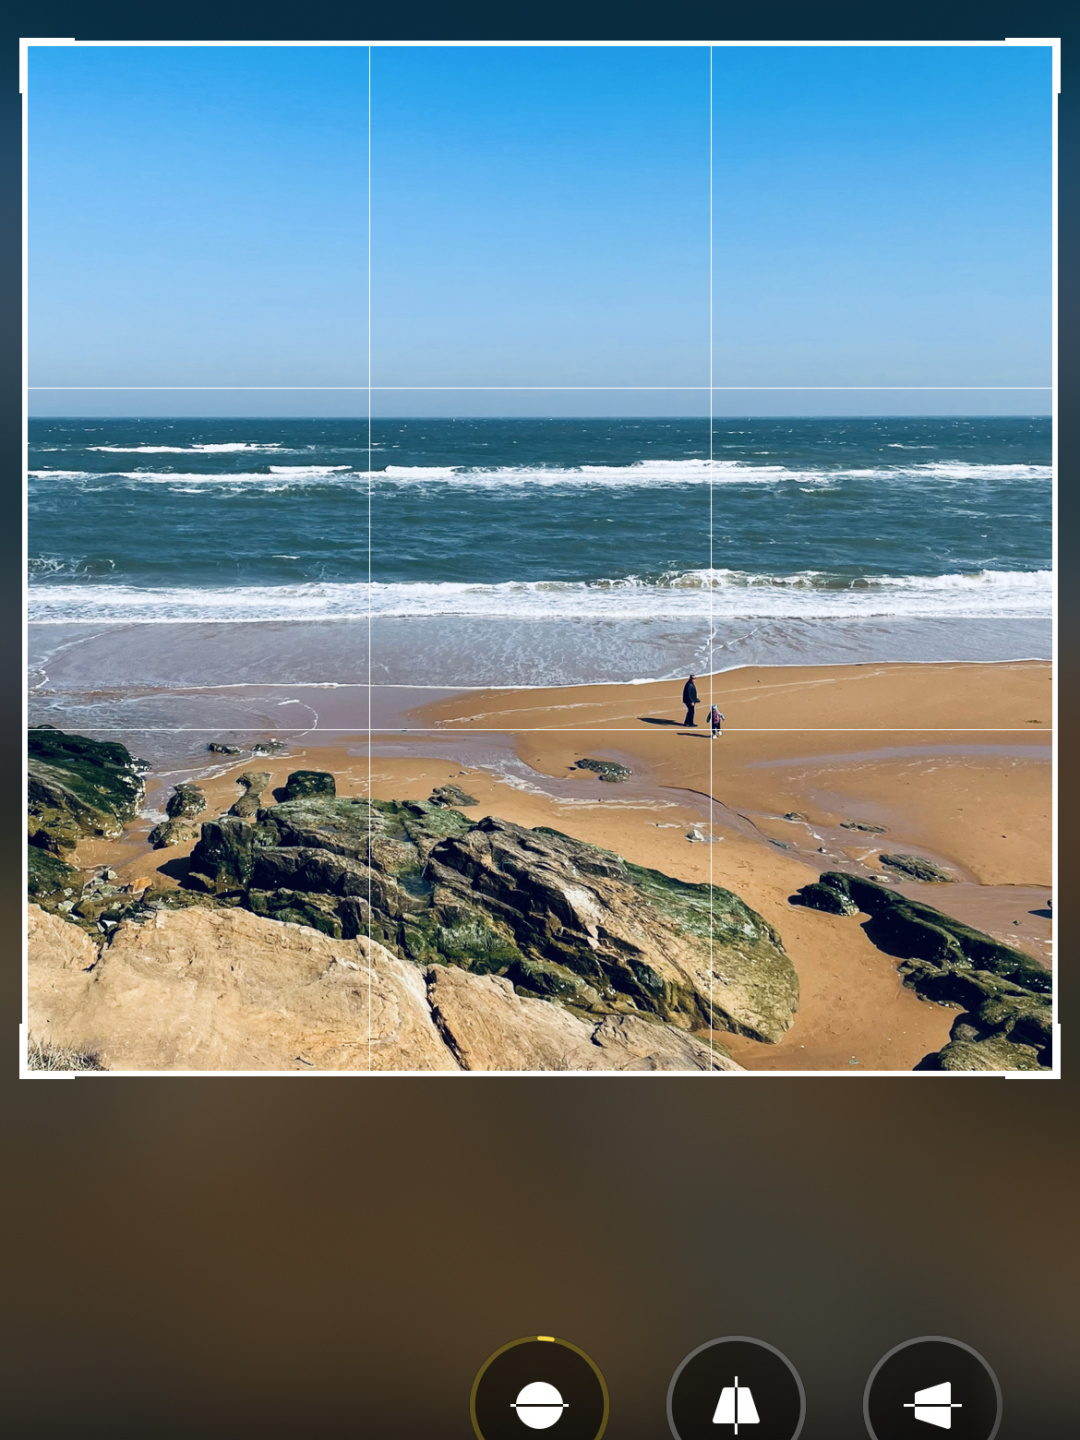
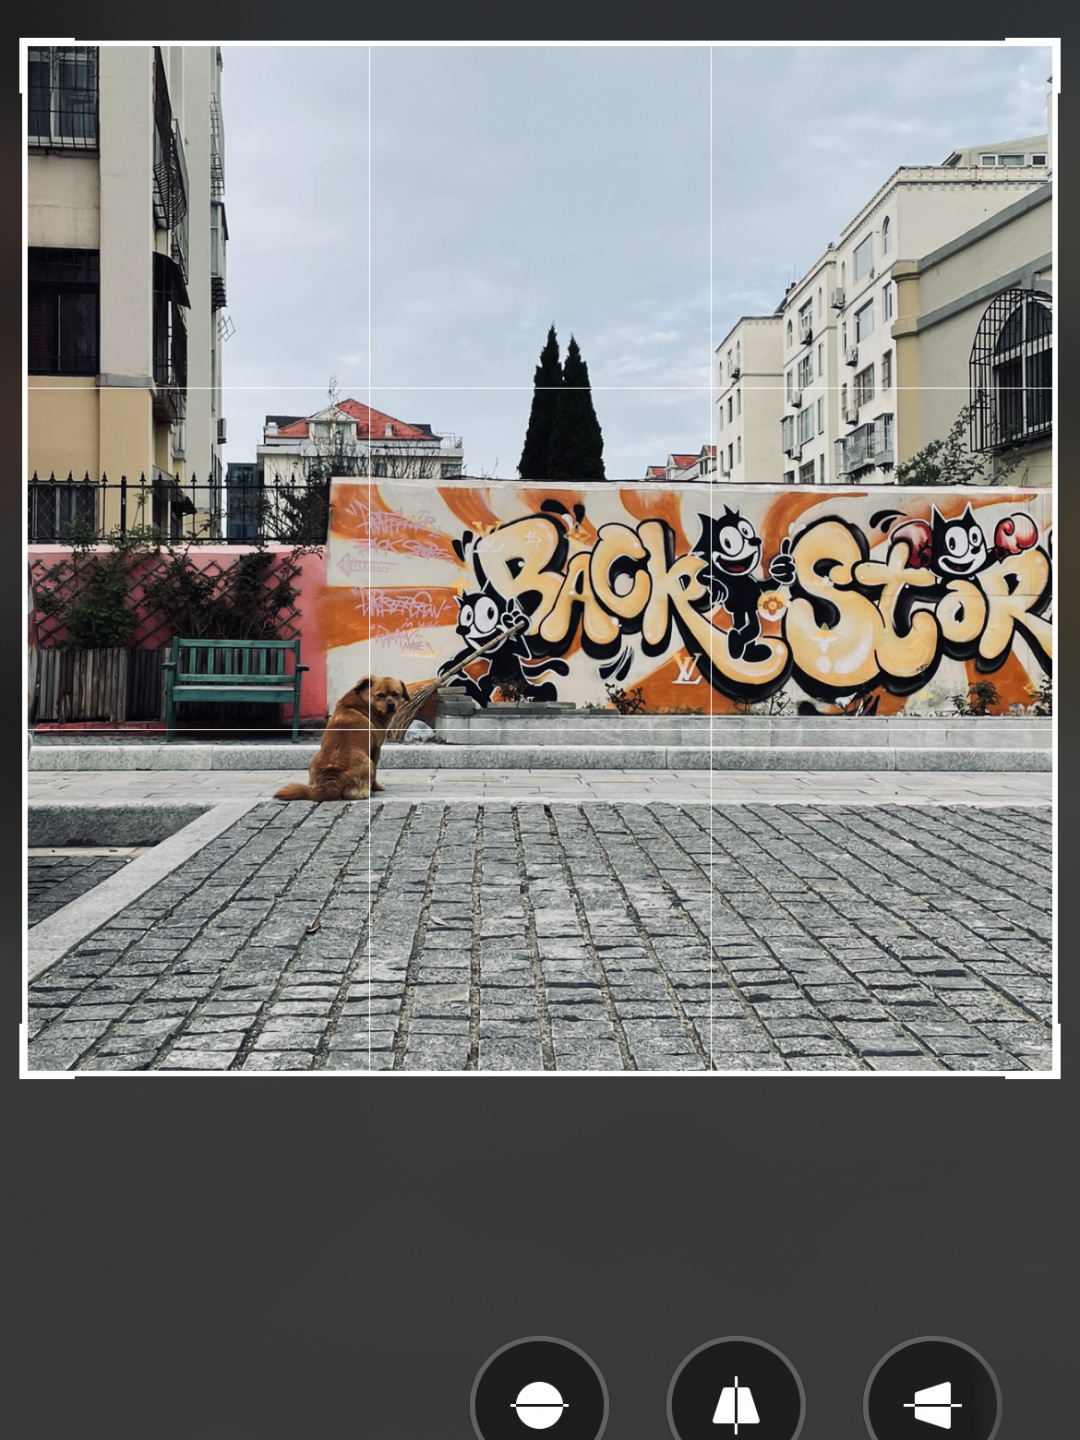
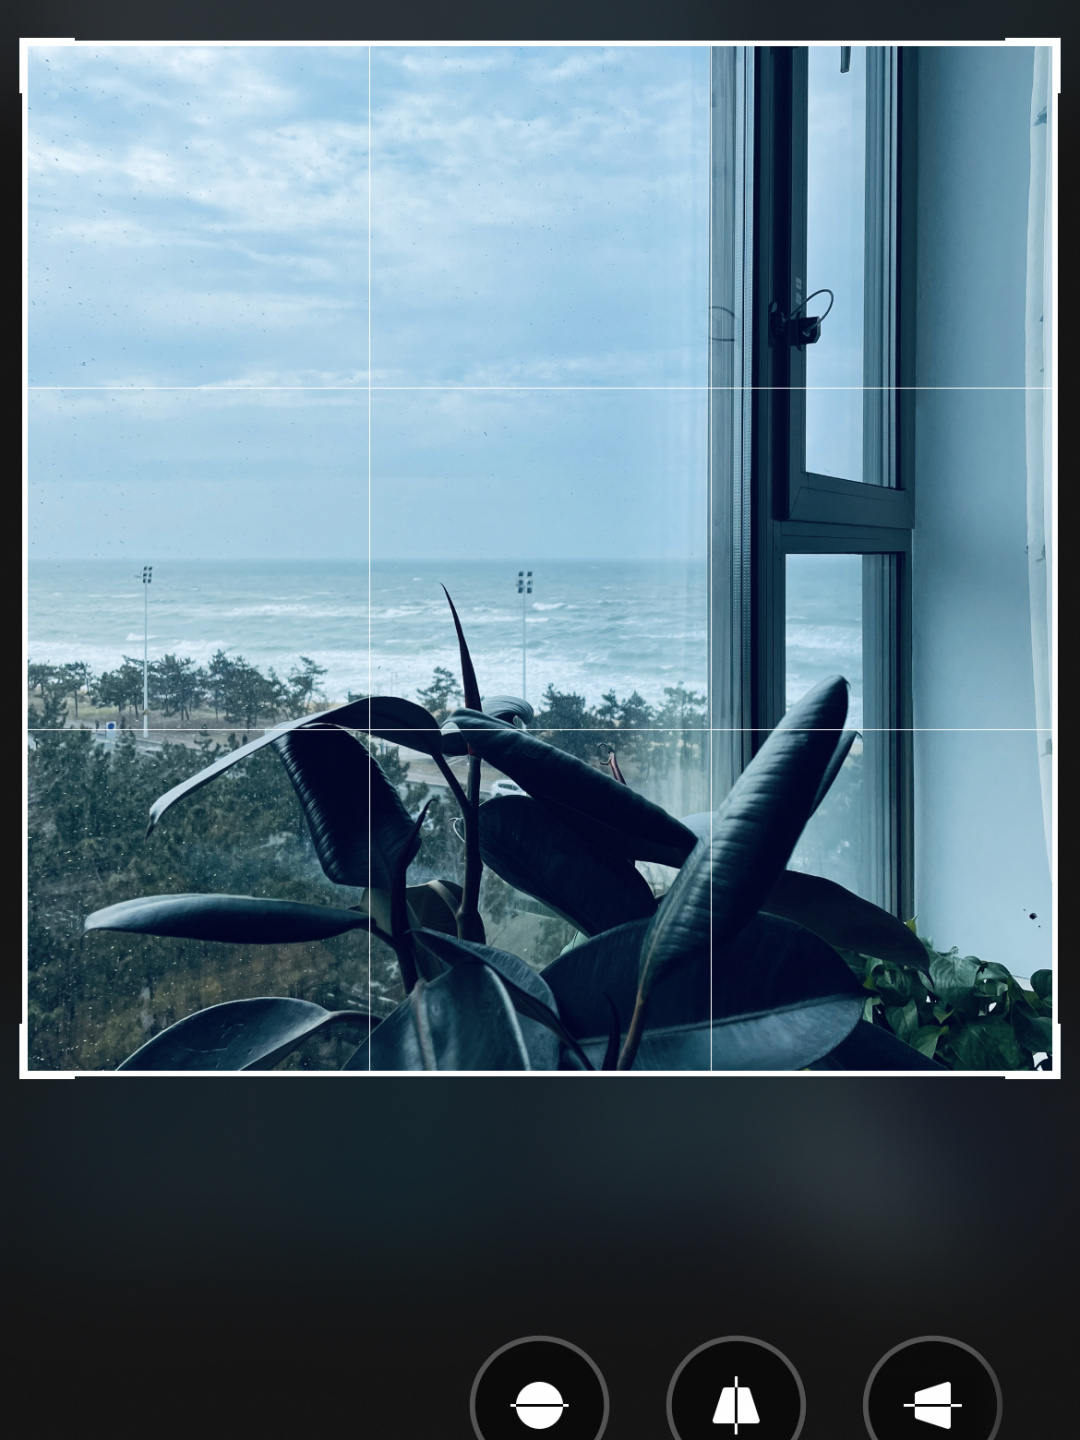
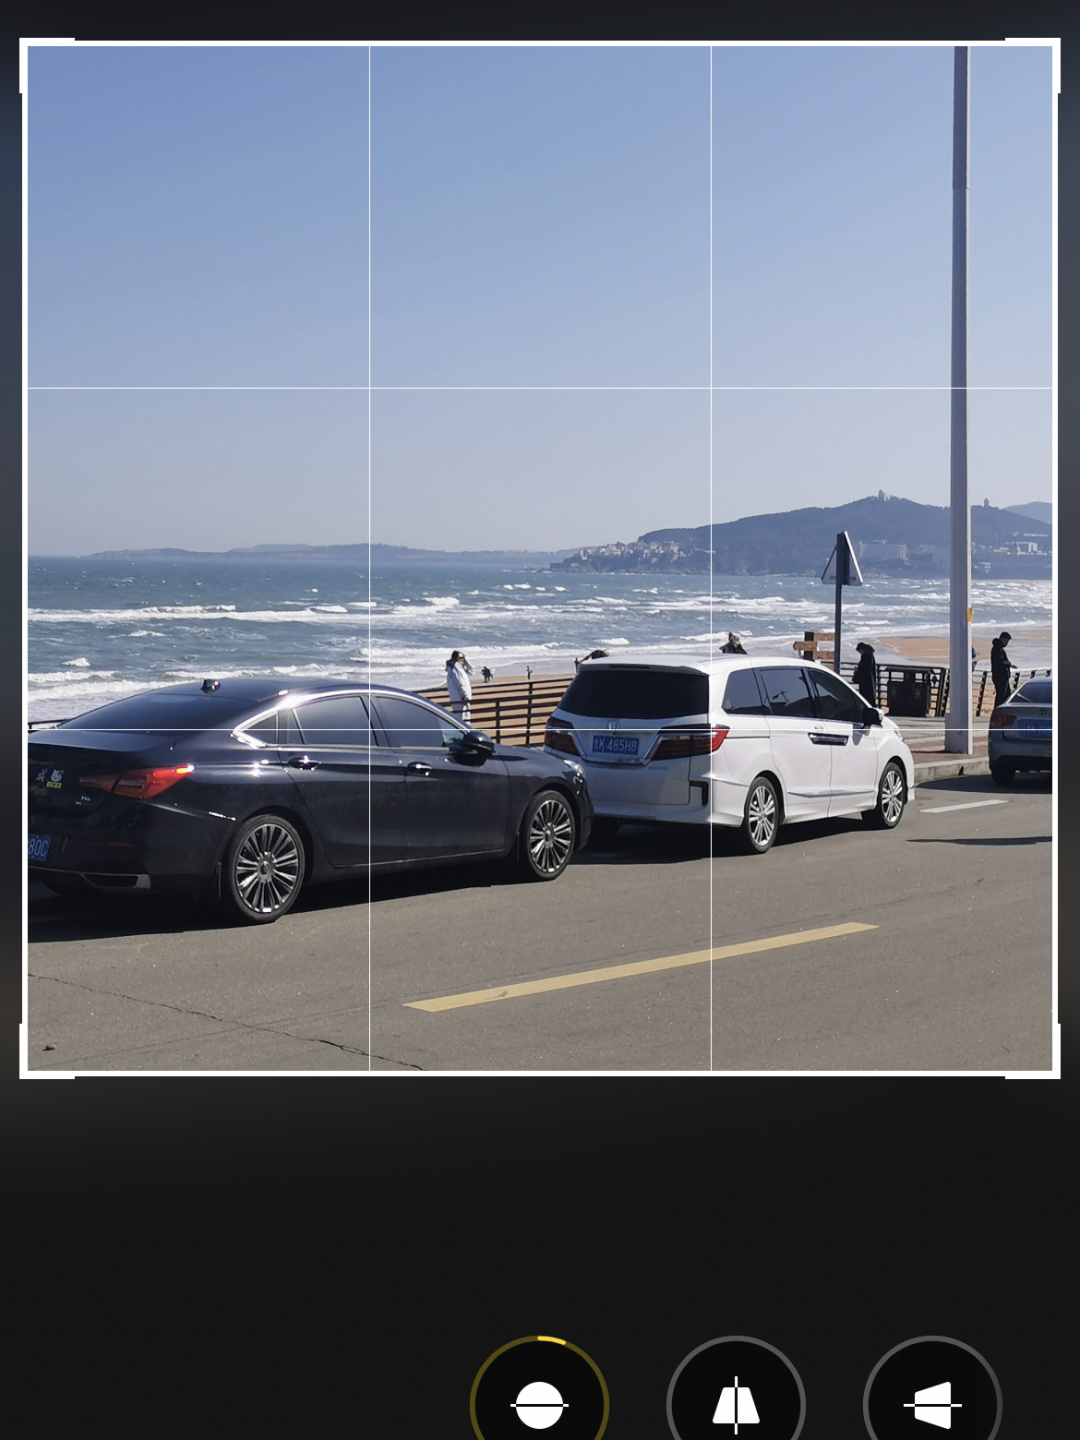
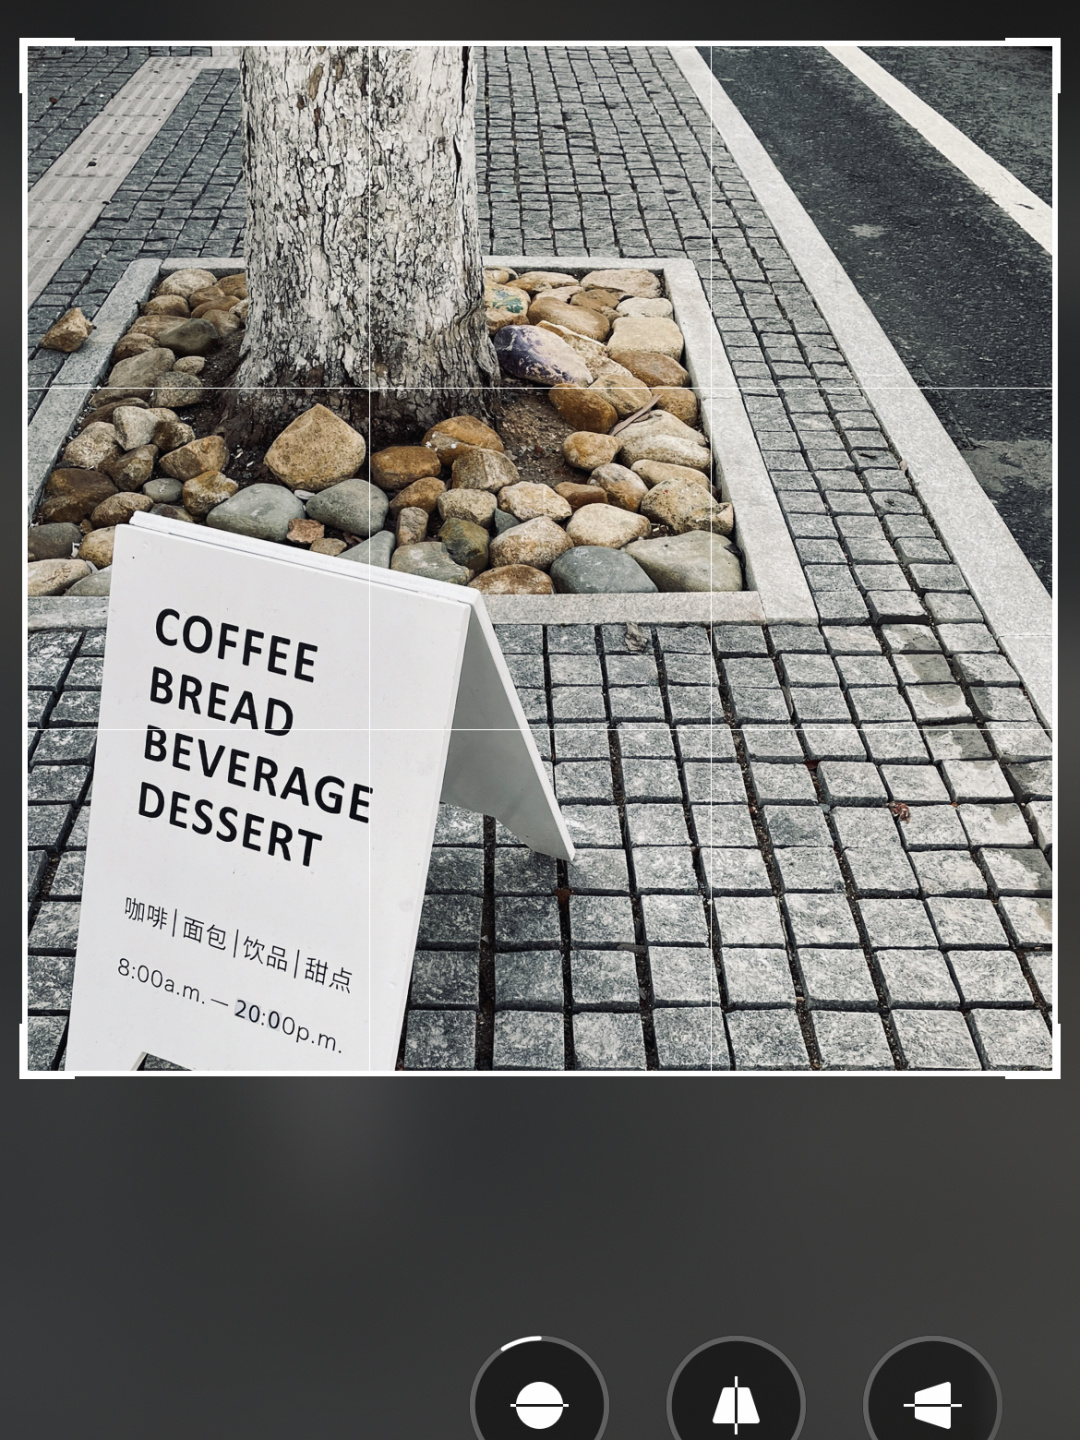
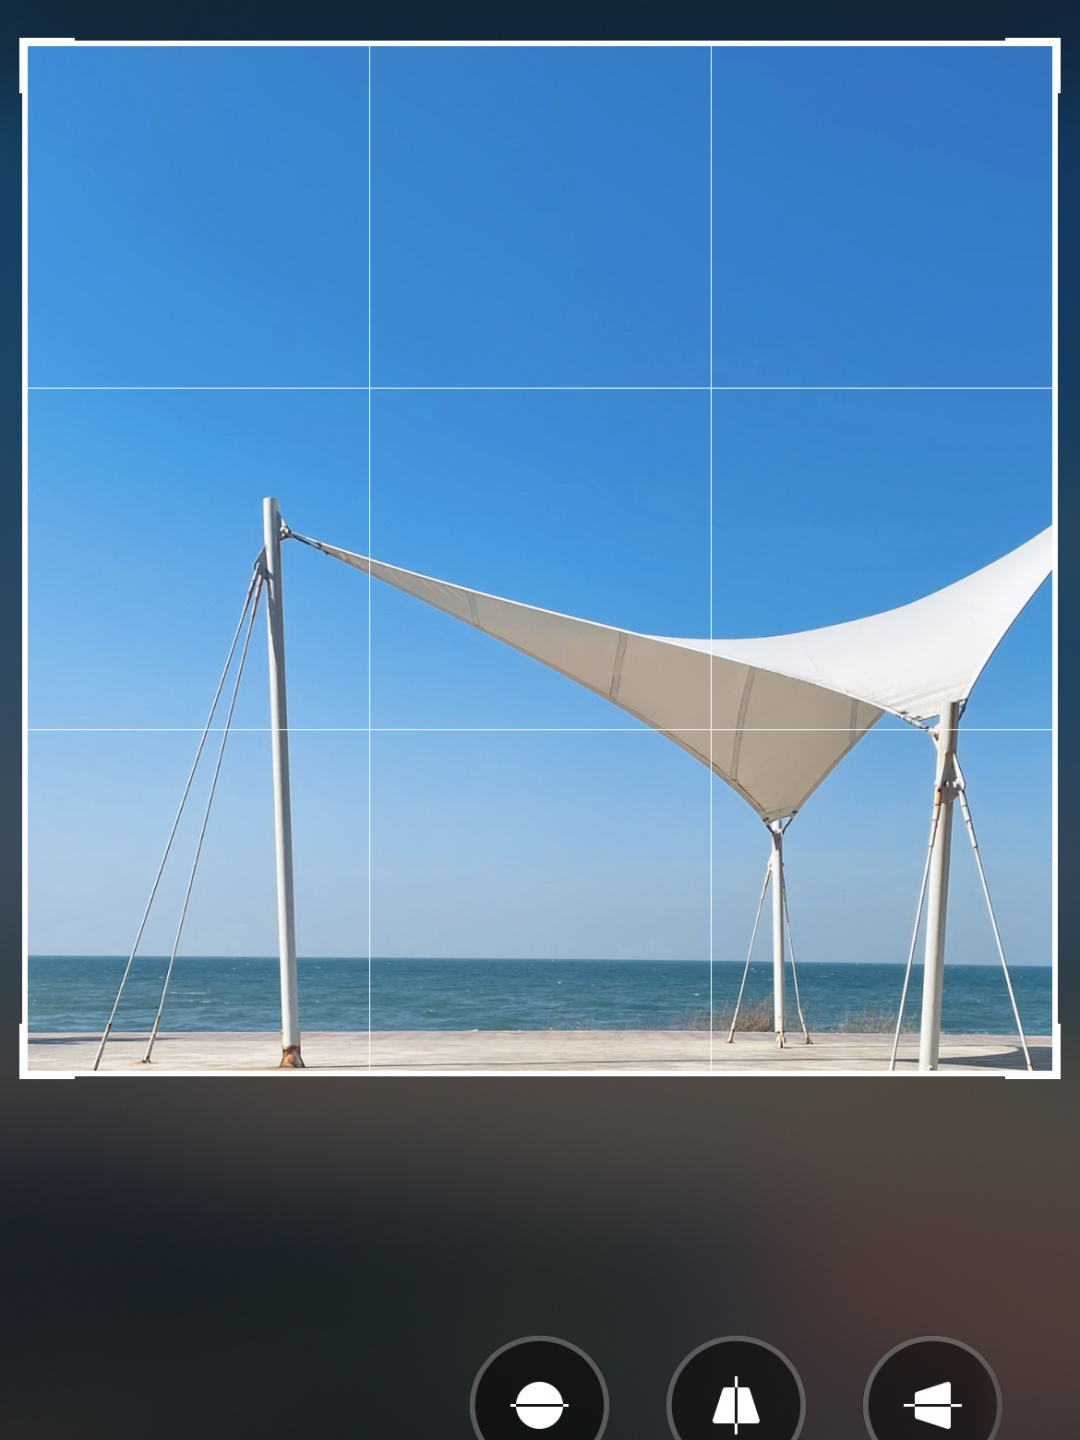
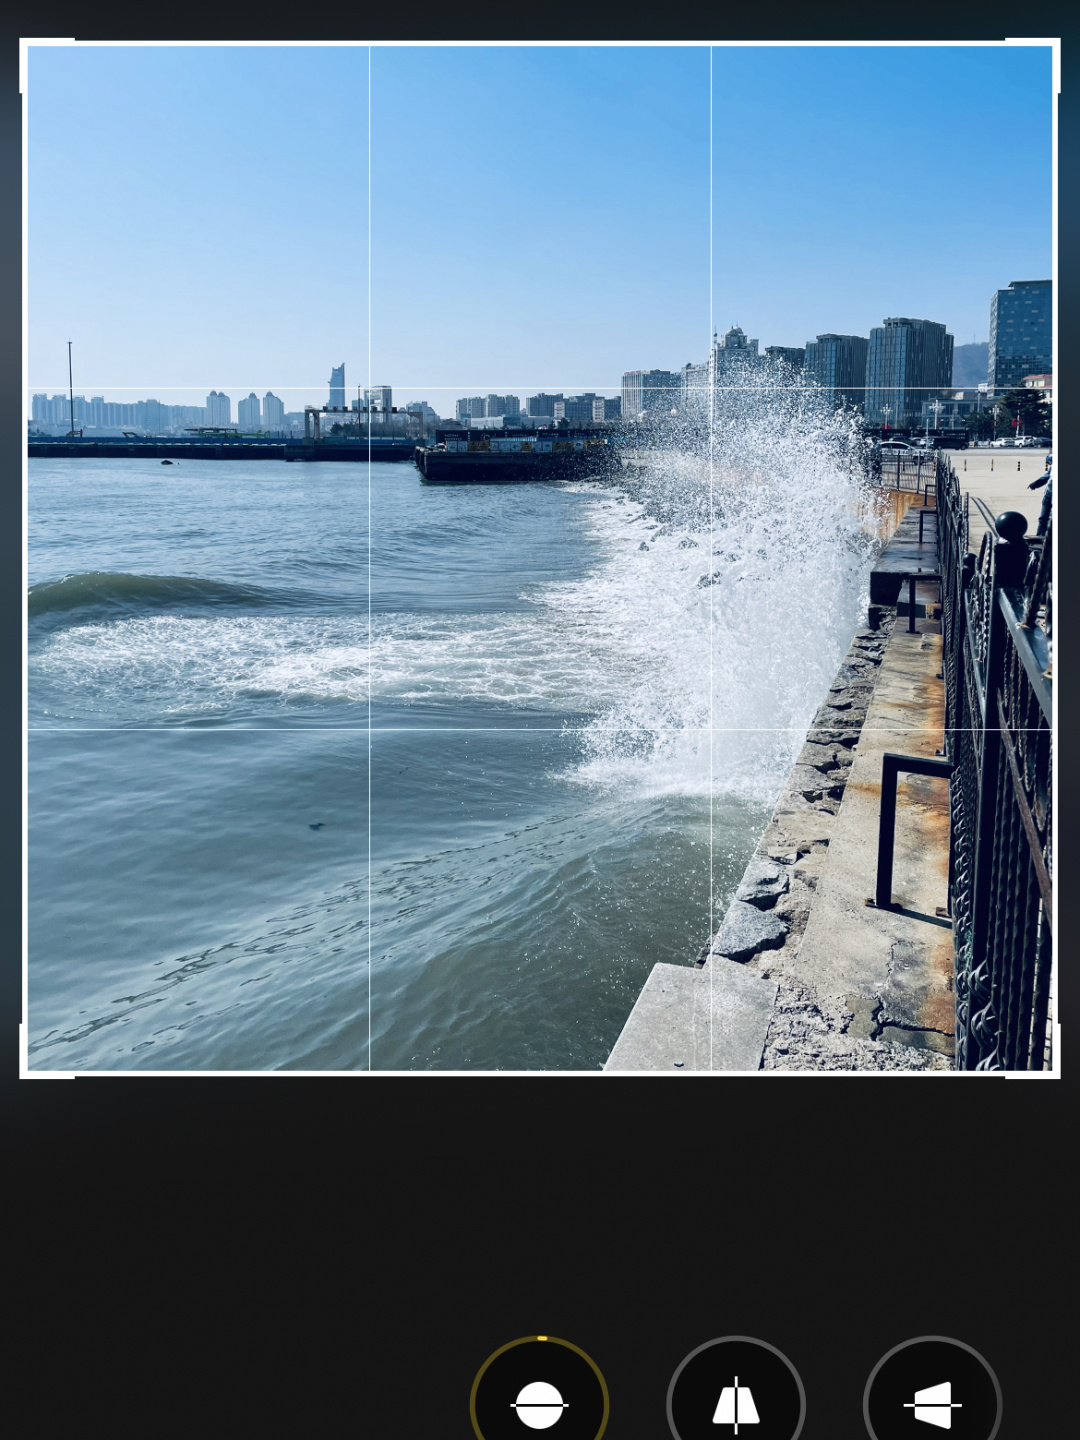
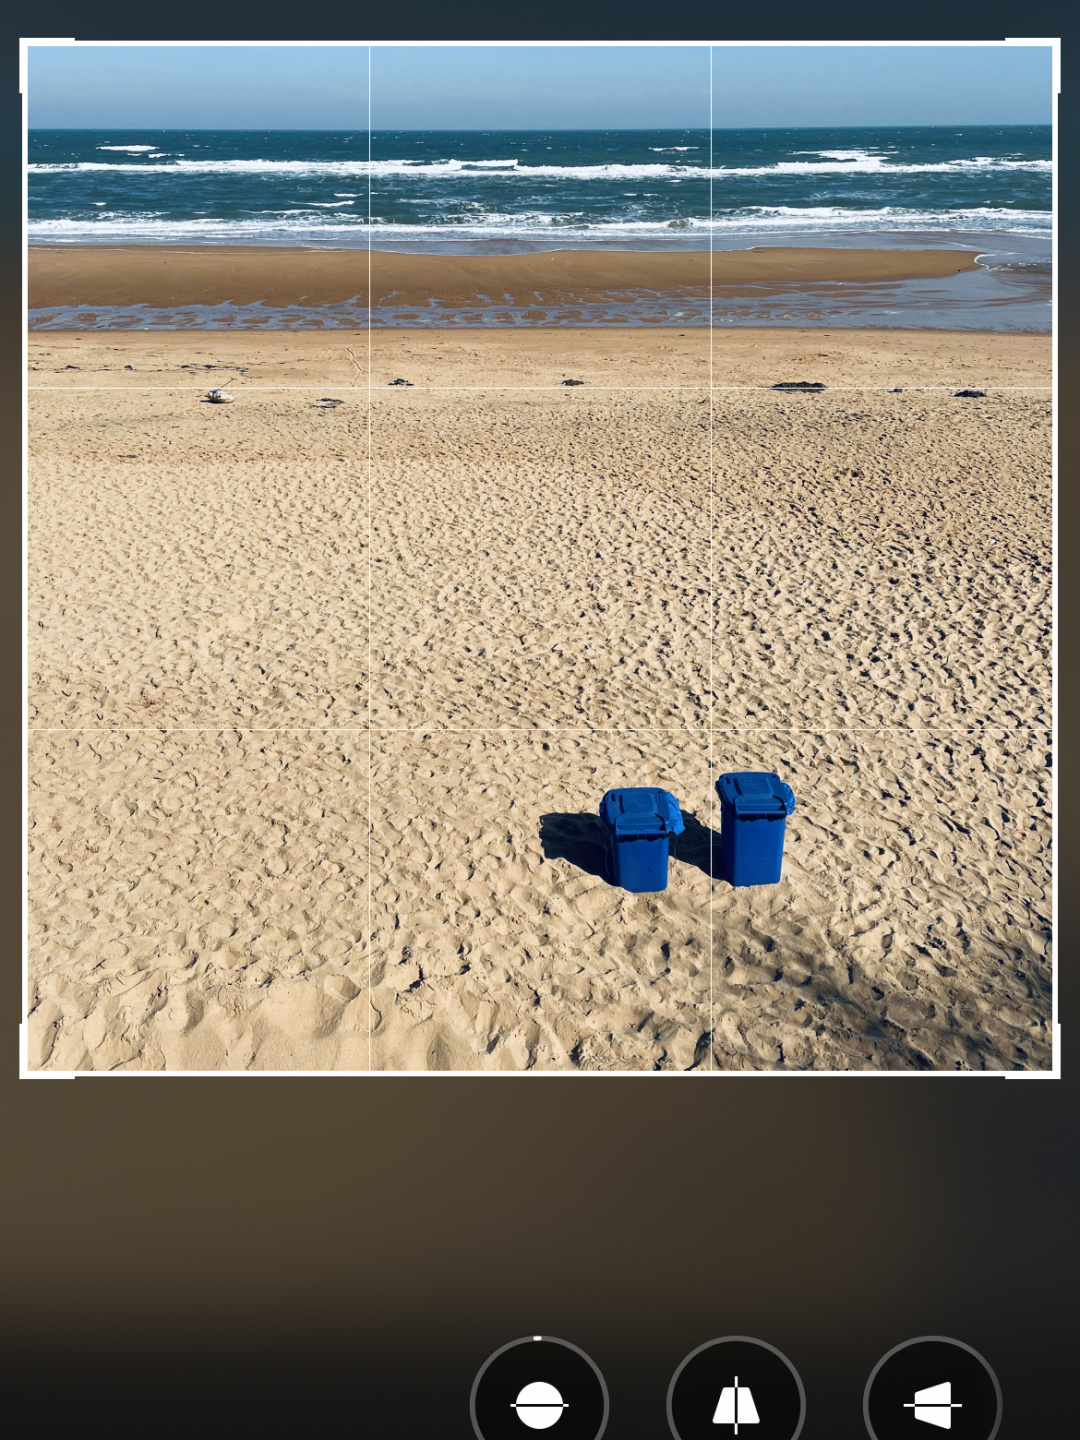
I have put screenshots with the dividing line of grid for all the pictures above, so I don’t need to understand the principle.
Just remember to divide the screen according to the grid, and then put the subject that attracts you to the “point” where the grid meets, or as close to the “point” as possible, and you will have a sense of form in this step.
This is to make the picture appear in a certain proportion, although it is not the perfect proportion of the golden section.
But for a photo taken casually, this simple ratio arrangement is completely sufficient, and this step is almost complete.
Step 3: Add a filter
Before adding the filter, share a little trick to improve the quality of the photo. The iPhone comes with a function for retouching: modify the shadow value, you can increase it appropriately.
In this way, the details in the dark parts of the photo will be more obvious, and the picture will appear more transparent
Regarding filters, you can choose according to the emotions conveyed by the photo style. My filters are all from the Apple Photo Editor, which is convenient and easy to use and basically meets the needs.
Third-party software is also great, but I really don’t bother to open it, and there are too many software, which will make it difficult to choose.
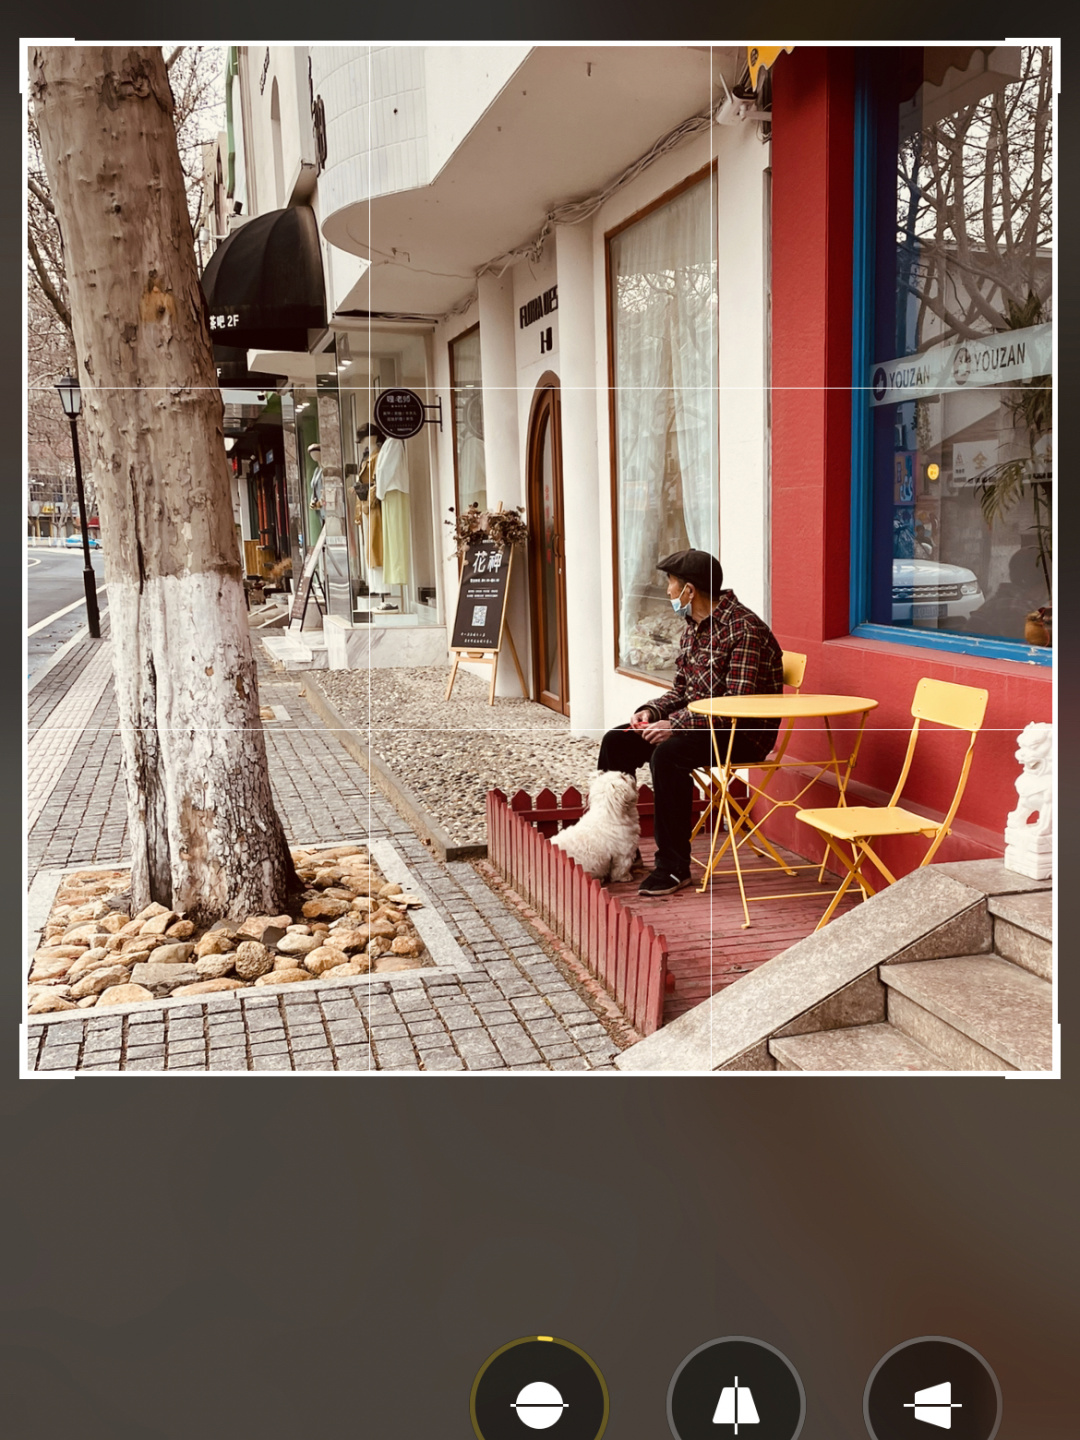
Take the fourth picture as an example. The old man looks into the distance, and the dog sits quietly and looks at the ham sausage in the old man’s hands. The picture is warm and peaceful.
Then I tried the “fresh warm color”.