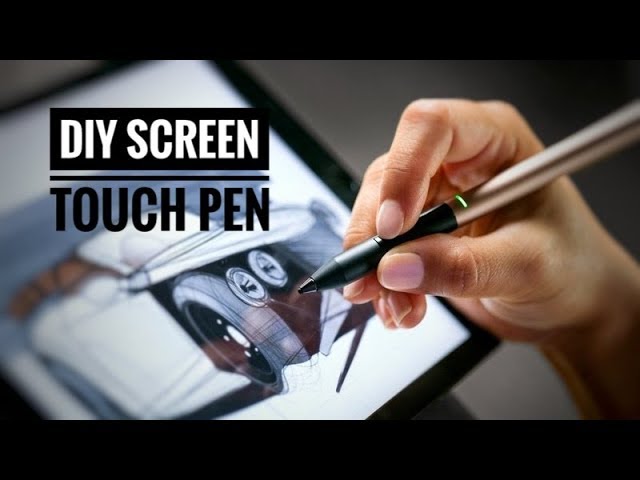
Did you know that you can make your own stylus for your iPad or tablet? I am happy to tell you that this is pretty simple. Of course, we are not suggesting that this DIY homemade stylus is more powerful than the real Apple Pencil or other legal stylus you can buy for your tablet, but improvisation is always fun, right?
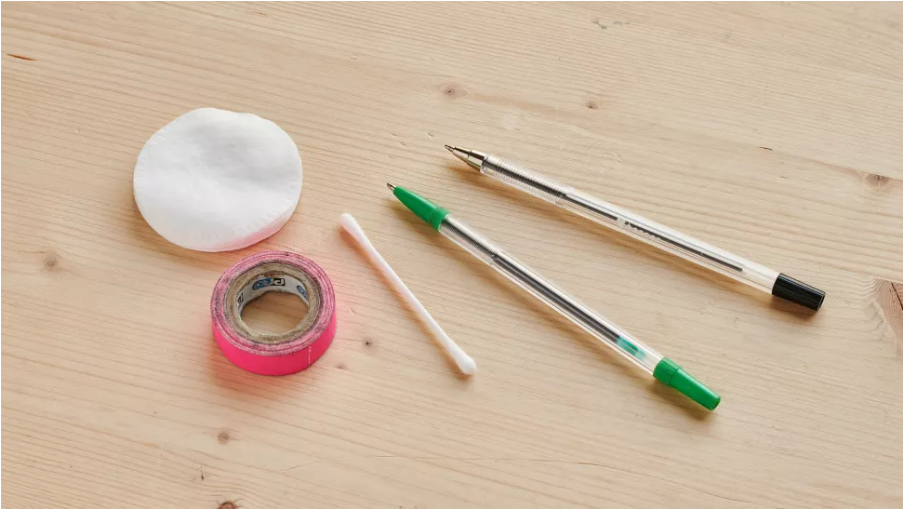
Even better, you might have all the necessary items somewhere in the house. You need four items: a pen (Biro pen or ballpoint pen – a pen from which the ink cartridge can be removed), a cotton bud or Q-tip or cotton wool, some tin or aluminum foil, and some tape.
In this article, you will learn two different ways to create your own stylus-one using cotton bud/Q-tips and the other using cotton wool. The first method may be the easiest, but if you choose the second method, it will work best if you use a pen with a metal casing or a pen with a metal nib (skip directly to the cotton thread method).
Make your own stylus using a cotton bud or Q-tip
1. Prepare your materials
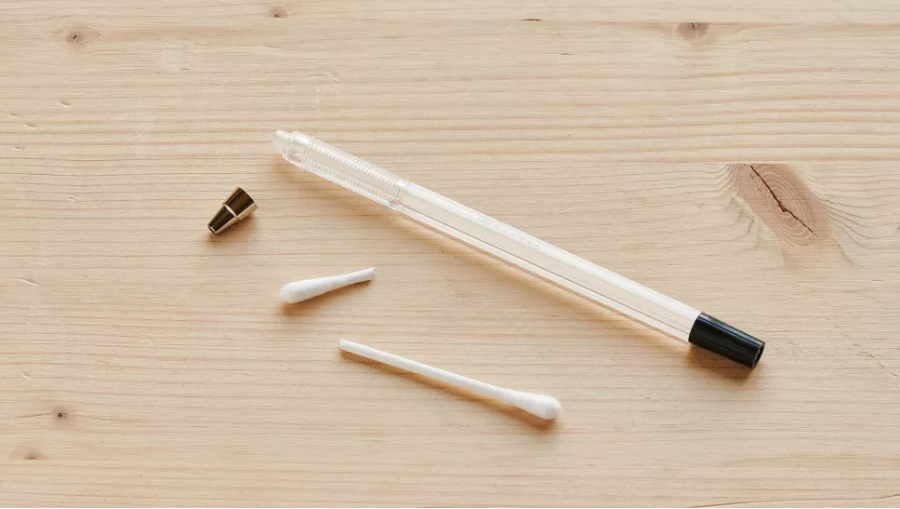
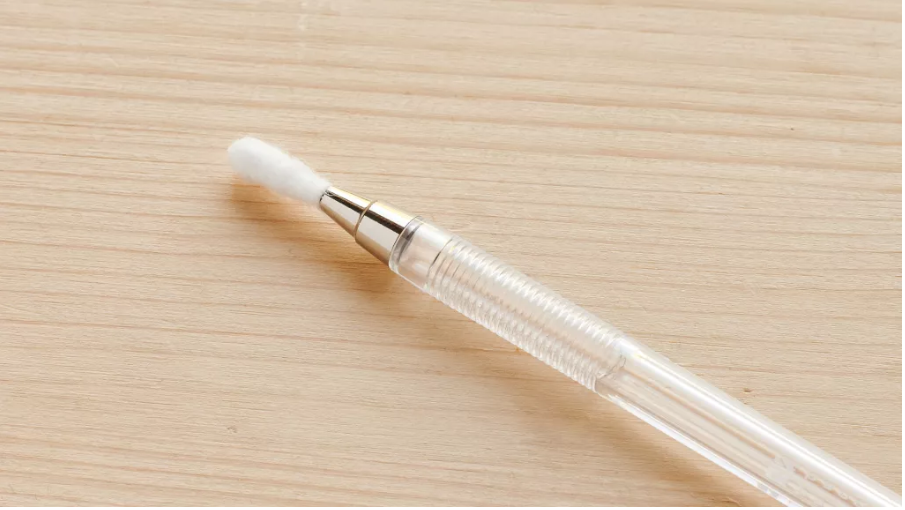
Remove the ink cartridge from the pen and leave a hole at the tip of the pen. Pick up a cotton bud and use a pair of scissors or a hand knife (carefully) to cut about 100mm diagonally from the end of a bud.
2. Insert cotton bud tip into pen
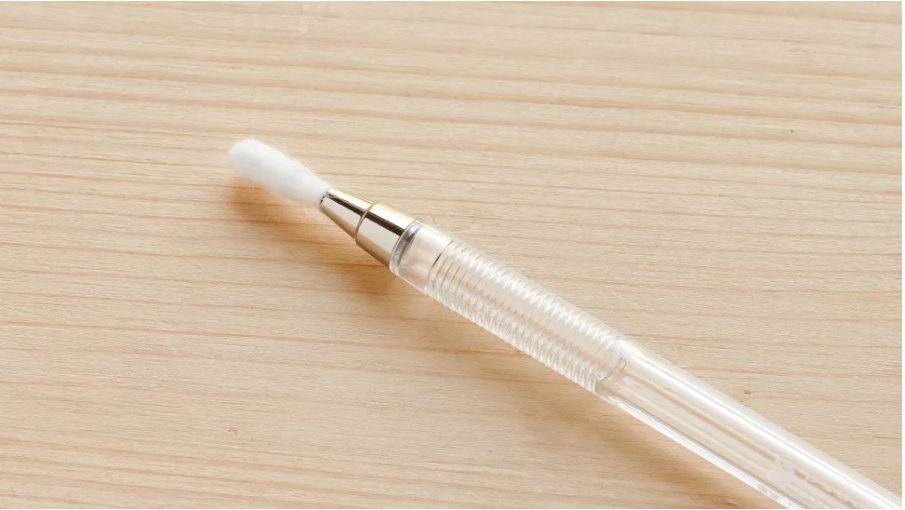
After removing the ink cartridge from the pen, push the cotton bud into the tip of the pen where the nib is usually located. This can be tricky, so you may want to try the remaining stem size of the bud.
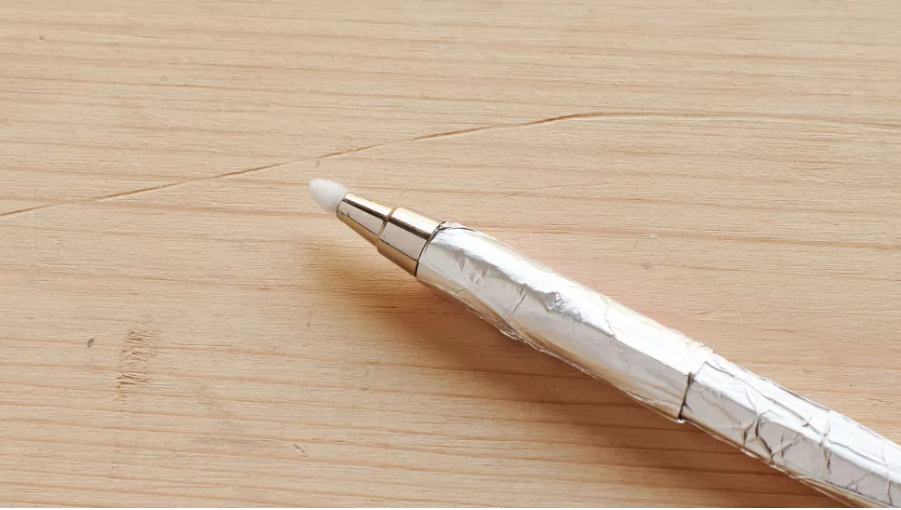
3. Reassemble the pen and wrap in foil
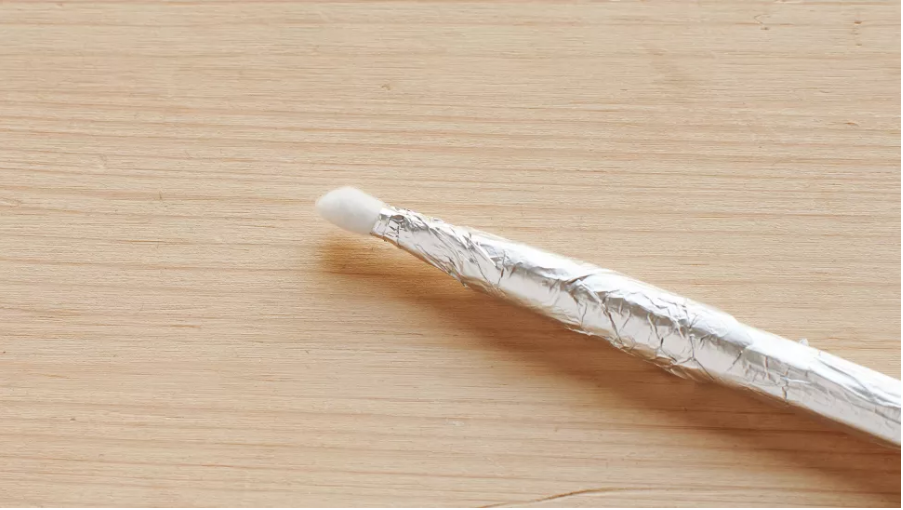
After fixing, tighten the pen again. Wrap the tin foil or aluminum foil around the pen, making sure that the tin foil or aluminum foil is in contact with the tip of the cotton swab. Fix the foil with some tape.
4. Dampen the tip of your stylus
Now, you need to slightly moisten the pen tip to make the pen conductive. Dip the nib into the water and squeeze out the excess nib. You only need to make the nib damp and not wet, and you don’t want to get water on the tablet. Here, you have your own stylus! If it stops working and feels dry to the touch, you can try to moisten it again.
Make your own stylus using cotton wool
1. Dismantle your pen and cover the casing in foil

Disassemble the pen first. If your pen case is not a metal case, cover the case with tin foil and fix it with tape.
Tear off a small piece of lint, and then pass it through the nib hole. With the cotton thread passing through the hole, push the ink cartridge back to the nib, which will help secure the cotton thread.
You may need to experiment with the amount of lint used. If it is too much, you will not be able to push the nib back. If it is too small, the nib will not be covered and will penetrate the lint.
2. Reassemble the pen
Reassemble the pen, re-tighten the top, and then re-tighten the bottom. It is best to completely fix the pen tip and leave a gap at the bottom, otherwise, the cotton thread will cause some obstruction. If the ink cartridge protrudes from the bottom and the pen will not be screwed back together, you can trim the ink cartridge at any time.
Use scissors to shape the cotton swab, moisten the nib with a small amount of water (not too much), and then start using your own stylus. If it stops working at any time and the tip is dry, you can wet it again to restore it to its original shape.
Is this technology useful to you? Then try to make your own handmade stylus!