A friend once asked me if I took a photo with a large-format camera, but it was actually taken by my iPhone 7 Plus.
If you don’t bring a camera, the phone can also take photos with a texture comparable to that of a camera.
Today I will share with you some tips for taking landscape photos with iPhone portrait mode and the basic steps of post-retouching.
First, after switching from normal camera to portrait mode, there will be two changes:
1. The distance automatically becomes closer to the subject.
2. The aperture becomes smaller, and the subject can be more prominent when the background is blurred.
These two points are very helpful to help us take high-quality photos. Because in my opinion, a good photo has the following points:
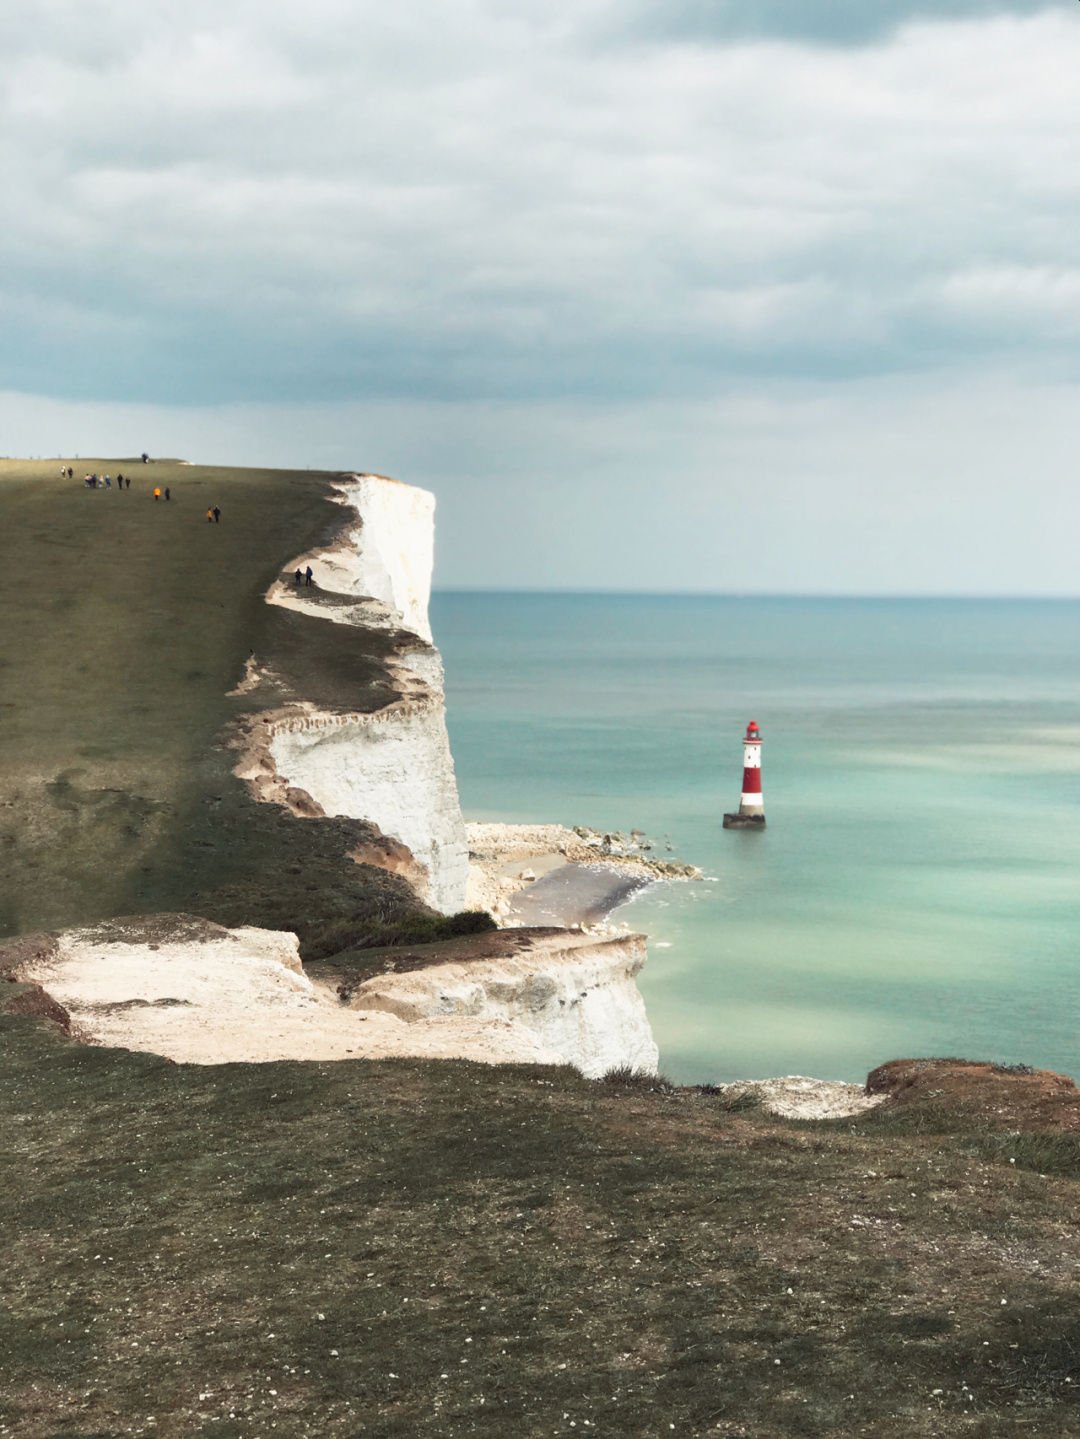
Main content: let the viewer know where to focus
Good light
Regular composition: I really can’t stand crooked photos
Atmosphere
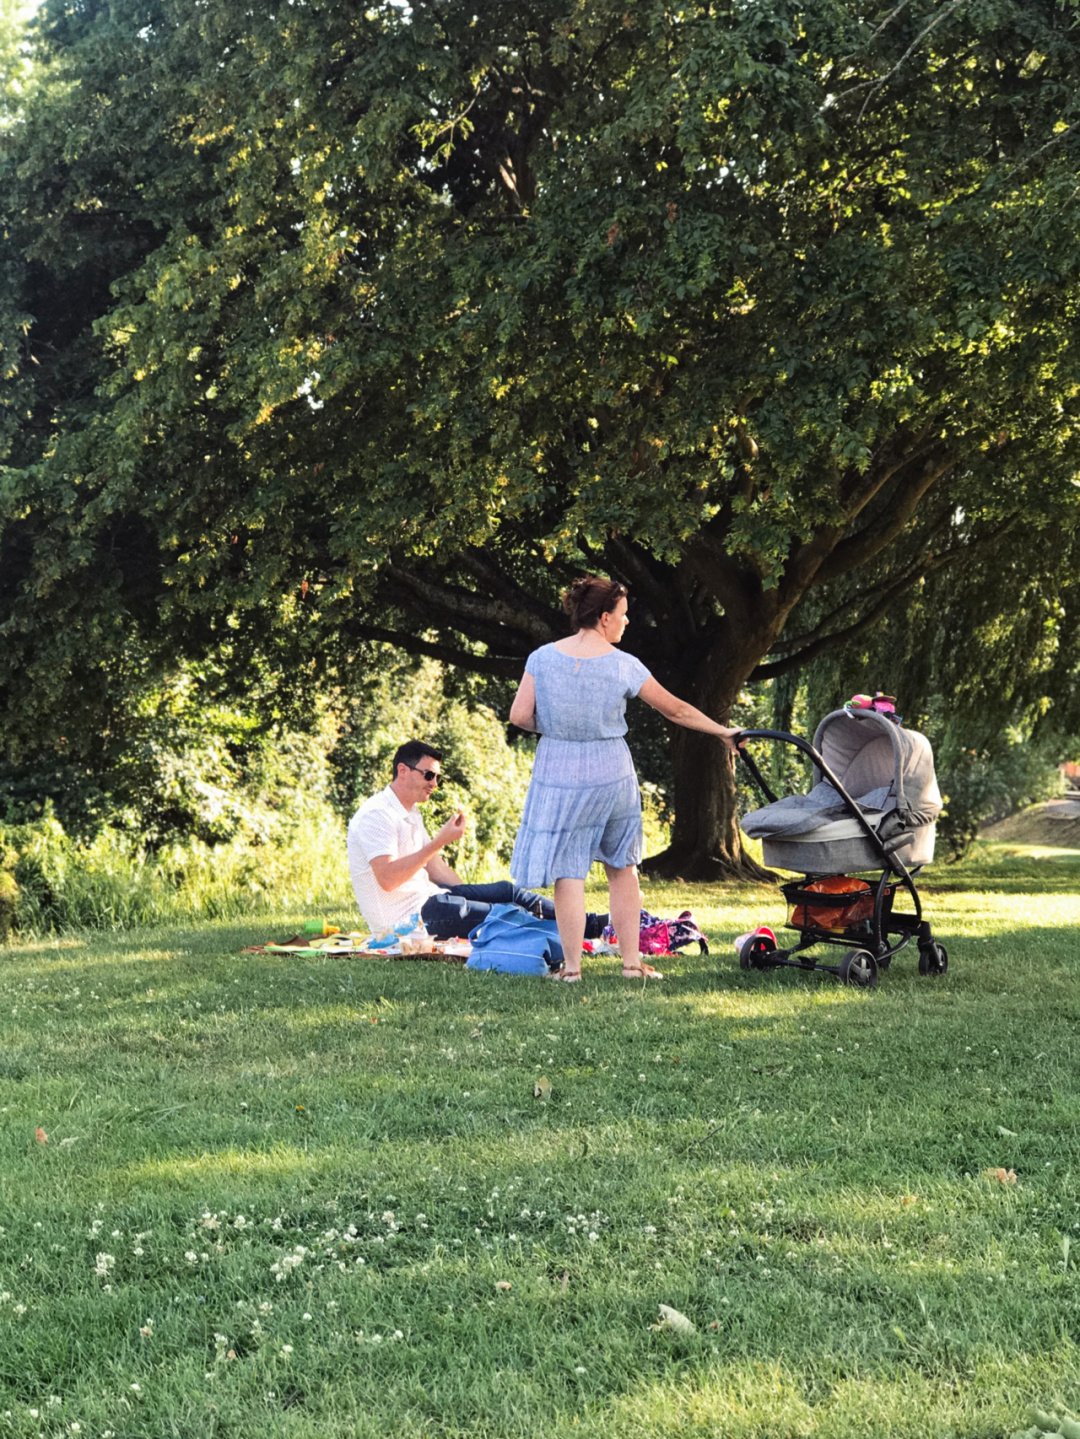
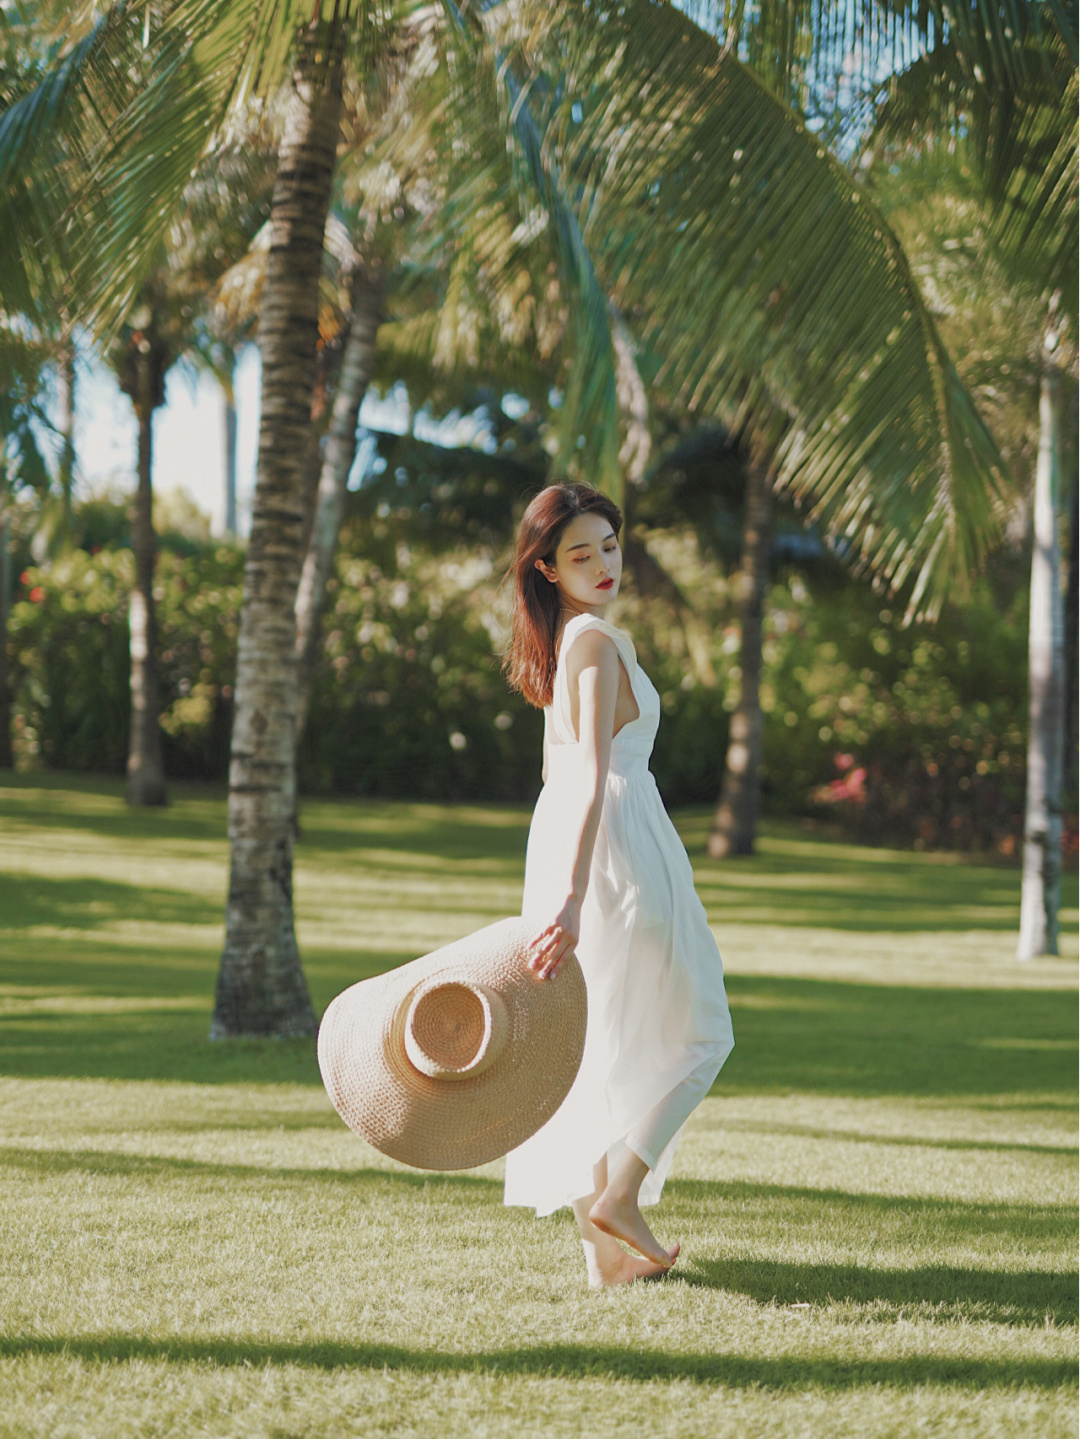
Usually, when we go out to travel, there are many people in the scenic spots and they are not controlled. It is easy to take irrelevant passers-by or objects in. The photo becomes messy and has no subject.
When you use the portrait mode to take a photo, the distance will be automatically narrowed, and the clutter next to the subject has been cut.
Then the bokeh function will make the photo look layered.
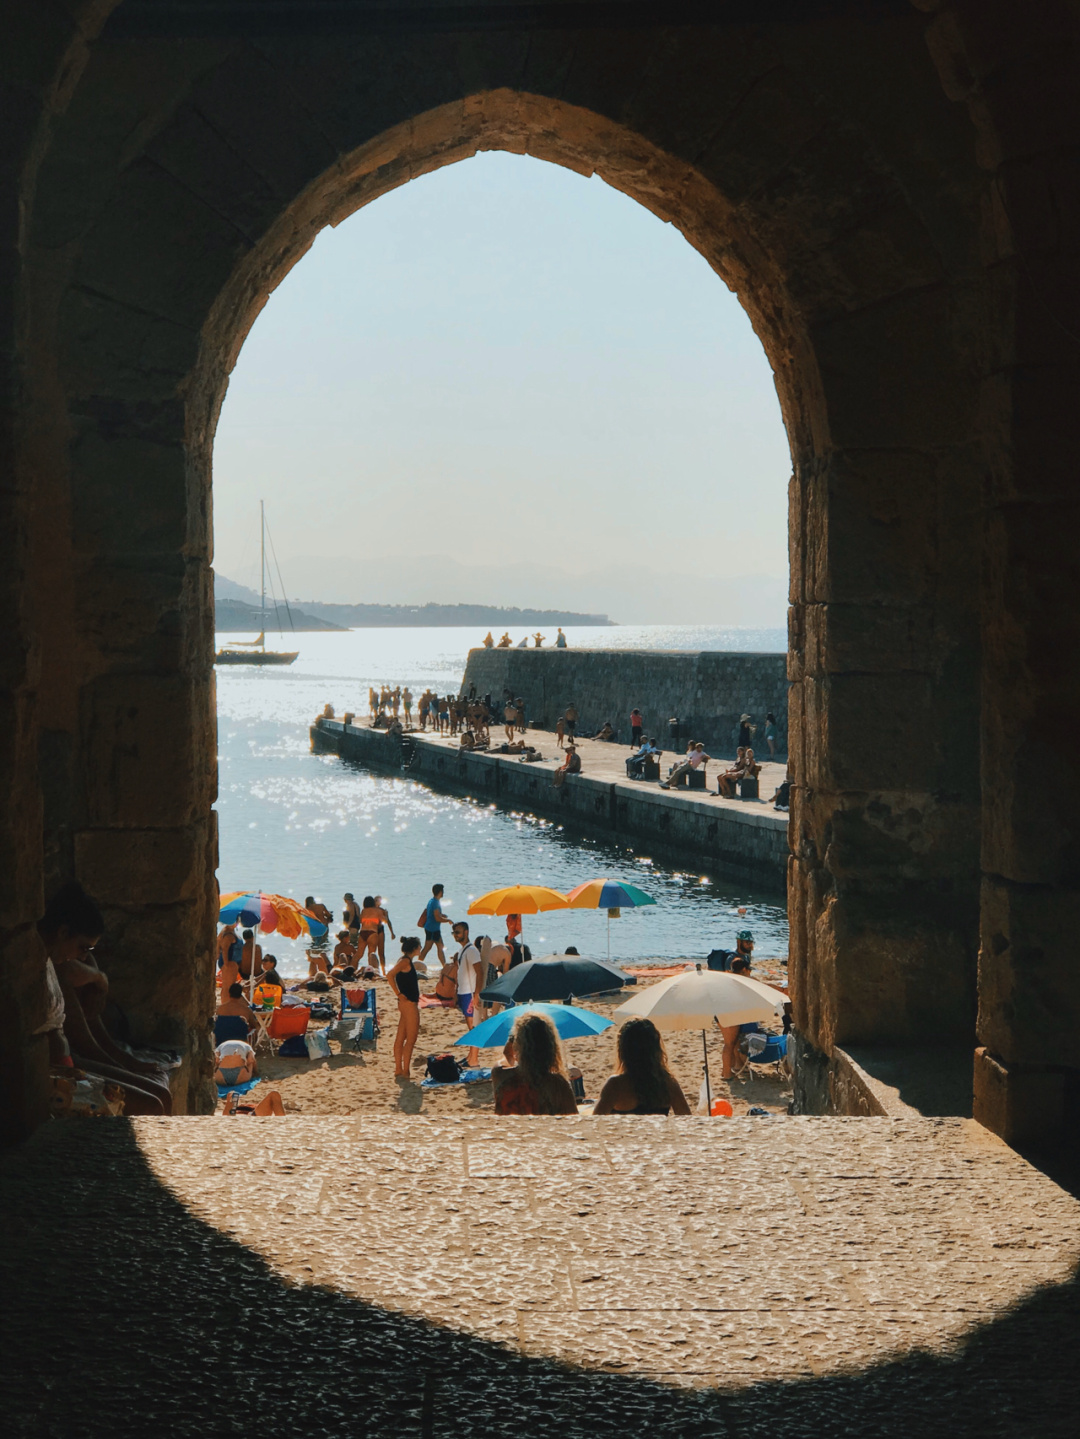
With a clear subject and rich layers, plus the atmosphere brought by post-retouching.
The photos taken by mobile phones can be close to the effects taken by professional cameras!
But there is a disadvantage that this mode cannot adjust the brightness and the light will drop a little bit, so the above are only suitable for shooting in well-lit places.
The most recommended time is afternoon and evening!
Post-retouching
After taking a picture, my fixed retouching steps are:
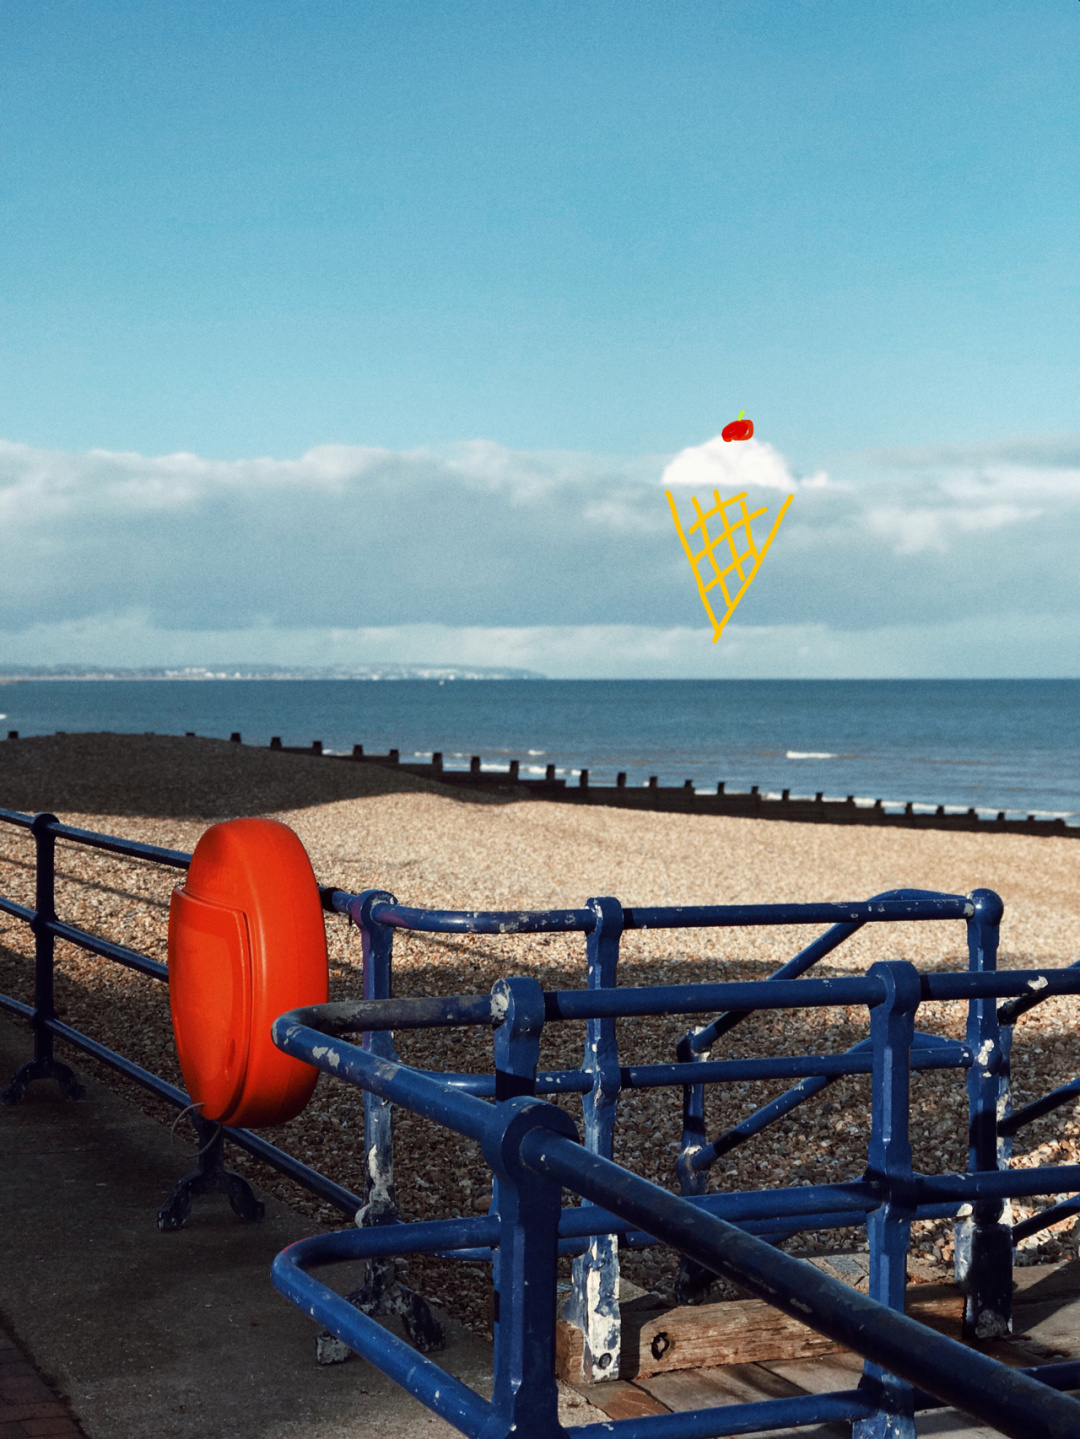
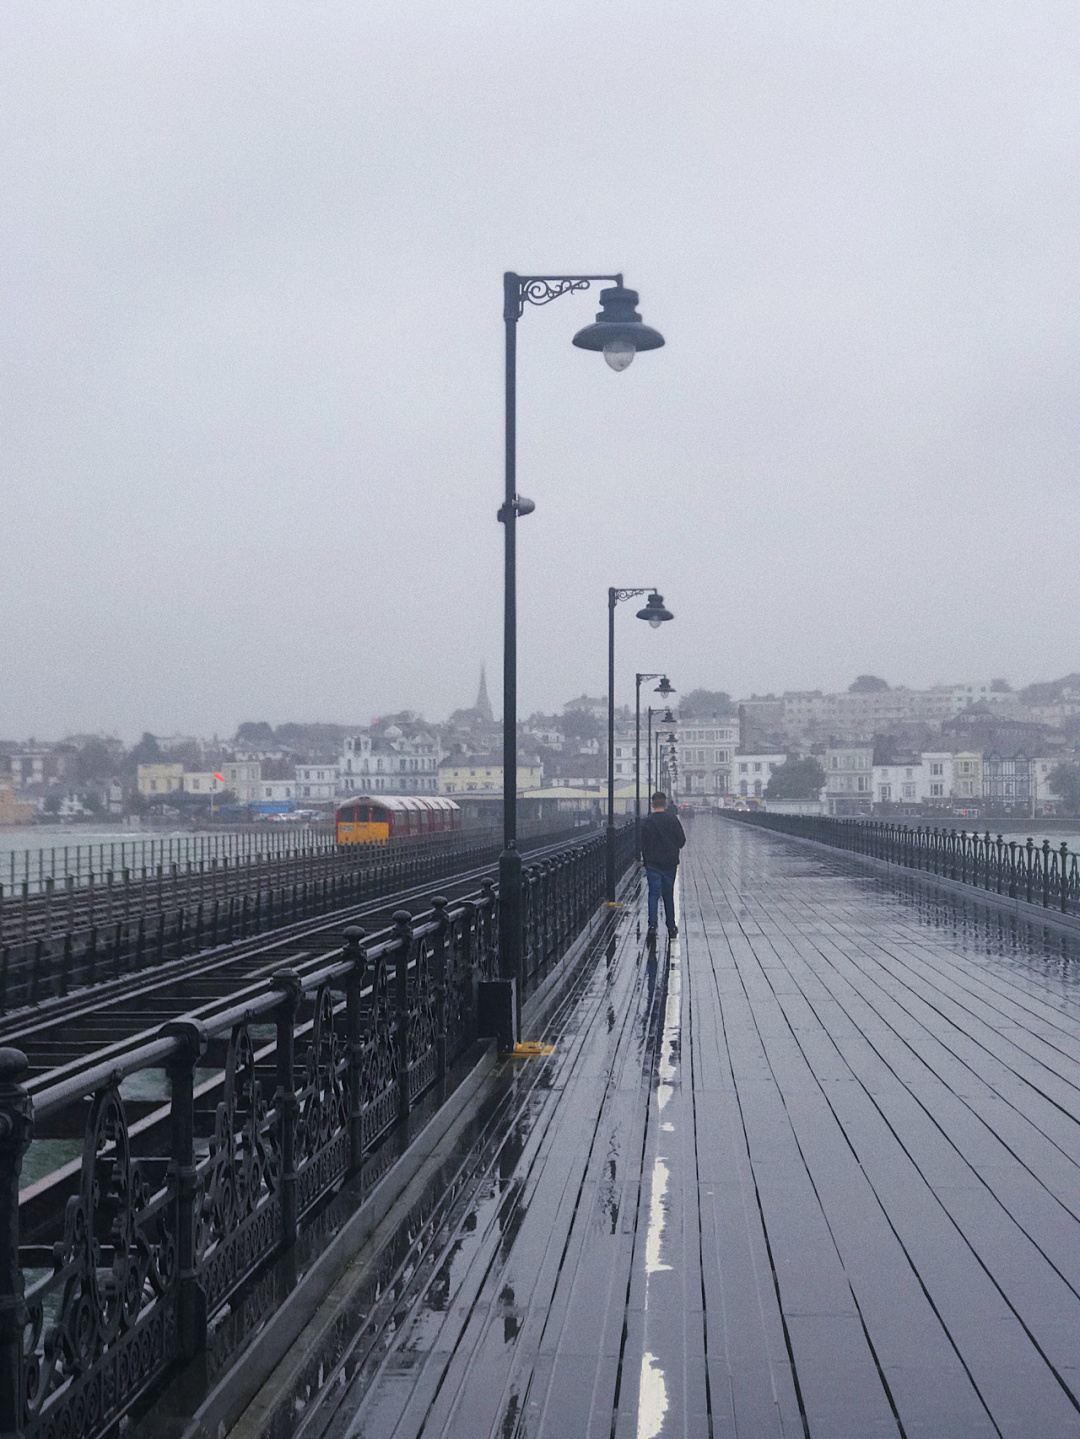
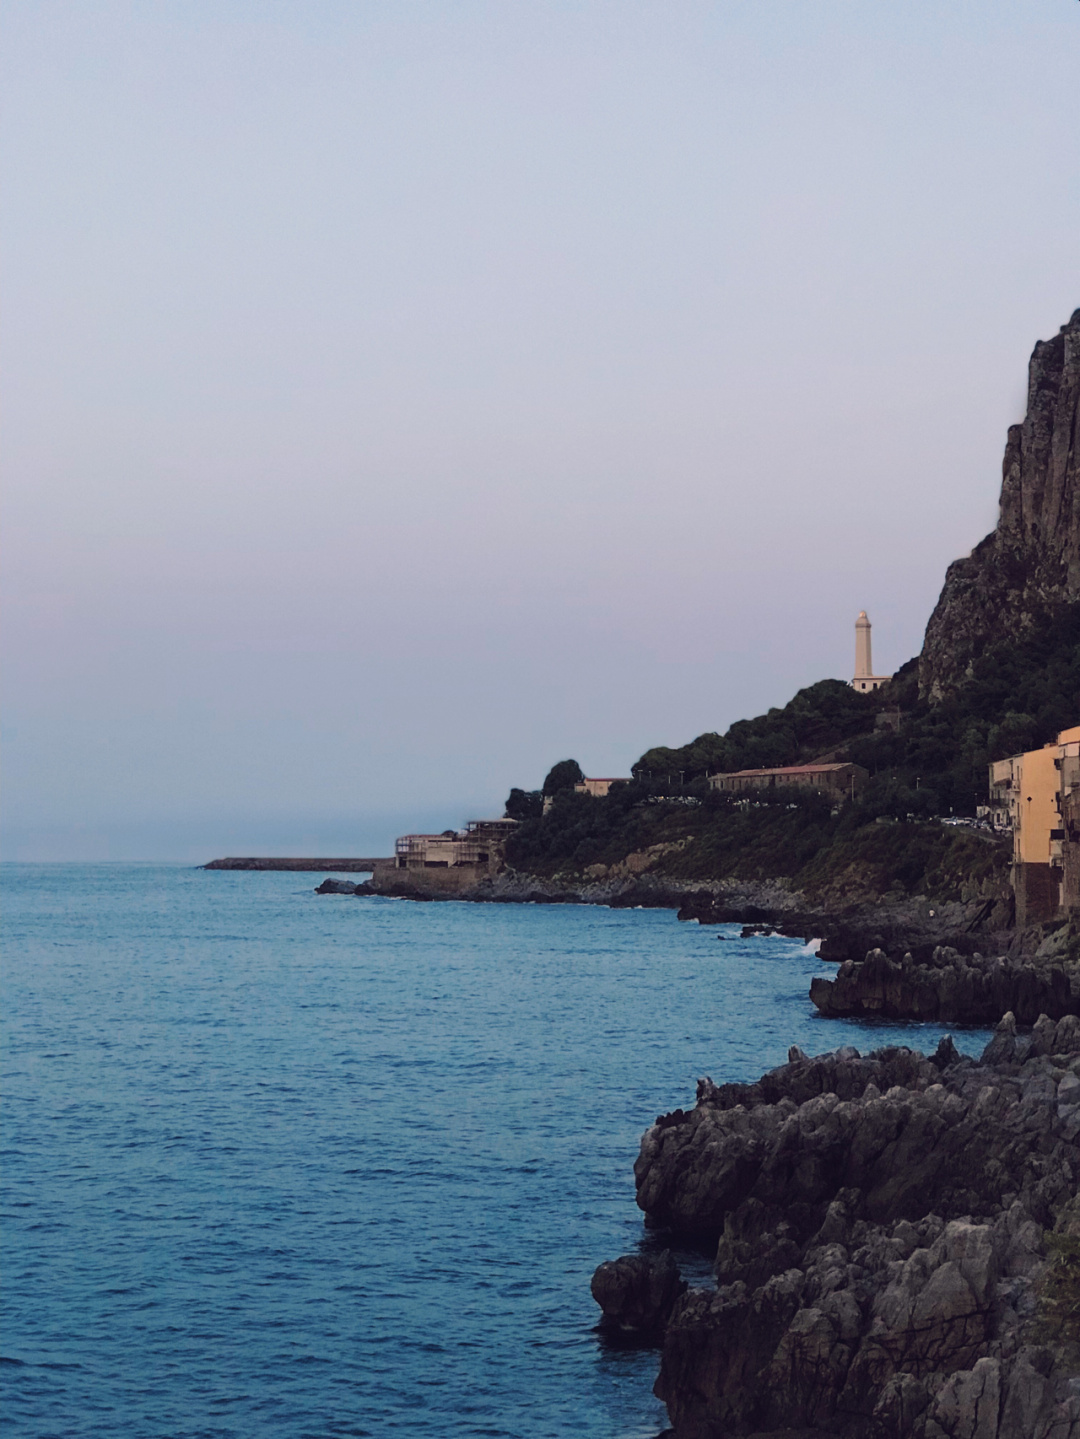
1. Adjust the angle: rotate the photo to correct it. The reference here is the main large lines in the photo, such as the horizon, sea surface, house, tree trunk, human body, etc. I will make the selected large line parallel to the standard horizontal or vertical line.
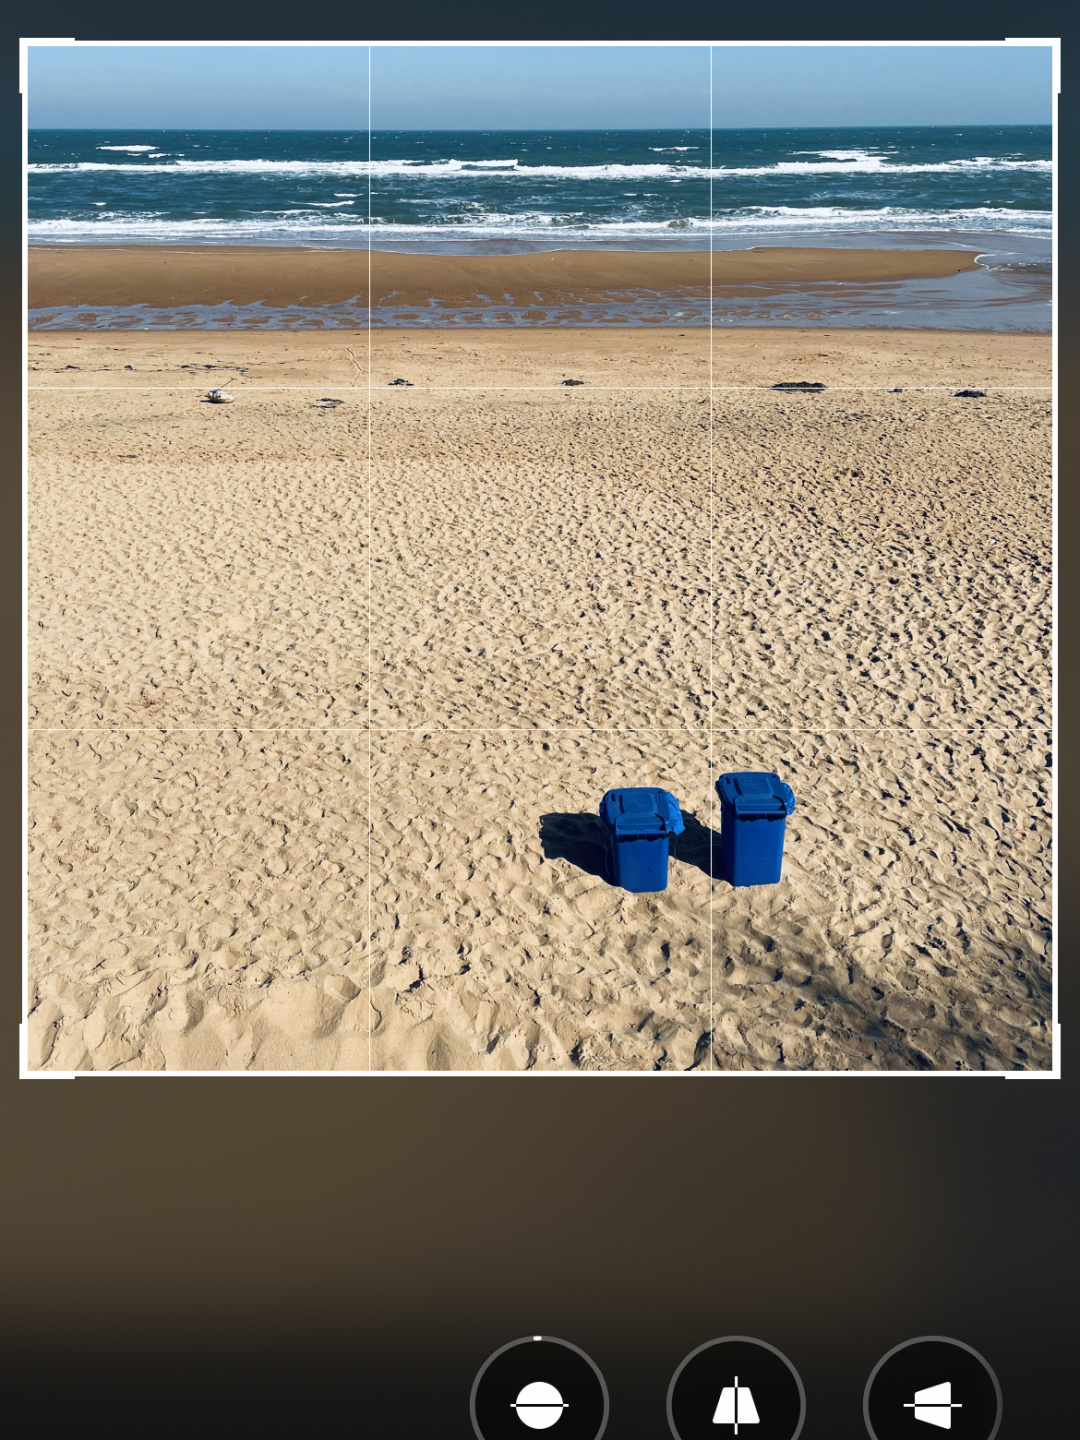
2. Tune the content: Cut out the unwanted content by cutting and moving, and place the content you want to highlight on the golden ratio point of the Jiugongge.
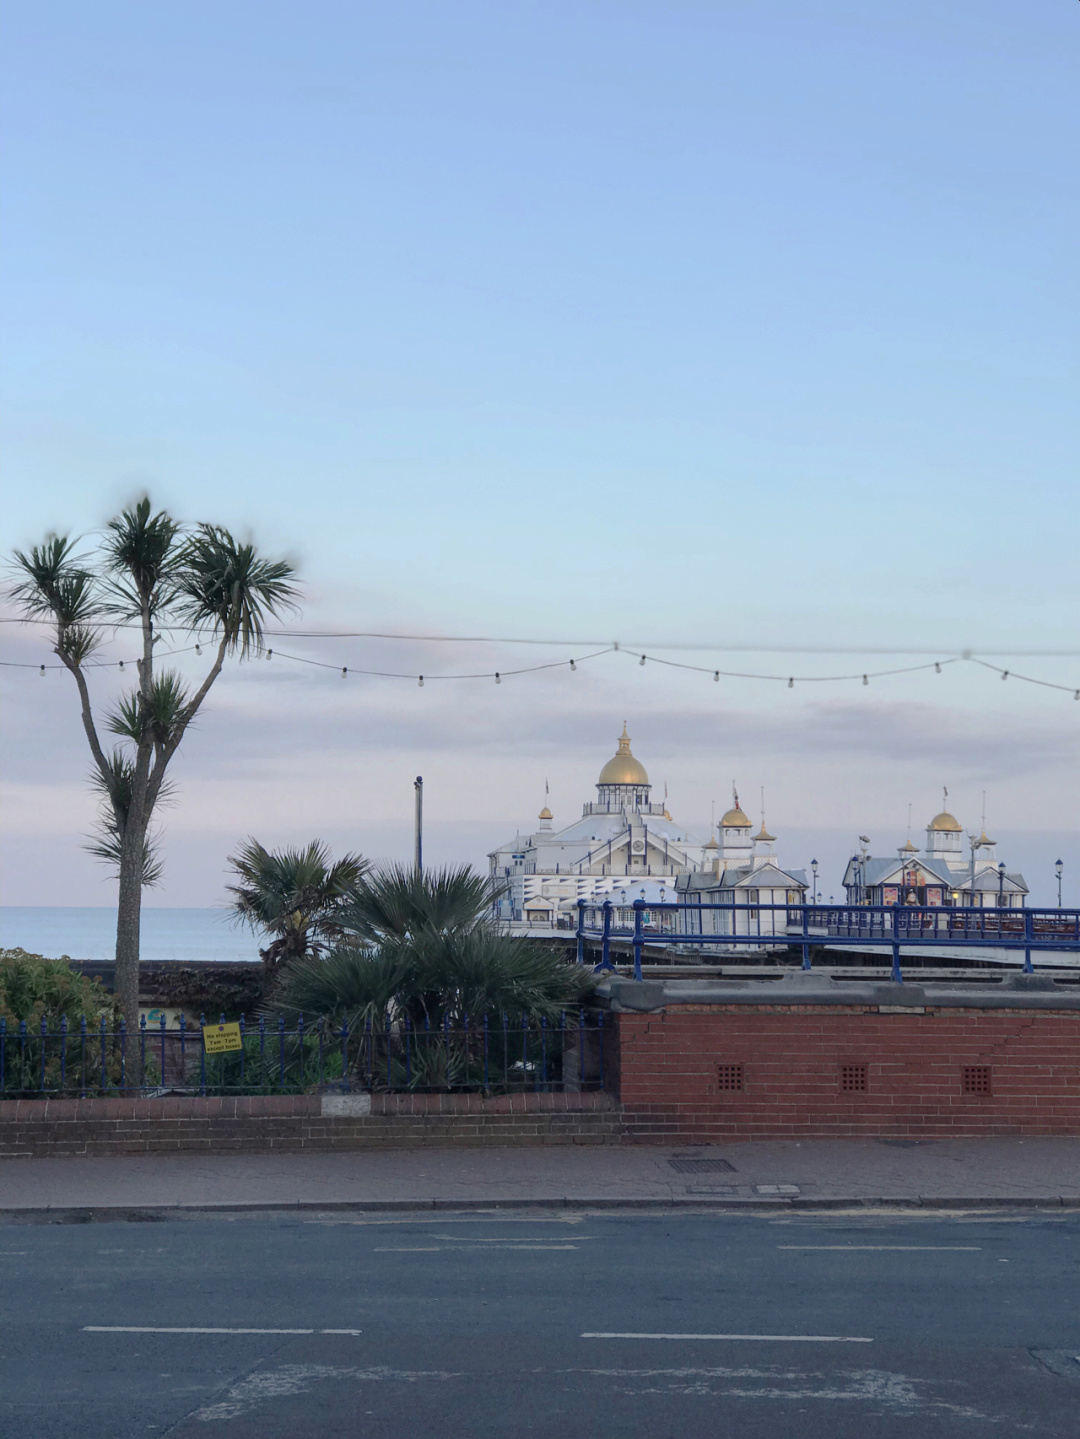
3. Light adjustment: Adjust the brightness to make people see clearly and comfortably.
4. Adjust details and correct colors: details include contrast, highlights, and shadows; color correction mainly includes white balance (yellow warm or blue cold), hue (reddish or greenish), and saturation.
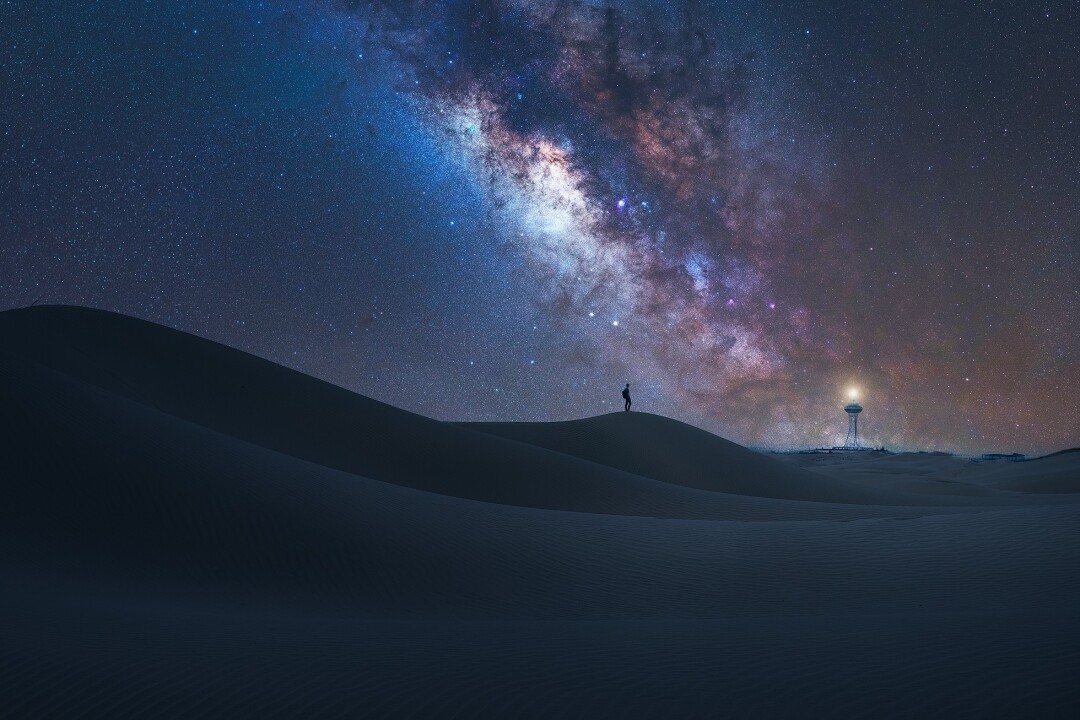
5. Adjust the atmosphere: The last step is to simply add a little filter to achieve the atmosphere.
The first four steps above are generally done with Snapseed, and I use VSCO for filter and tone steps.
Finally, I hope everyone can easily take beautiful photos with mobile phones to keep the beautiful moments.