Apple’s M1-based Macs are really fast. The performance of M1 Macs will keep on improving as more and more apps are optimized for Apple Silicon. However, one of the disadvantages of using an M1 Mac is that they do not support Bootcamp, which means that you cannot install and dual-boot Windows on it. Fortunately, there’s a way via which you can install Windows 10 on your M1 MacBook Air, MacBook Pro, Mac mini, or the iMac.
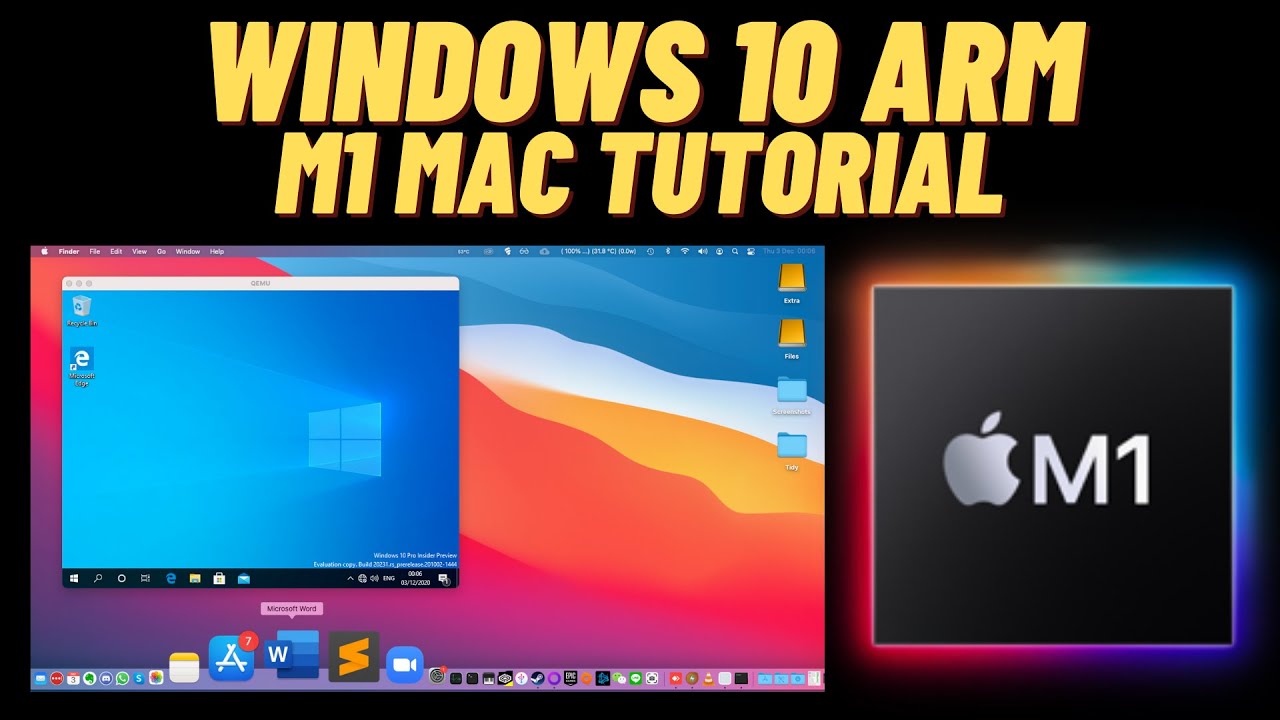
Apple’s M1 chip is very different from the traditional x86 architecture-based CPUs that modern PCs, laptops, and even Intel-based Macs use. Previously, the common x86 architecture meant that it was easy to run Windows 10 on an Intel-based Mac, but that’s not the case anymore. Fortunately, there’s virtualization support on the new Apple Silicon chips. And we are going to do use just that to install Windows 10 on your M1 Mac using Parallels Desktop.
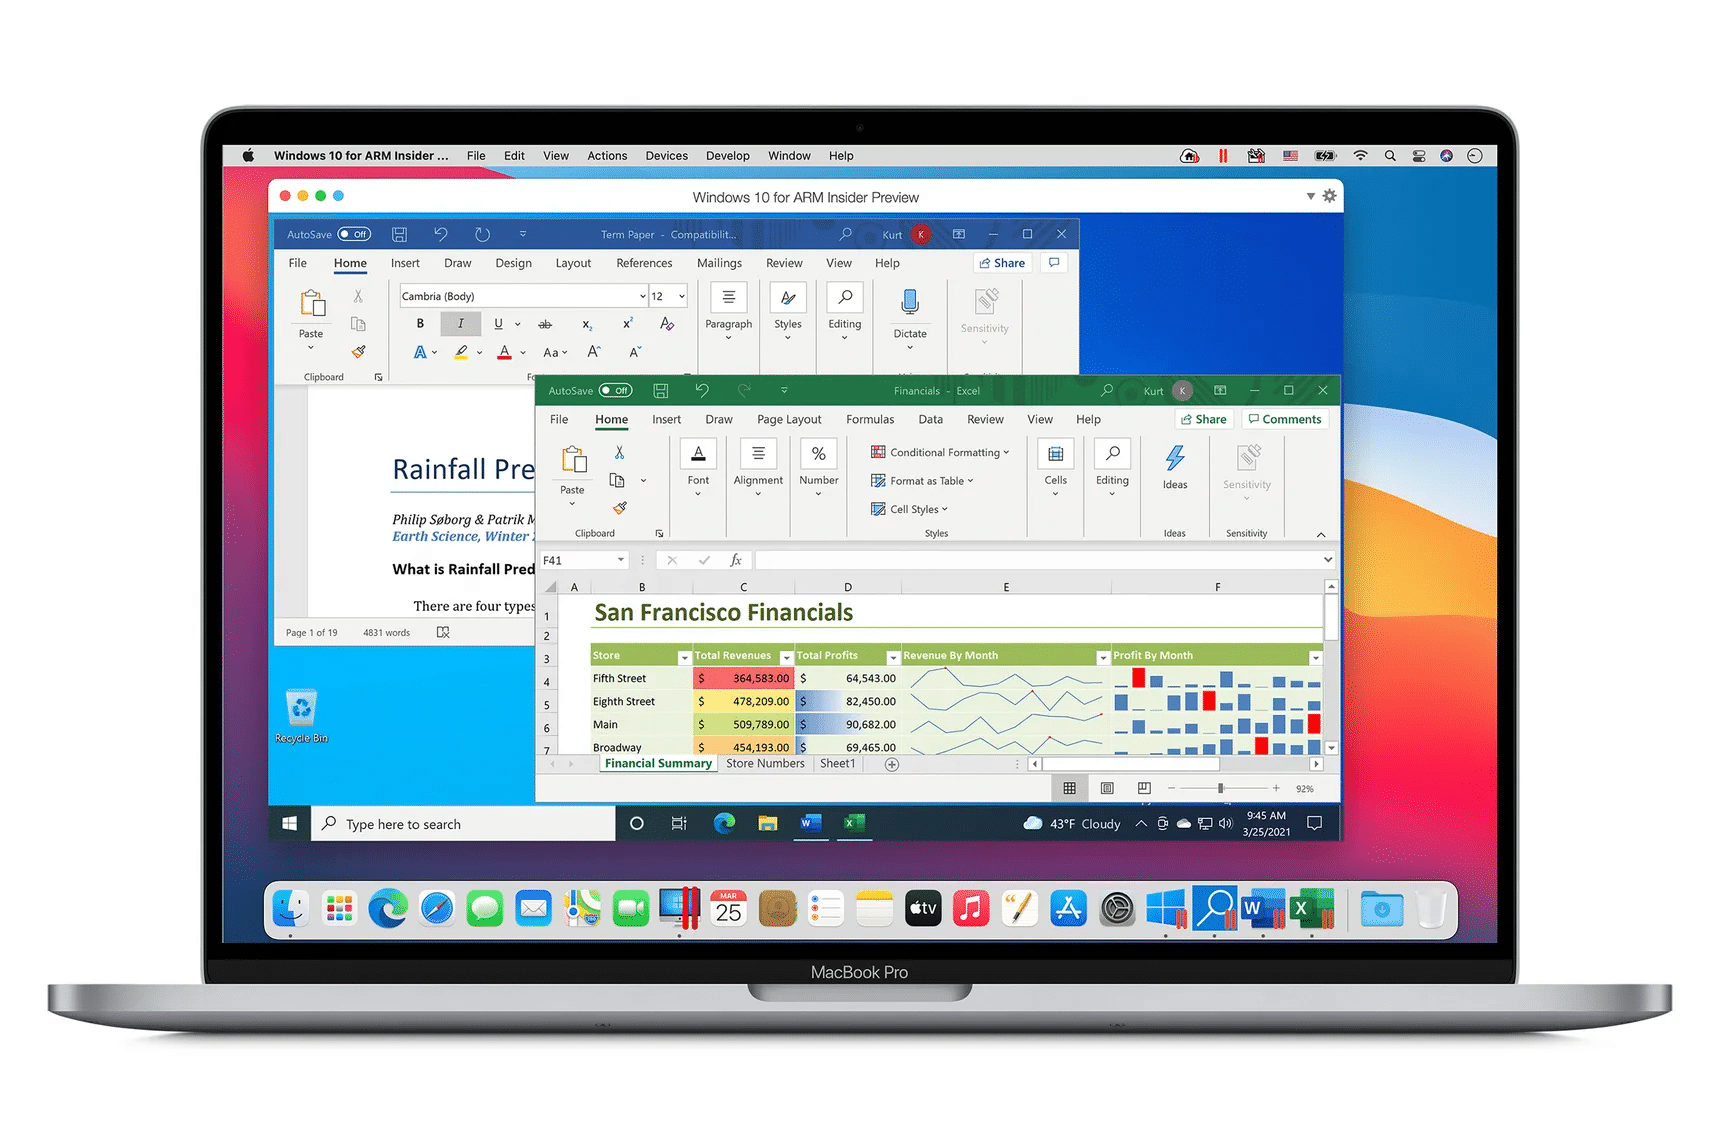
Admittedly, you will not be running Windows 10 natively on your M1 Mac. Instead, you will be running it virtually. This should lead to a slight performance penalty, but it is unlikely to matter to most people. What’s more, the Windows 10 version you will be running on your M1 Mac will be the ‘ARM’ flavor, which means you are going to face some app compatibility issues.
No Bootcamp for Windows 10 on M1 Macs
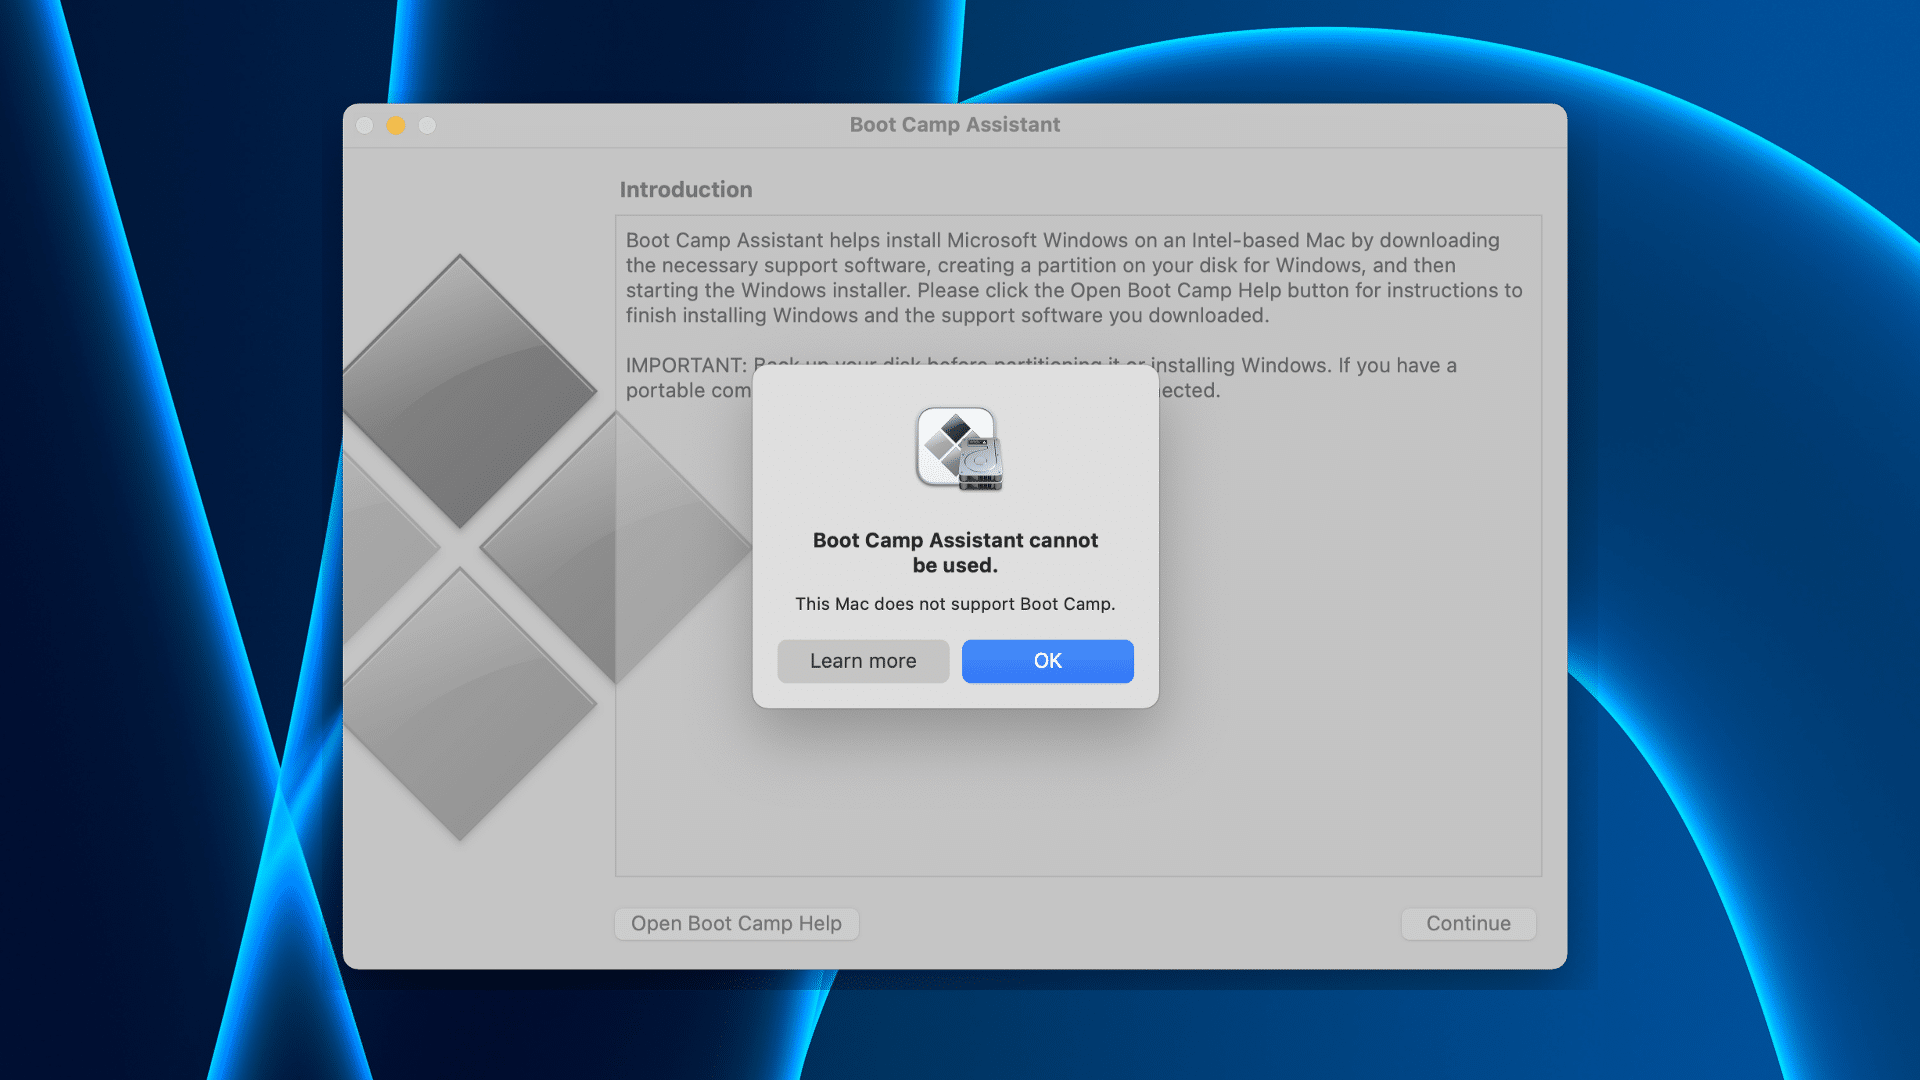
Until it introduced its custom Apple Silicon-based Macs, Apple allowed one to install Windows 10 directly via Bootcamp. This application simply created a partition on Mac’s hard disk and installed the required components and drivers to run Windows 10 on the Mac natively. However, with the M1-based Macs, this is no longer possible since they are based on the ARM64 architecture.
Apple does not ship Bootcamp on M1 Macs anymore. Therefore, users have to rely on other emulation apps to run Windows 10. Parallels Desktop, a popular operating system emulation software, has been updated to support M1 Macs. That means you can now run Windows 10 and macOS Big Sur side-by-side on your M1 Mac.
Installing Windows 10 on M1 Mac: Things to Know
Before installing Windows 10 on your Mac, you need to know these things.
- Make sure you’ve at least 22GB of internal storage on your Mac.
- You will be installing Windows 10 ARM on your M1 Mac. This is a different version of Windows 10 meant for devices with a non-x64 CPU like the M1 Macs. You will face compatibility issues with legacy Windows apps due to this.
- Since we’re going to use a third-party app to install Windows 10, go ahead and download Parallels Desktop 16 for Mac. Parallels Desktop can cost up to $99.99 per year, though you can give the trial version a shot first.
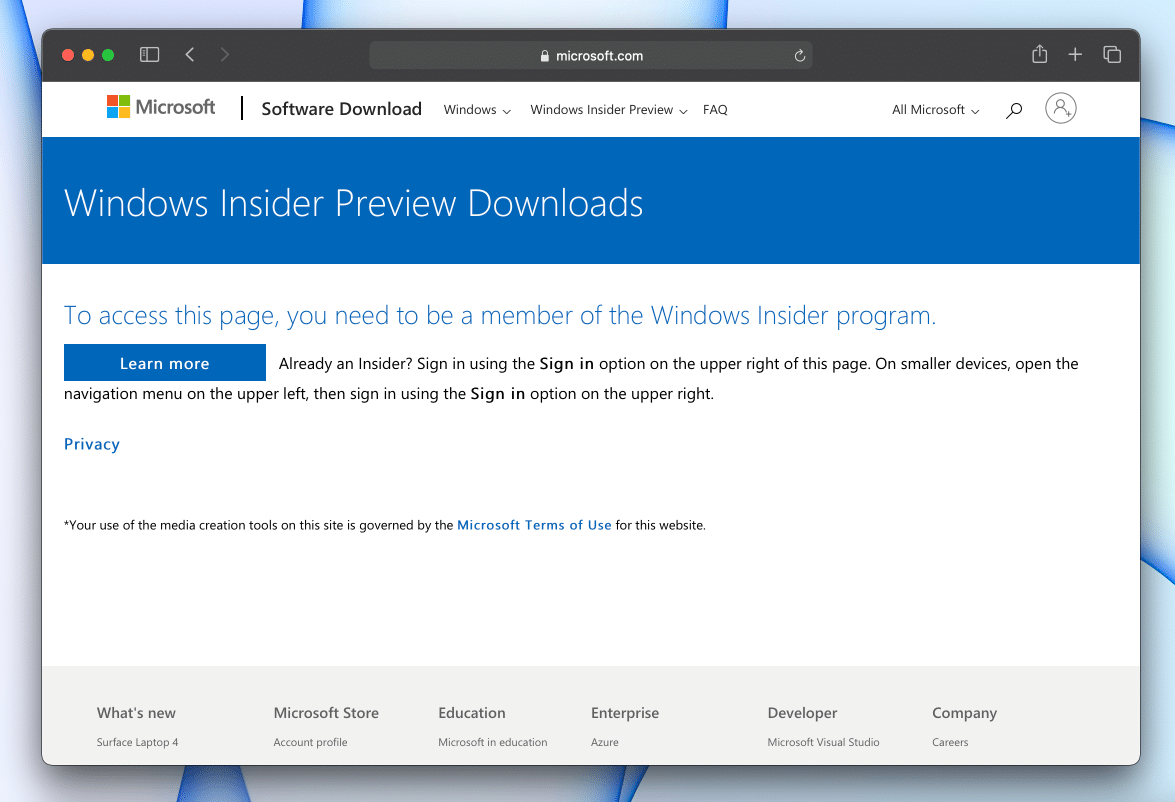
- Now, head over to Microsoft’s Insider Program website to download the ARM-based Windows 10 VHDX file. It’s free to grab, though you will have to sign in to your Microsoft account and register as a Windows Insider. The file size is around 10GB so try to save it in an easy-to-find location, such as your Desktop or Downloads folder.
How to Install Windows 10 on M1 MacBook Air, MacBook Air, iMac, and Mac mini
Now that everything’s downloaded, follow these steps to install Windows 10 on your Mac.
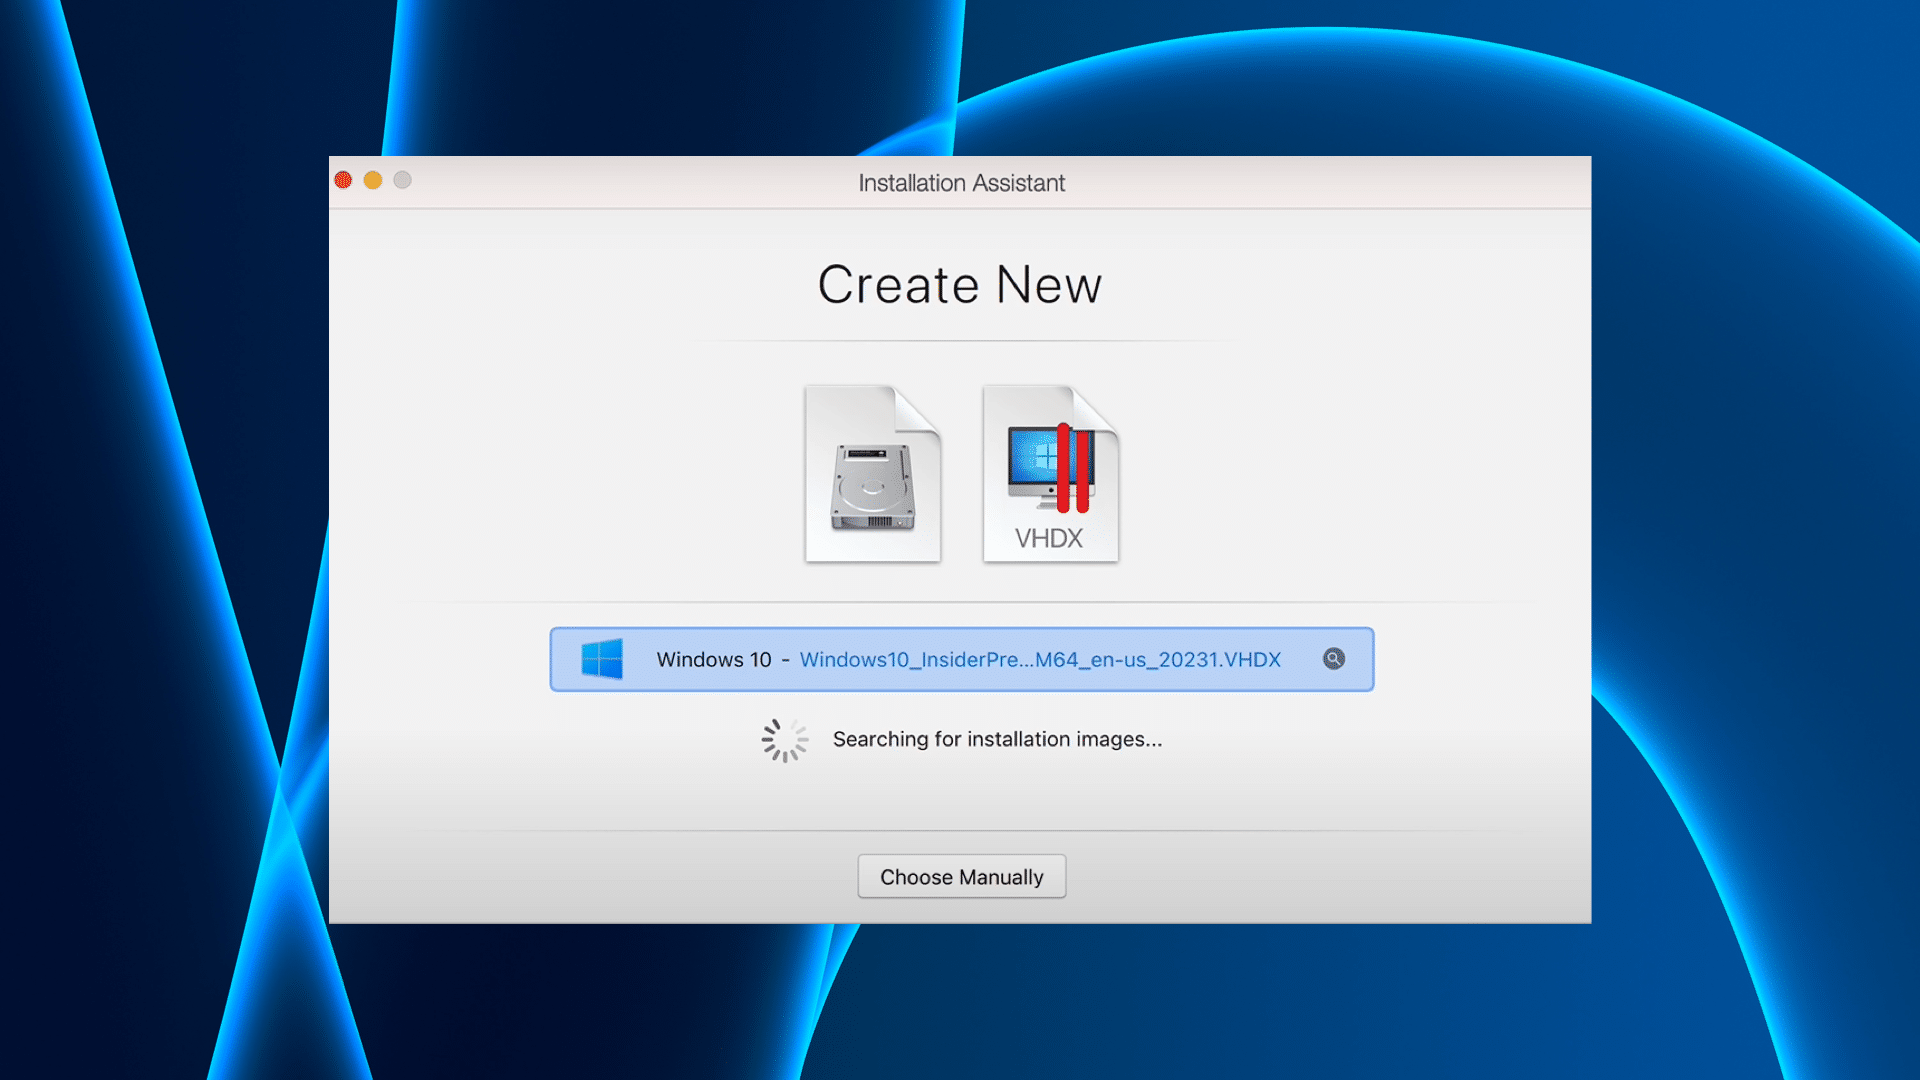
Step 1: Open the Parallels Desktop app on your Mac.
Step 2: You will get an Install on ARM pop-up. Simply click on Continue, and select the Windows 10 VHDX file you just downloaded.
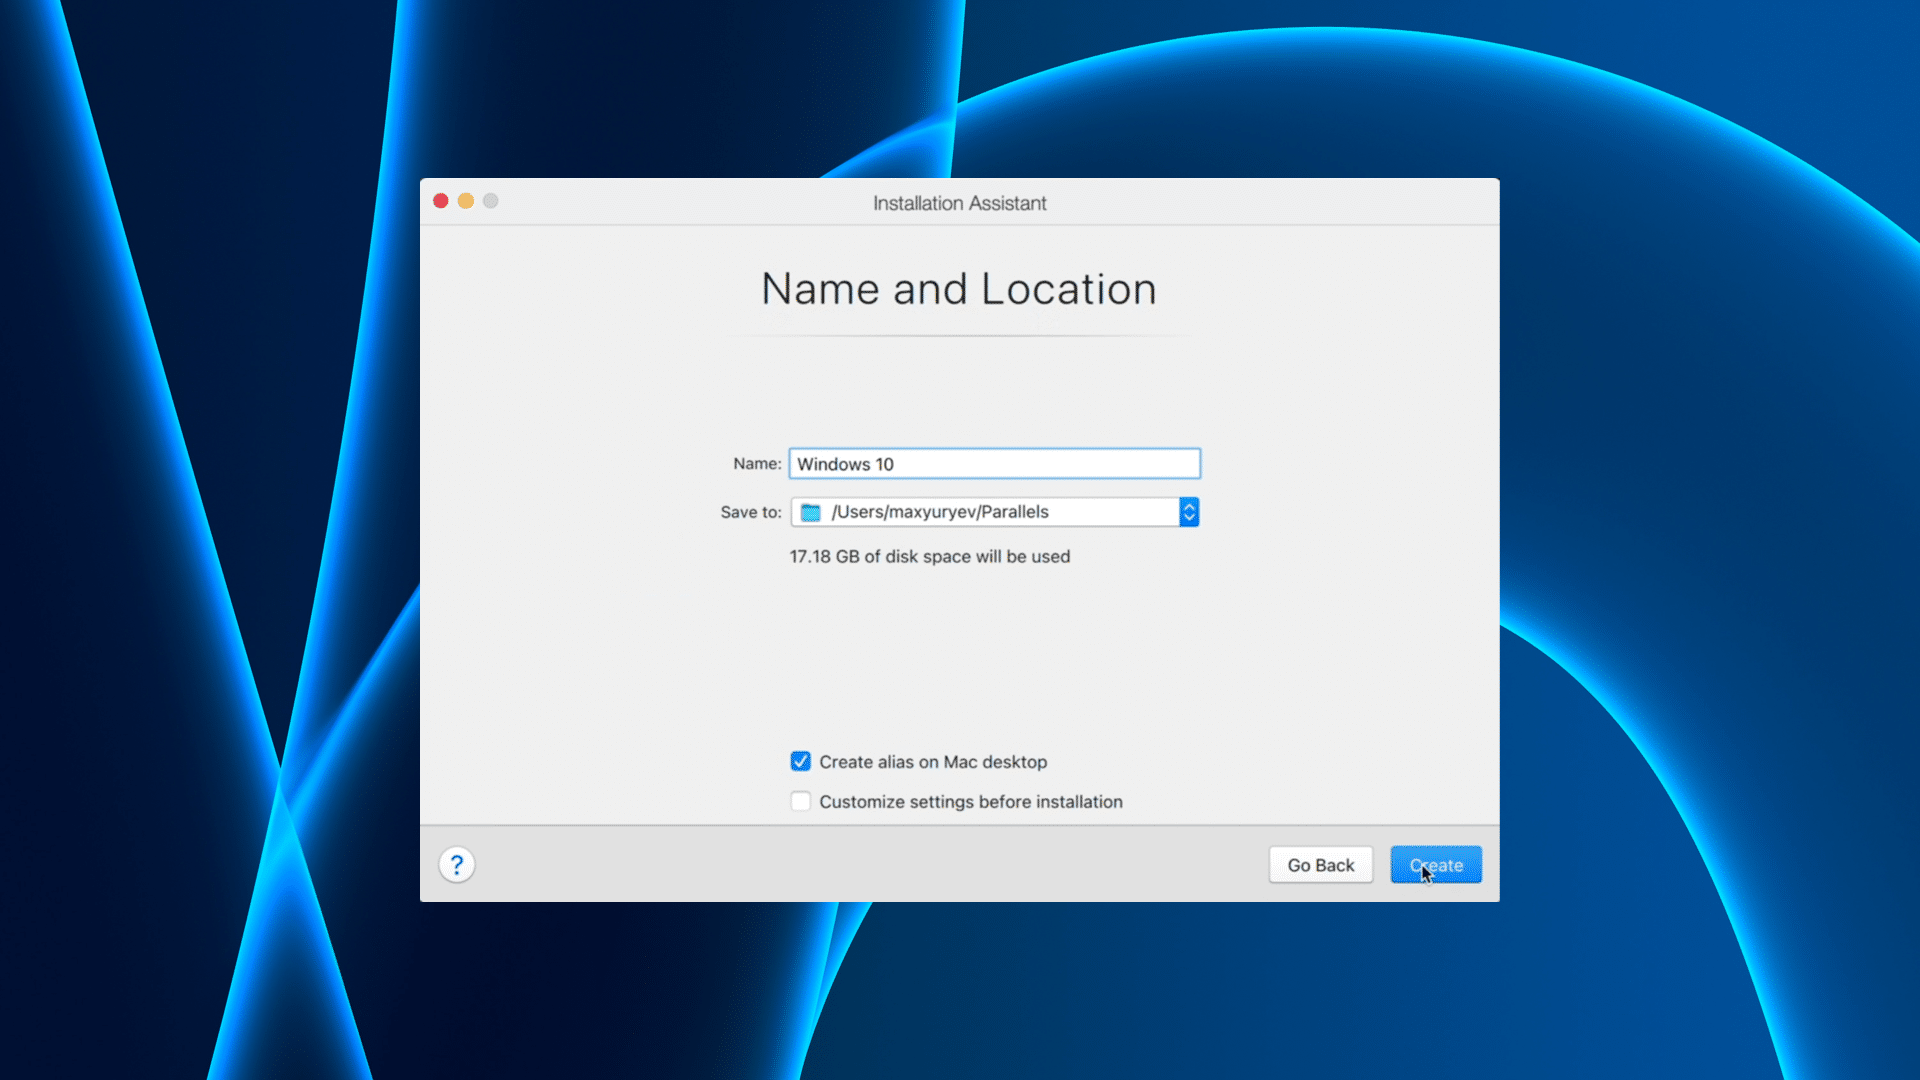
Step 3: On the next screen, give your Windows 10 ‘virtual machine’ a name and the destination folder to save it to.
Optionally, if you want to add control over the number of cores, RAM, and other things Windows 10 can use, check the Customize settings before installation option.
Step 4: Click on Create and wait for the process to finish.
Step 5: Before starting the installation, Parallels Desktop will open the configuration window. In this window, you will be able to allot the number of cores Windows 10 virtual machine would use, the RAM, whether files should be shared between the two operating systems, Windows 10 and macOS Big Sur, and more.
Step 6: If you’re satisfied with your configuration, click on the Lock button in the bottom right corner, and then click on Continue.
Step 7: This will start the installation process of Windows 10 on your Mac, which will take several minutes, so just be patient and let it complete.
Step 8: Once the installation is complete, sign in to your Parallels account in the window that comes up. This will ensure that all the settings are correct.
Step 9: Update your Windows 10 before using it by going into Start -> Settings -> Update & Security and click Update. This will install the required .NET framework on your virtual machine so that applications can work as intended.
Now you can go ahead and install any Windows apps that you wish to.
There’s one thing that you need to keep in mind before installing apps on Windows 10 based on ARM. Microsoft still has not added support for running x64 apps on Windows 10 for ARM. So there’s a slight chance that all the applications might not work on it. Nonetheless, apps like Microsoft Office, Google Chrome, and many others have already been updated for Windows 10 ARM.
What is your main reason for installing Windows 10 on an M1 Mac? Which apps are you looking forward to using? Let us know in the comments section down below!