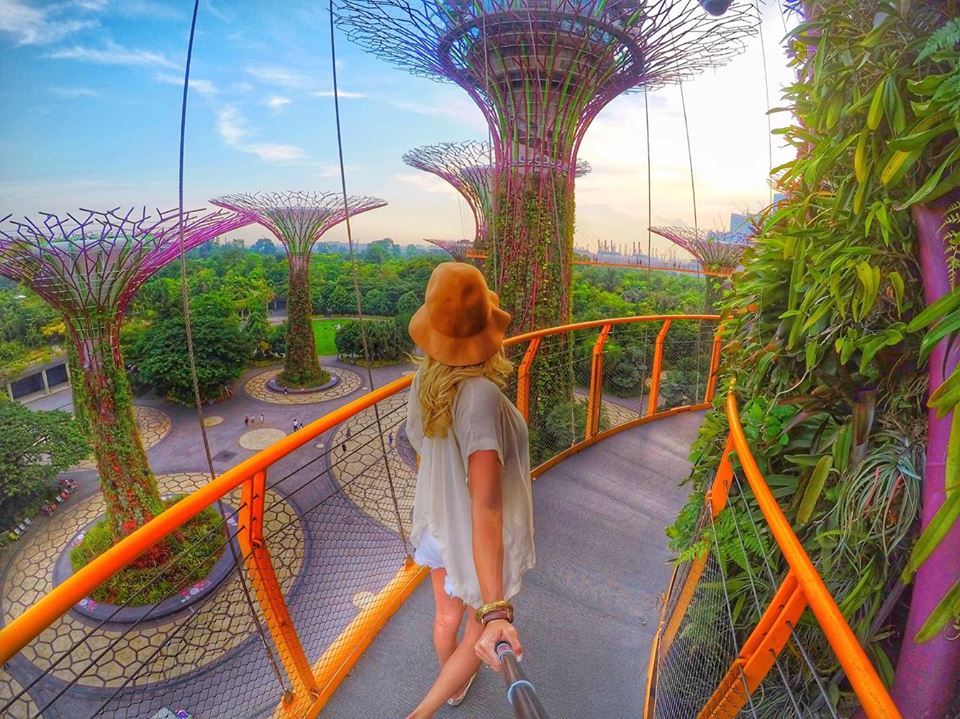
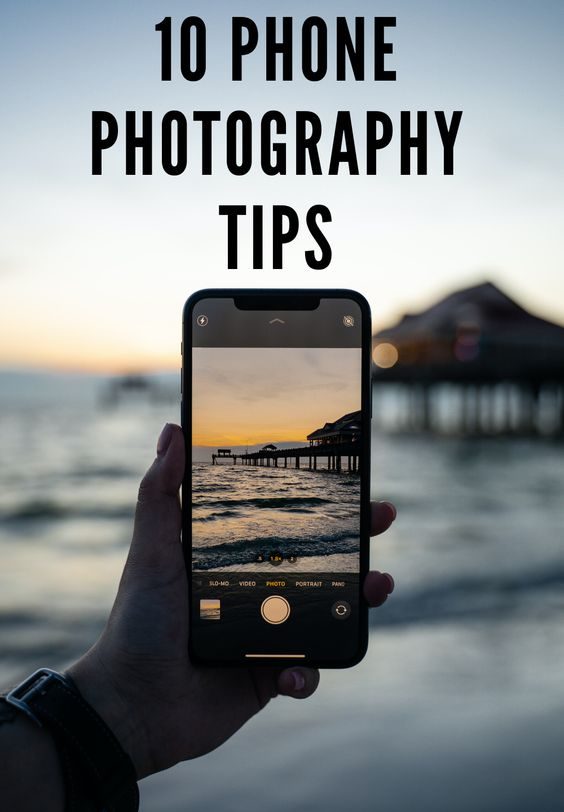
Many people want to know how to edit their travel photos, I decided to finally make a quick tutorial showing the typical process I do using a free phone app called Snapseed.

Snapseed was actually recommended to me by a photographer, and I’ve had lots of fun tweaking the settings and filters to create my own hybrid of semi-professional, semi-looks-like-a-fairytale type photos.

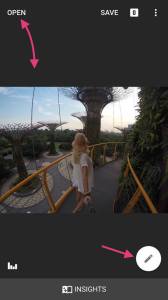
1. Open Your Travel Photo in Snapseed
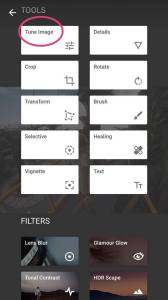
2. Select “Tune Image”
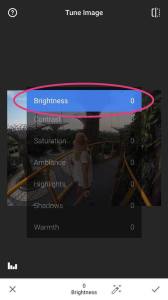
3. Adjust Brightness
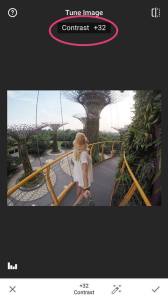
4. Slightly Adjust Contrast
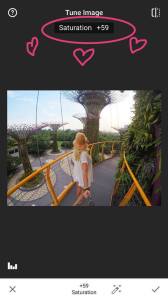
5. Increase Saturation
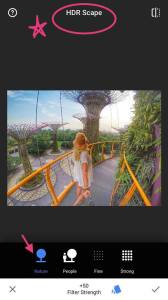
6. Add HDR (But Don’t Over Do It!)
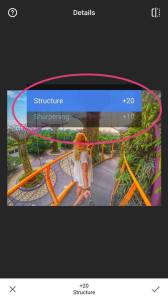
7. Adjust Structure and Sharpening
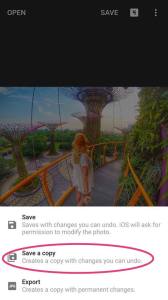
8. Save a Copy!
Voila!