As we all know, bros, to install browser extensions for Safari is a fairly essential step on macOS. Just follow the steps below to get started.
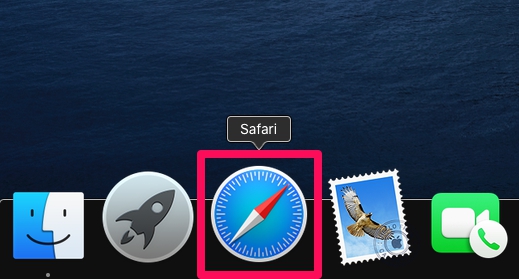
1.Open “Safari” on your Mac
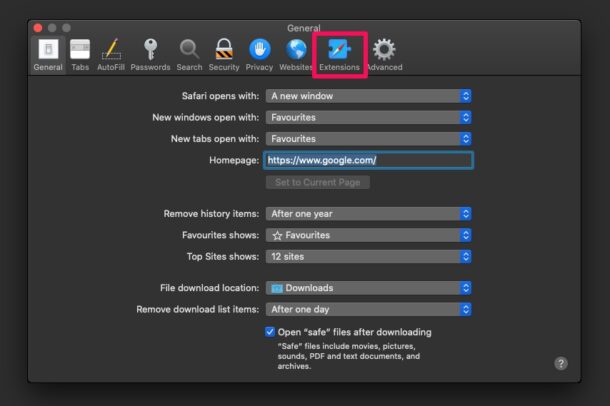
2.Head over to Safari’s settings by clicking on “Safari” in the menu bar and choosing “Preferences” from the dropdown menu.

3.This will open a new settings window on your screen. Click on the “Extensions” tab as shown below.
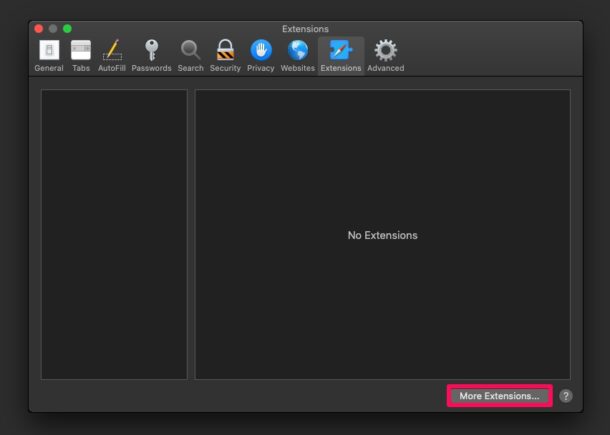
4.Here, you’ll be able to see all the installed extensions. Since you haven’t installed any, this window will be empty. Click on “More Extensions” to proceed further.
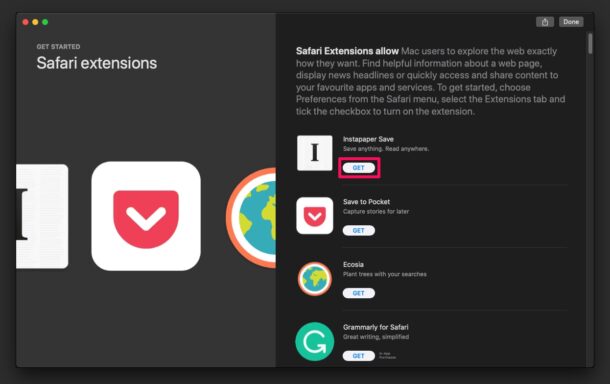
5.This will open up the Mac App Store and take you to the Safari extensions page. Click on “Get” to download an extension from here.
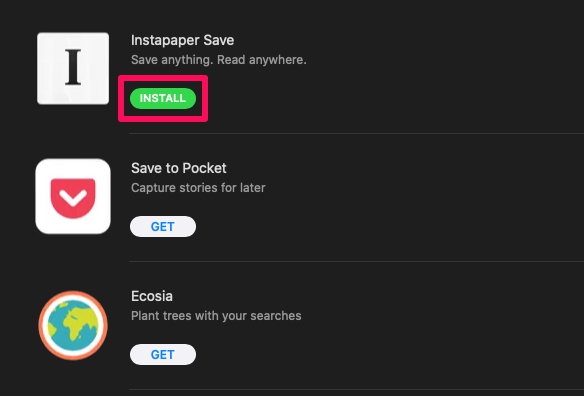
6.Next, click on “Install” as shown in the screenshot below.
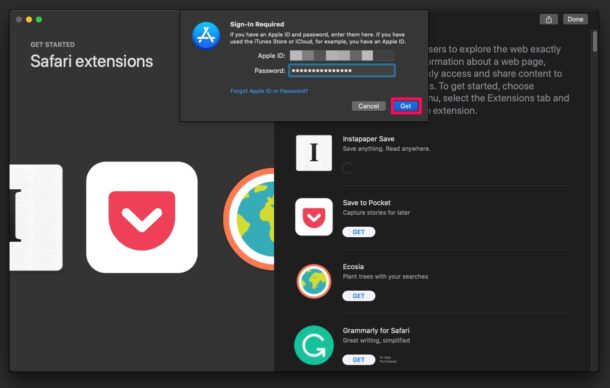
7.You’ll be asked to enter your Apple ID login details to confirm the installation. Once you’re done, click on “Get” to begin the installation.
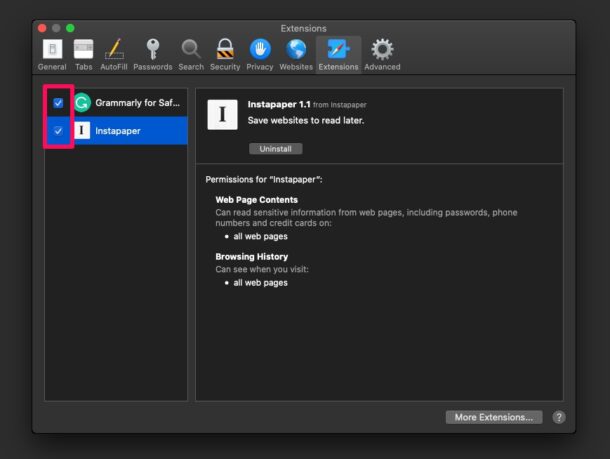
8.Now that you’ve installed the extension, you’ll need to enable it. To do this, head back to the “Extensions” section in Safari Preferences and check the box right next to the extension you just installed.
Now you know how to install and enable extensions in Safari on Mac.
Once you’ve enabled an extension, the icon for that particular extension will show up in the Safari toolbar.