iPhone wireless charging is one of those convenient features Apple has offered that you never know you’ll miss until it’s gone. Before you start panicking and thinking you’ve got a broken phone, here are some fixes you can do before you’re forced to get in touch with Apple support.
iPhone Wireless Charging Not Working? What To Do
As a reminder, make sure that your iPhone is running on the version of iOS 14.
Bugs and performance issues can affect anything on your device even if you don’t think there’s any connection between the two. By updating your iOS to the latest version, you could potentially fix the problem before even toggling other functions on your Settings.
6. Make sure you’re using the right charger
The problem may not be with your phone but with your charger.
Apple said iPhone models, starting from the iPhone 8 to the latest, work with Qi-certified chargers. Qi is an open, universal charging standard that the Wireless Power Consortium (WPC) created.
Of course, it would be awesome if you bought your charger from an Apple store to ensure that it works well with your iPhone. You could also try using another charger, that of a friend’s or family member’s, to see if the problem is with your charger or with the iPhone itself.
Note that other Qi-certified chargers might vary in functionality in performance, and there are many Qi-certified chargers that charge an iPhone with the latest version of iOS at rates of up to 7.5W.
5. Check your iPhone case
The next problem may be your iPhone case. It could be too thick, a metal case or a battery case. So try removing the case and charge your iPhone that way if you haven’t already.
Also remember that your iPhone won’t charge wirelessly when connected to USB, so take that wire off.

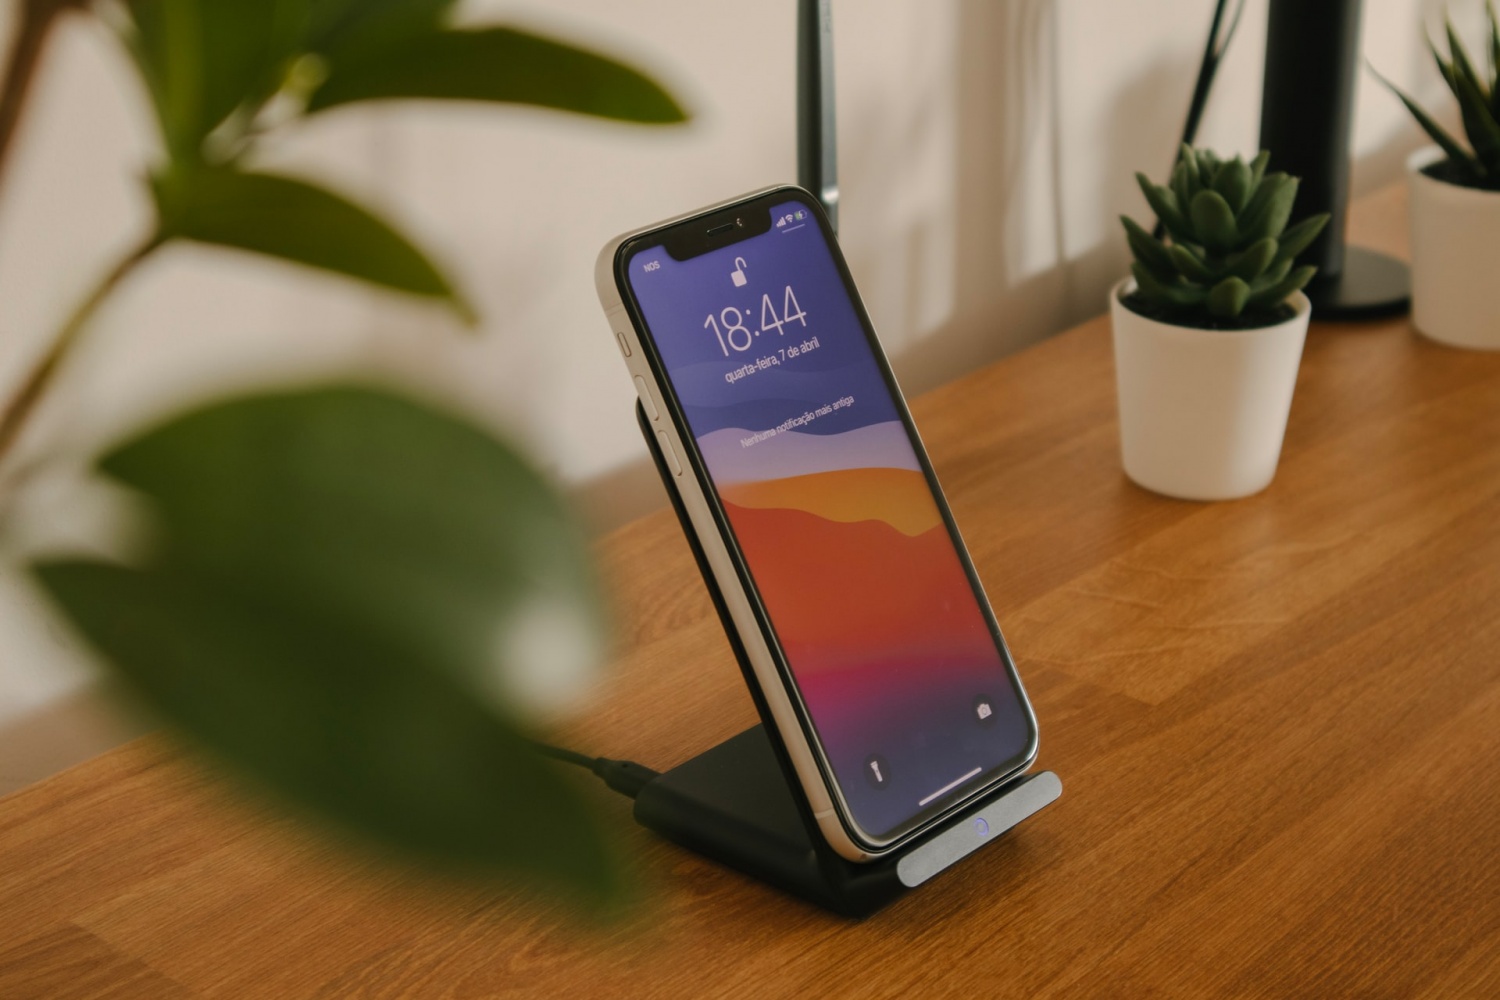
4. Check the position of your iPhone on your charging pad.
Make sure that your plugged-in charging pad is on a flat surface and your iPhone is placed directly in the center. Sometimes your iPhone won’t charge if it’s not in the right position.
If your iPhone vibrates when receiving notifications and such, it might shift position and the charging mat could stop charging your phone. You can turn off the vibration setting, or turn on Do Not Disturb mode when charging.
3. Restart your iPhone
Now that we’ve addressed possible hardware problems, we can proceed with the iPhone itself.
Restarting your iPhone can fix minor software issues and glitches that could be preventing your phone from charging wirelessly.
To restart your iPhone, press and hold the power button until you see “slide to power off” appear on the screen, then swipe on the slider. For iPhone X models, hold down on the side button and either volume buttons until the “slide to power off” prompt appears.
Wait a few seconds after your iPhone has turned off and then press and hold the power button to turn it back on. Let go once the Apple logo appears in the center of the screen. Check if your wireless charging works.

2. Perform a hard reset
If your iPhone is completely unresponsive when you’ve placed it on the wireless charging pad, PayetteForward suggested performing a hard reset.
Quickly press and release the volume up button, then do the same thing to the volume button down button. Press and hold on the side button until the Apple logo appears on your iPhone’s display, but this may take 15 to 30 seconds so be patient.
1. DFU Restore your iPhone
DFU or Device Firmware Update is the deepest type of restore you can do on an iPhone.
As a warning, before deciding on performing a DFU Restore, make sure your device is backed up. Should anything go wrong with your restore, at lest you don’t loose all your data.
Also, a DFU restore may break your iPhone if it is water-damaged, so be sure that your iPhone is not damaged in any way. The water could have damaged another component and revented the restore from completing and rendering your iPhone completely unusable.
To perform a DFU restore, first plug your iPhone into your computer and open iTunes if you’re on a PC or your Mac runs on macOS Mojave 10.14 or older. If your Mac runs on macOS Catalina 10.15 or newer, just open Finder.
It starts off just like a hard reset: quickly press and release the volume up button, then do the same thing to the volume down button, and then press and hold the side button until the screen goes black.
As soon as the screen turns black and while still continuing to hold on the side button, press and hold the volume down button. After five seconds, release the side button but contine to hold the volume down button until your iPhone shows up in iTunes or Finder.
When it appears on your mac or PC, release the volume button and there you go! Your iPhone is in DFU mode.