Did you end up making a typo while setting up your AirTag? Or just want to change its name after the initial setup? Here’s how you can rename your AirTag in just a few simple steps
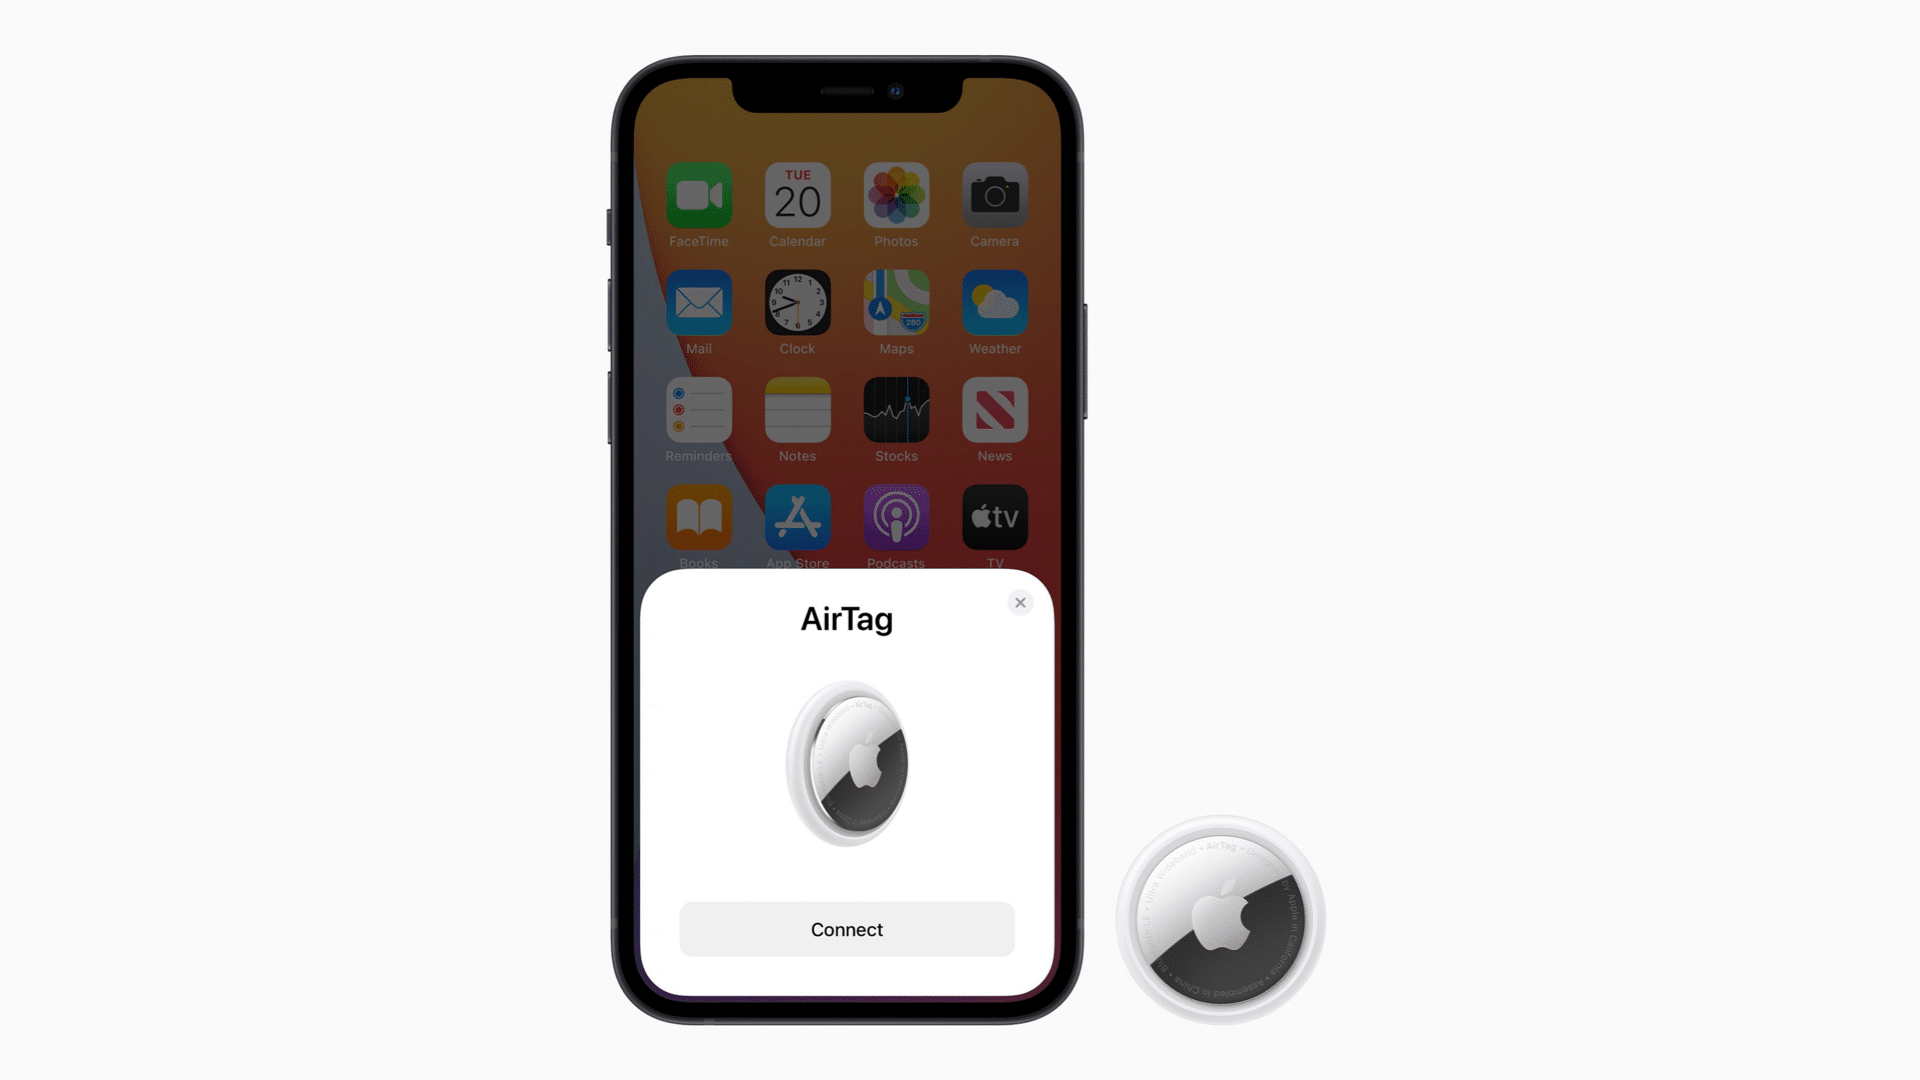
Apple has released the AirTag, and the first orders have already made it into customer’s hands. Setting up an AirTag is simple and easy. Just bring it near to your iPhone, after which it becomes visible in the Find My apps across your Apple devices, which is much like Apple AirPods. Then, give it a name by either choosing a pre-defined one or giving it a custom name.
Apple’s pre-defined list of naming an AirTag includes generic names like ‘key’ and ‘bag,’ but if you want it to be more specific like ‘car key’ or ‘house key,’ which would make it easier for you to distinguish between different AirTags, you can easily rename your Apple AirTag.
How to Rename Apple AirTag
Step 1. Open Find My app on your iPhone, iPad, or Mac.
Step 2. Choose the Items tab.
Step 3. Find the AirTag that you want to rename, and select it.
Step 4. Swipe up to reveal more options.
Step 5. Tap on Rename Item.
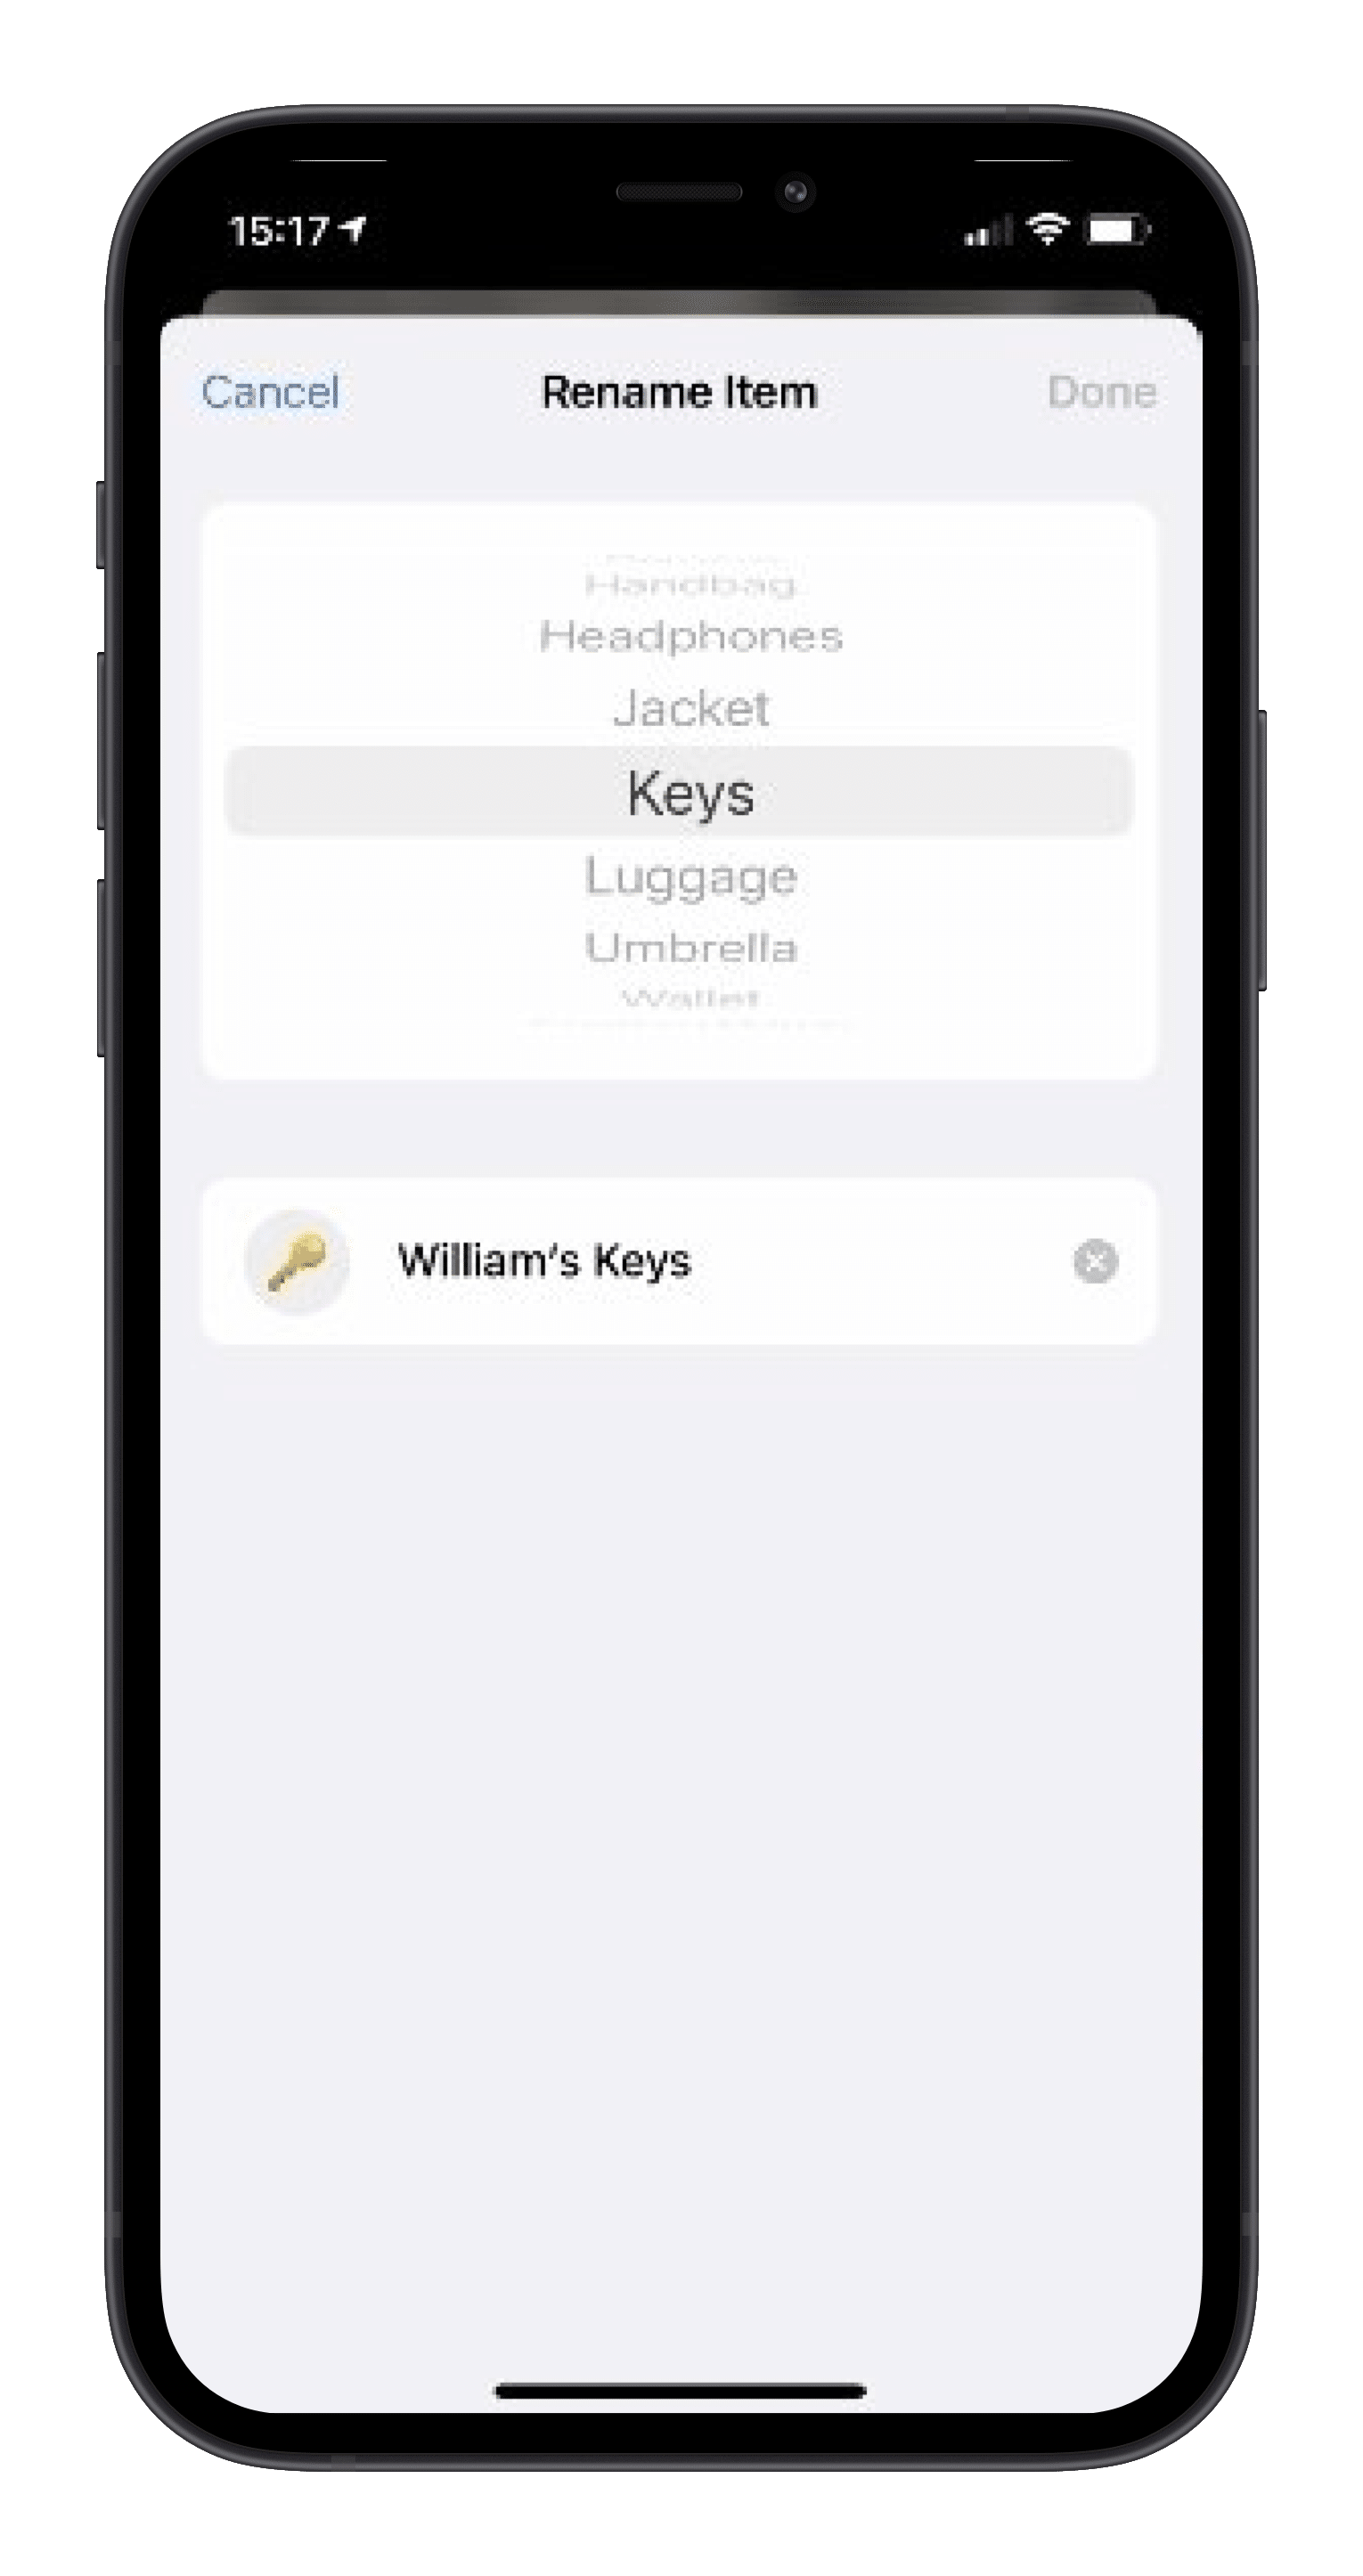
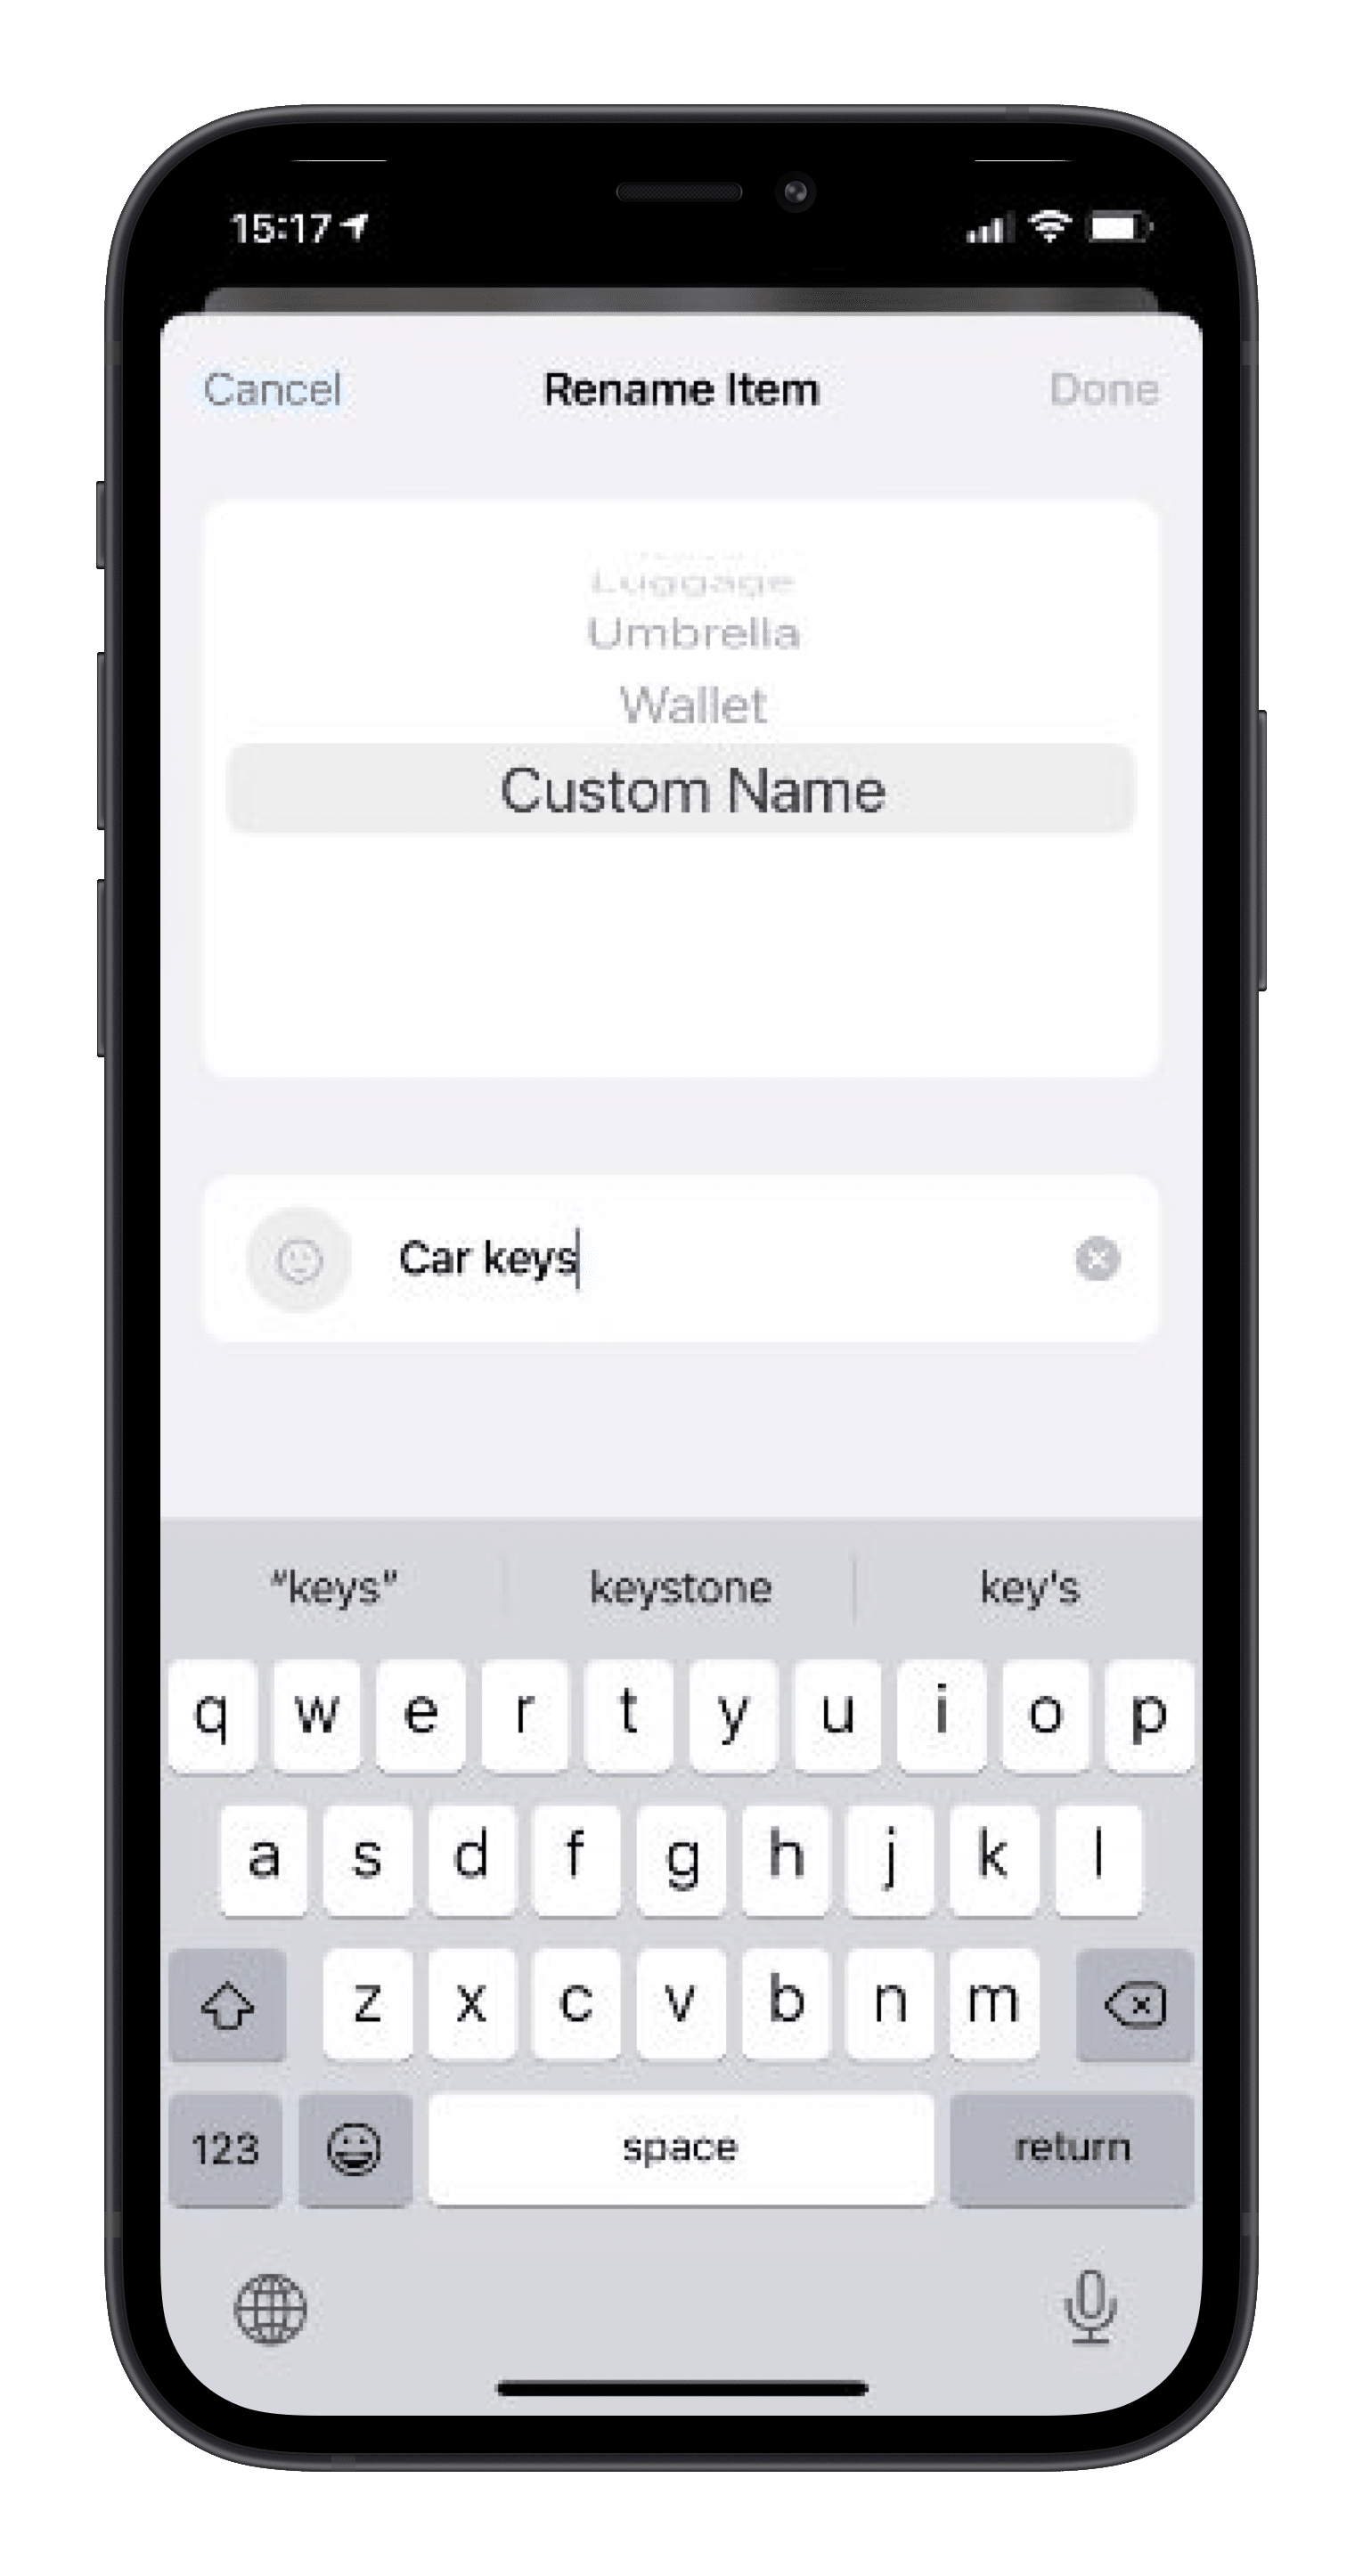
Step 6. On this screen, you can either choose a pre-defined name for your AirTag or set a custom name.
Step 7. Click Done.
That’s all. You have successfully renamed your Apple AirTag. Please remember that it might take some time before the AirTag’s name is updated on other iCloud devices.
Can you set a custom name for your AirTag? Let us know in case you face any issues in setting up your Apple AirTag.