1.Prevent apps from tracking your data
Lots of apps want to track various patterns and usage data from you while you use their apps. In most instances it’s so they can serve you more relevant advertisements or get to know how people use their software to help them improve it. Whereas, there’s good reason to block all tracking, especially if that company has a reputation for not respecting your right to privacy.
Provided you expect to block apps from tracking just open Settings > Privacy and now tap “Tracking”. Right at the top there’s a toggle that says “Allow apps to request to track”. If you don’t want any apps to request tracking information, just toggle this off. Or, alternatively you can manually toggle tracking on or off for apps individually in the list below.
2.Check which apps access what data
On a similar note, this is just a quick tip: scroll down to the bottom of the Settings > Privacy screen and tap “Record App Activity”. Toggle it on, and now wait for a week or so. After a few days go back to that menu option and you’ll see a breakdown of how various apps have been using permissions on your phone, and you can see if any of them are accessing things like your location or other personal information far too regularly. You can also opt to save a report as a blank binary file that you can share and save.
3.Take the old Safari back
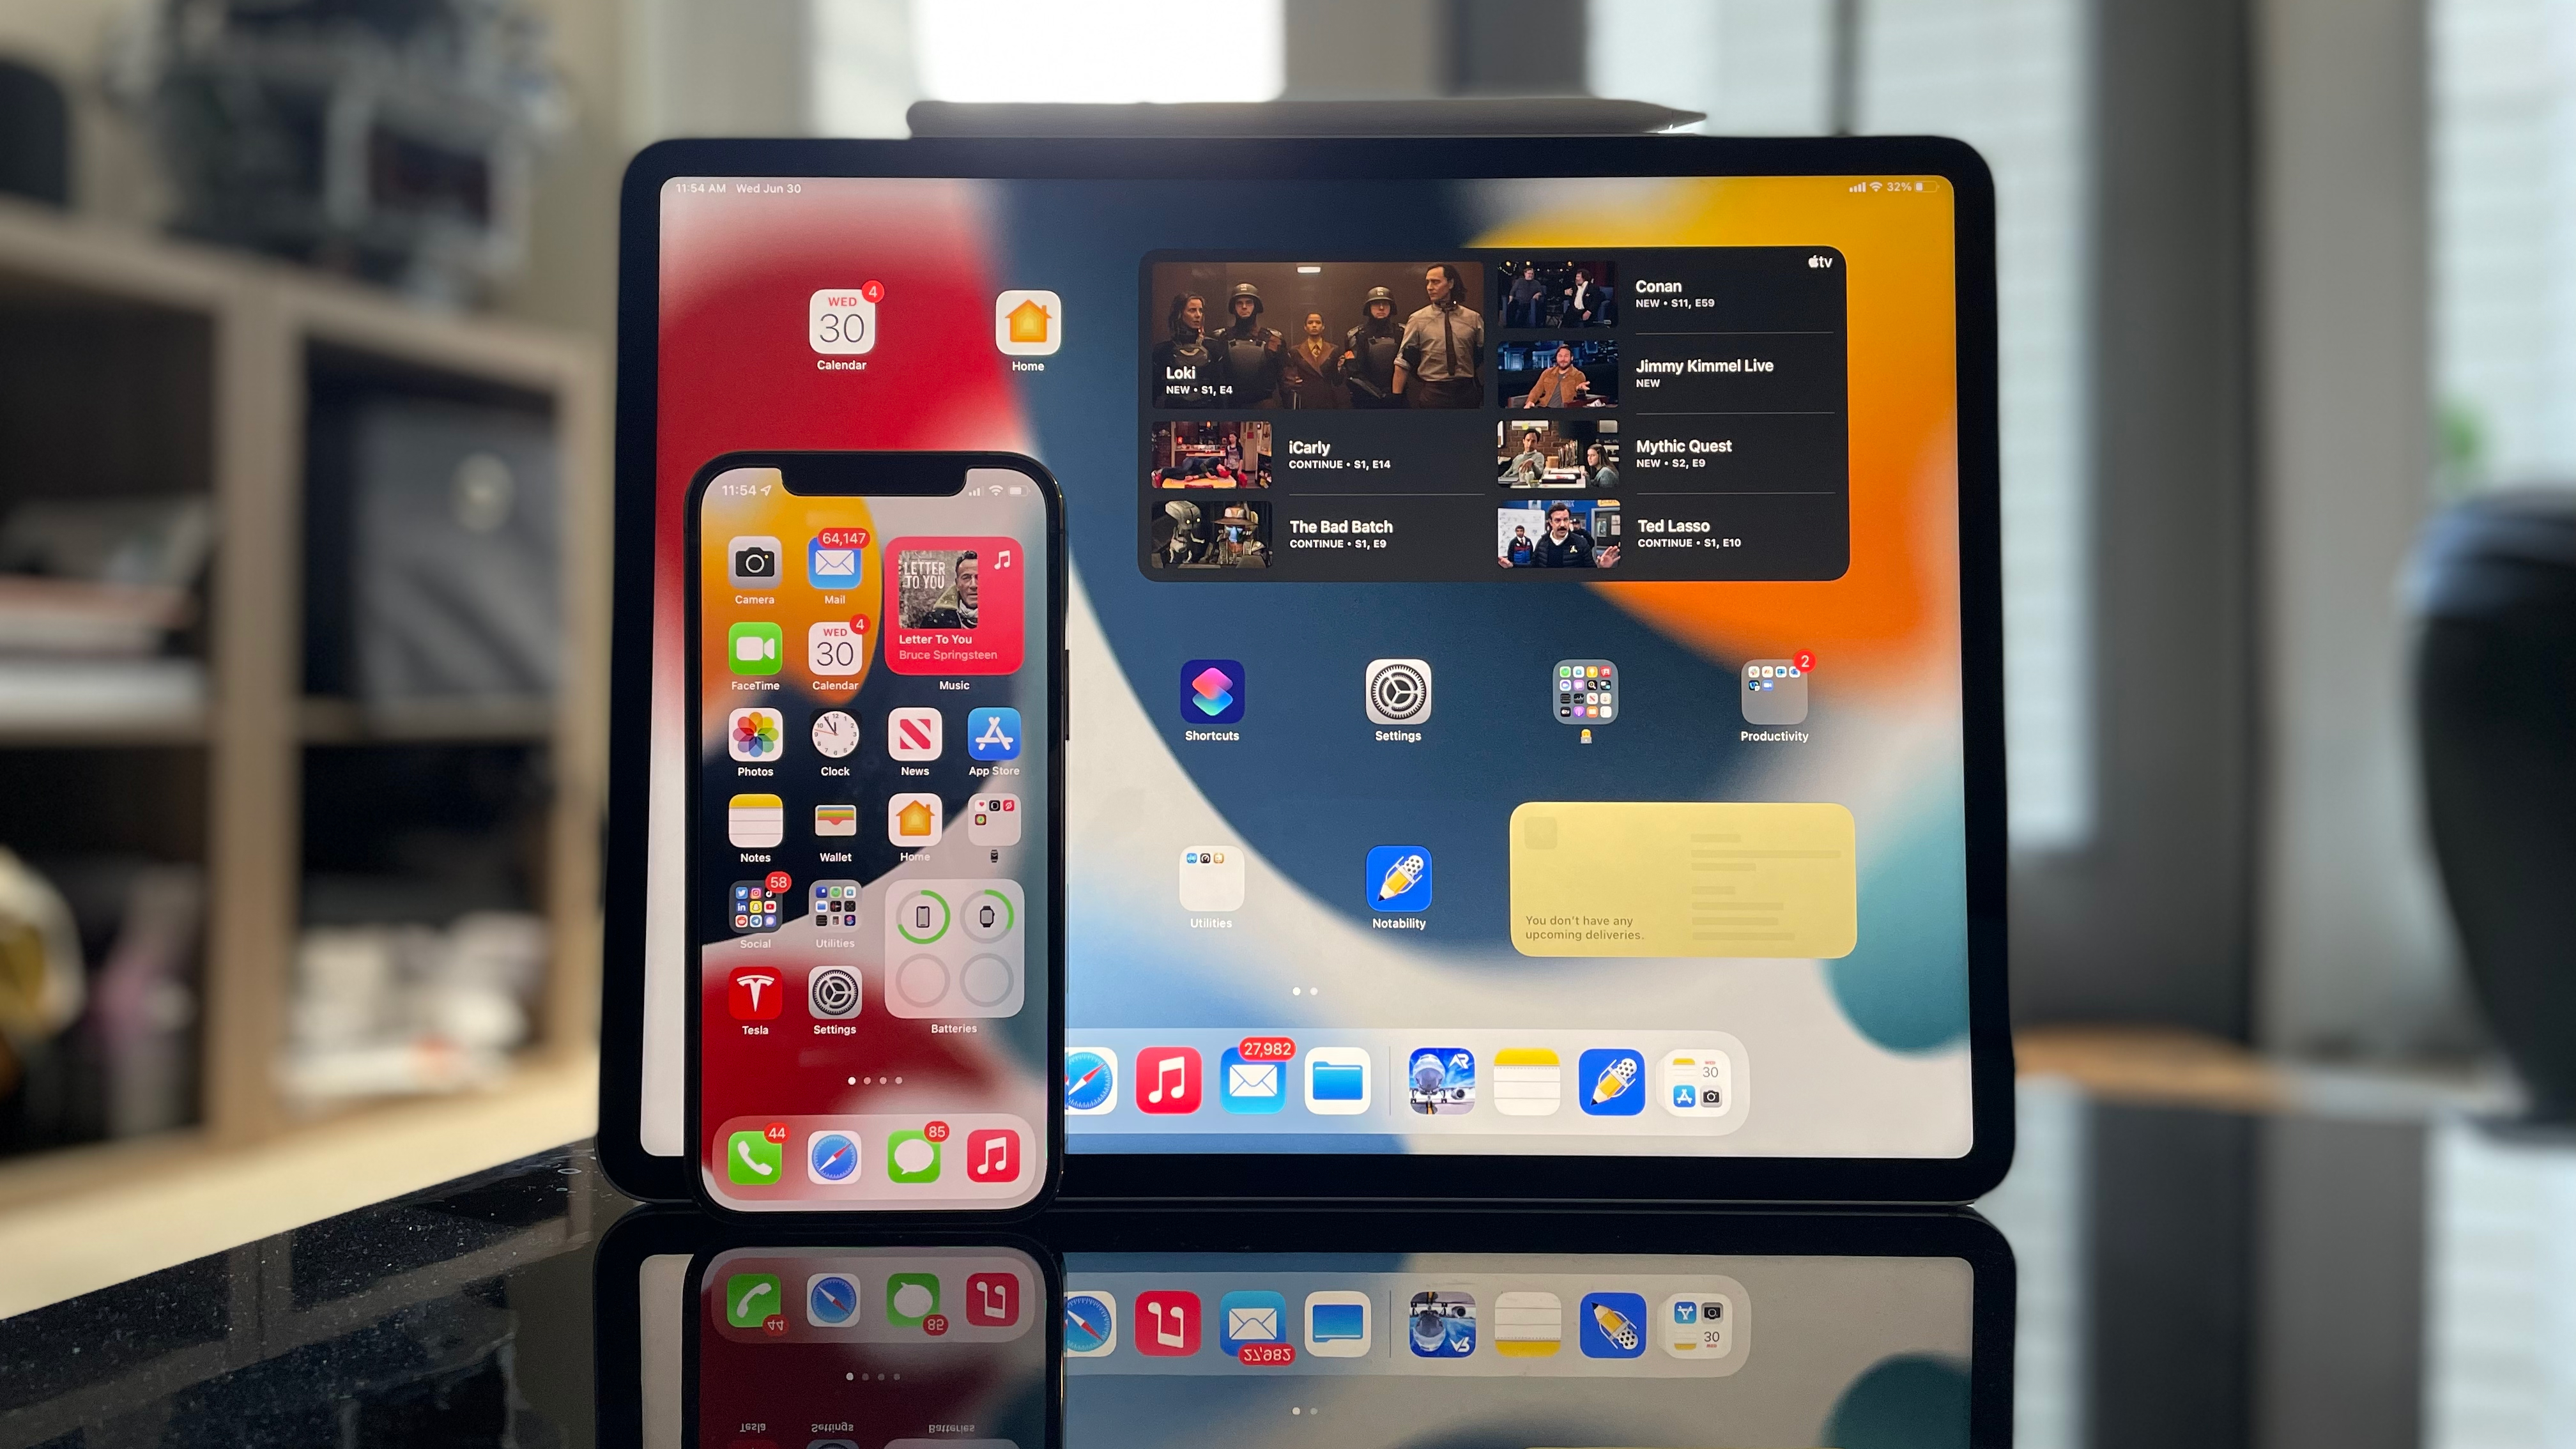
In the iOS 15 we obtained the new Safari with a search bar and tab switcher at the bottom. It’s actually quite convenient for one-handed use and lets you easily swipe between tabs. However, if you want the old layout back – with the URL bar at the top – you can switch back.
There are 2 methods to do it. Either go to Settings > Safari and scroll down until you see the two tab icons. Now select “Single tab”. When you relaunch Safari it’ll now have the bar at the top.
The other quicker way to switch is opening Safari itself, open any webpage and tap the “AA” icon in the search bar. Now you’ll get a pop-up menu appear. Tap the option that says “show top address bar”.

4.To bundle non-important notifications
The iOS 15 is with a feature called “Scheduled Summary” that lets you bundle all the less important notifications together and deliver them at the same time, rather than getting lots of random pings through the day.
In order to enable it, go to Settings > Notifications and tap “Scheduled Summary”. Now toggle it on and go through the setup process. Now you choose the apps you want to include in your summary and tap “Add Apps” at the bottom.
On the next screen – choose the times you want the first and second summaries to appear. You can also tap the “+” to add more frequent summaries through the day. So you could have one appear at breakfast time, lunch time and one in the evening if you want. When those are chosen just hit the “Turn on Notification Summary” option at the bottom.
At present, you will just be notified by direct messages or apps not included in your selection through the day, until the time you choose to have the summary appear.
5.How to announce the notifications on AirPods
Provided you have a pair of AirPods Pro you can have Siri announce notifications through them whenever you have them in your ears and connected to your iPhone. To switch that on, go to Settings > Siri and Search and now tap “Announce notifications” and then toggle the option on at the top of the page. And toggle on the “Headphones” switch on as well.
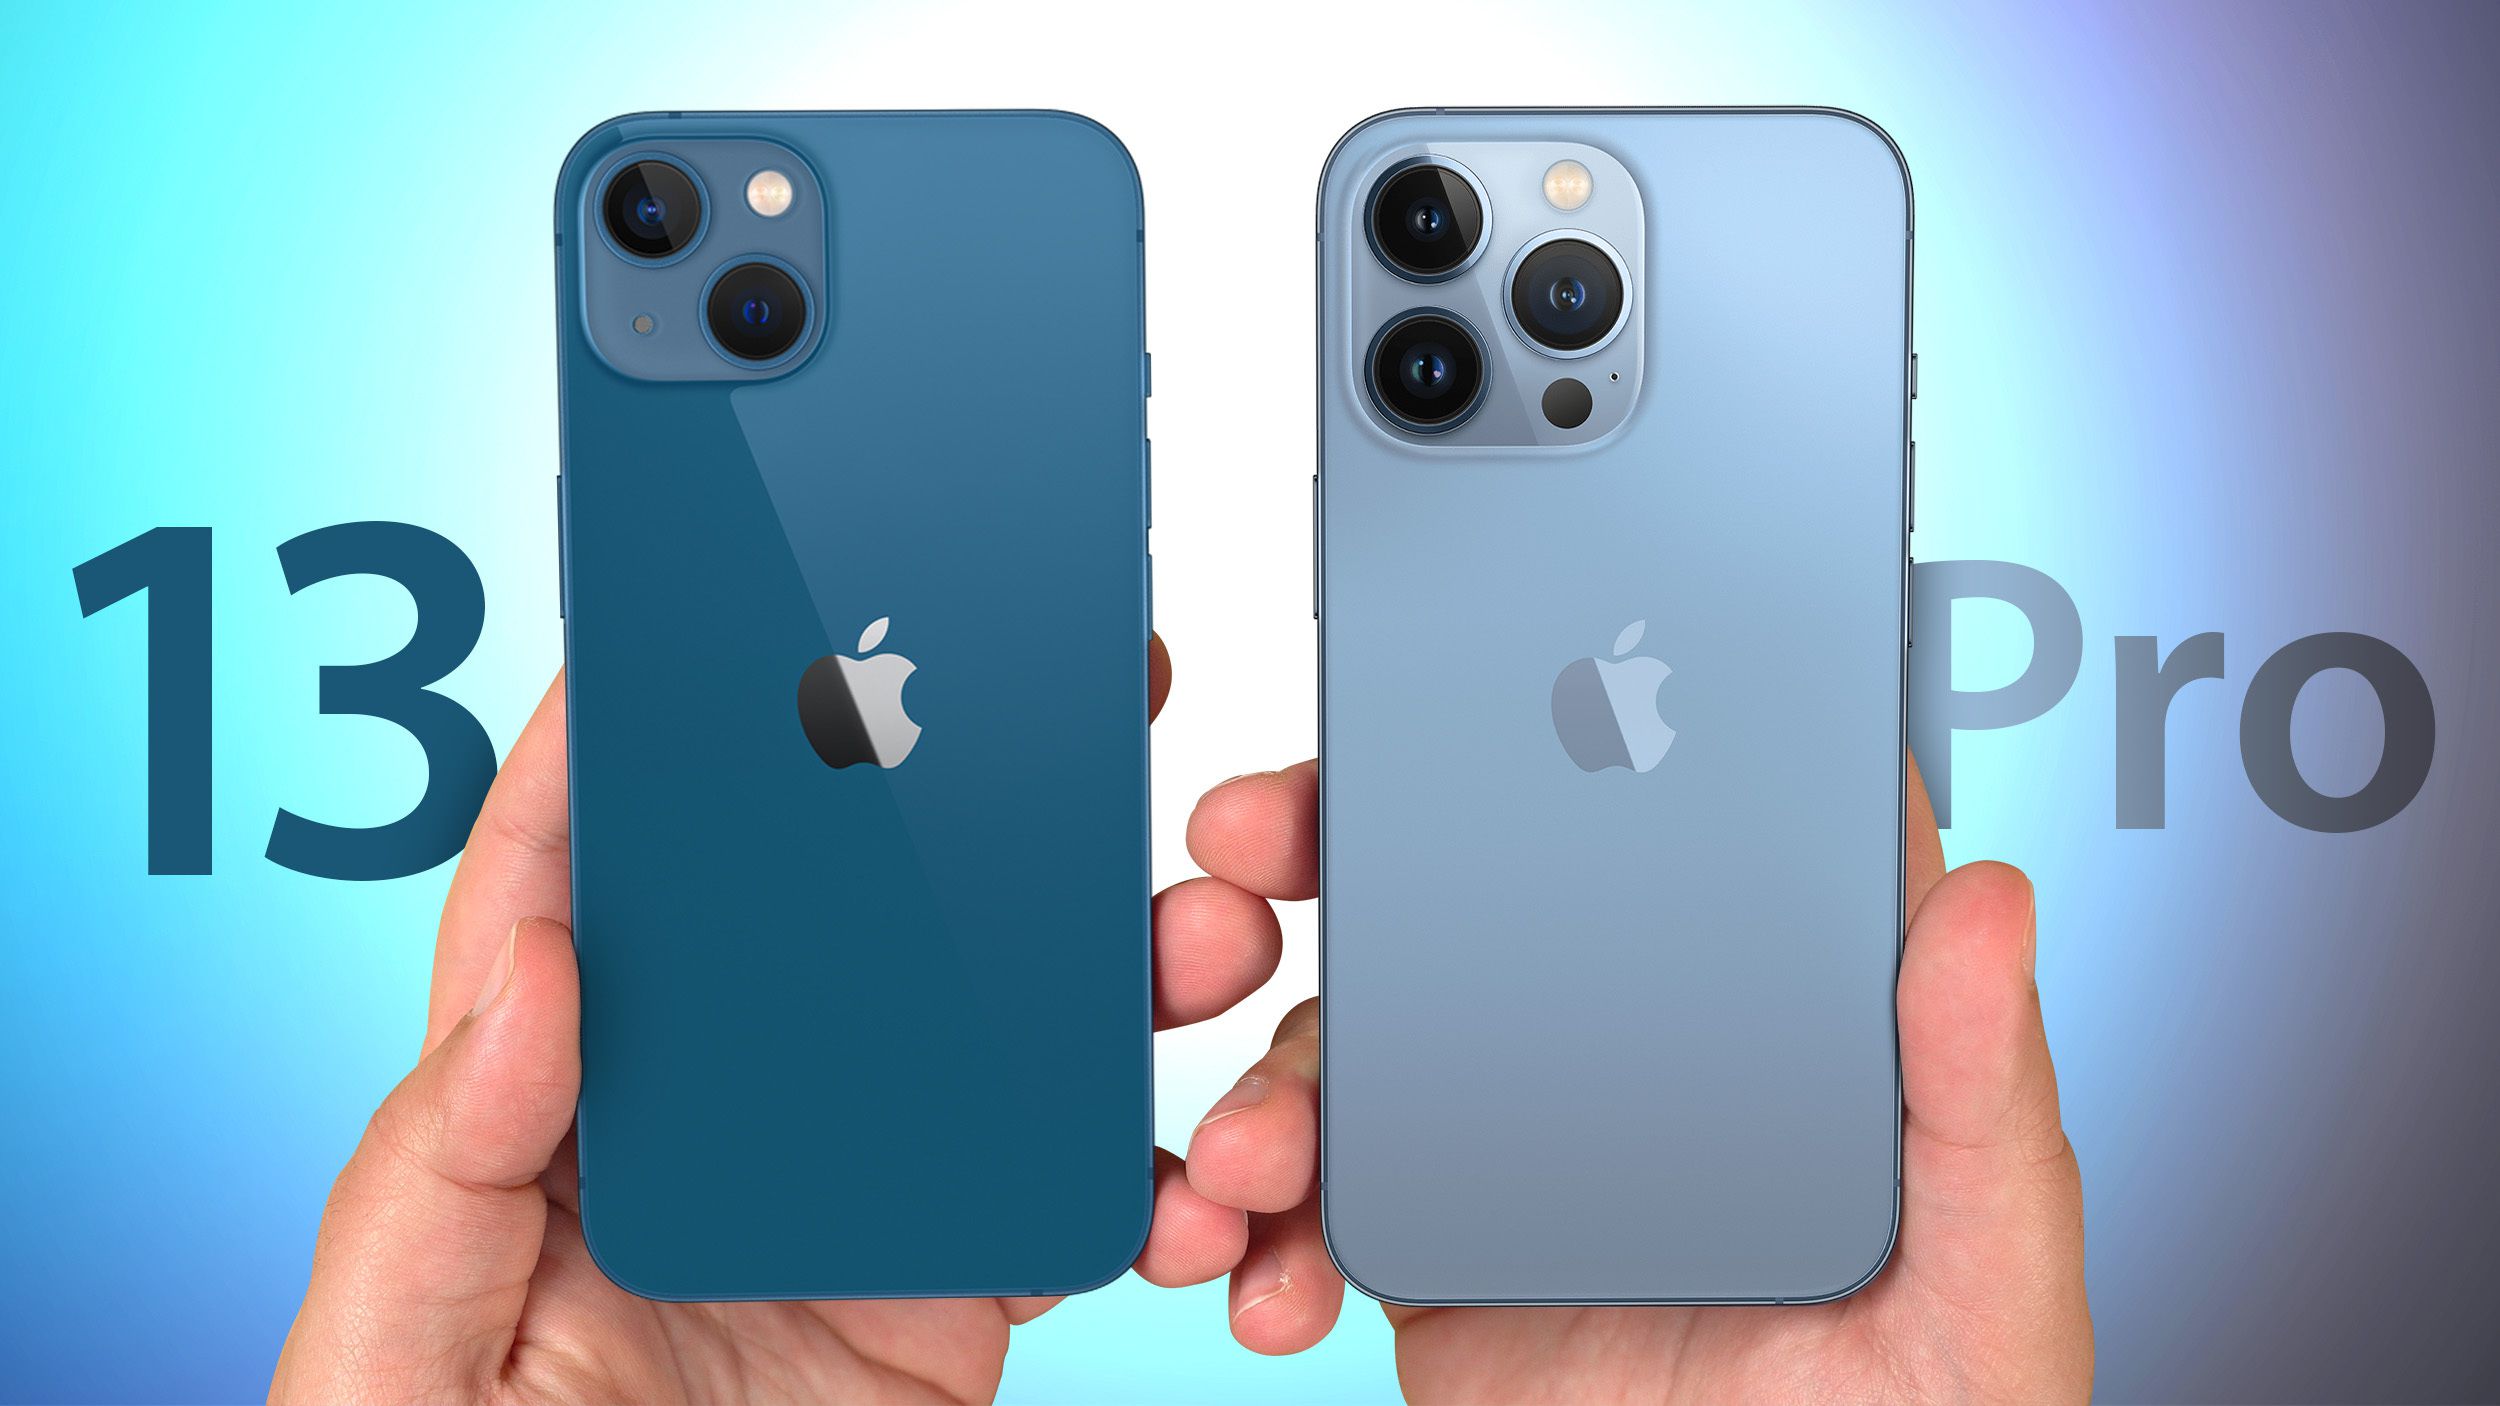
6.How to switch off the HDR video
By default the newer iPhone 13 Pro models record video in HDR or Dolby Vision which not only takes up lots of space, but also isn’t compatible with a lot of other devices. To switch it off, go to Settings > Camera and tap “Record Video”. Toggle off the option that says “HDR Video”.
7.About the Reachability
Back in the day when iPhones had buttons, you could bring stuff down from the top of the screen to make them easier to reach by lightly double tapping on the home button. And you can actually do it on the new phones without buttons too, but you have to activate it first.
Go to Settings > Accessibility and tap “Touch”. Toggle on the Reachability option. Now when you swipe down on the bottom of the screen, it drops the stuff from the top of the screen further down, making it easier to reach.
8.Double tap the back to get the screenshots
With the right accessibility function enabled you can simple tap twice on the back of your phone to take a screenshot. Rather than fiddling with the button combination.
Go to Settings > Accessibility > Touch and now select “back tap”. Choose the double-tap option and find Screenshot in the list. Now when you double-tap your phone’s back, it’ll take a screenshot. You can – of course – choose other functions like dropping down notifications or control centre, which can be hard to reach.
9.Use Live Text
One cool new feature is Live Text, and it allows you to use your camera to read and display text in real-time. You could – for instance – use it to instantly send a sentence from an article or document in a message.
Open a messaging app. Double-tap on the text field and then tap the little icon that looks like text in a box. It will now open up a camera view and start scanning text and will then display it in the field as you show it to the camera.
To be more precise, just tap the little capture icon in the corner to take a quick still of the text you want. You can now highlight the specific block of text you want to include by just dragging your finger across the text you want.
Another way you can do it is just opening the camera app and making sure you’re in Photo mode. Now point at the text you want, or tap to focus on the text manually, and tap the live text icon in the corner. It will take a scan of the text, and you can now highlight text within popup image to share with someone. Copy and paste to wherever you want it.
10.Live text in a screen shot
There is another way to use Live Text. With a screenshot. Take a screenshot and tap on it to open up the editor view. Tap on the markup/pen icon in the top and now tap the live text icon in the bottom corner. NOw you can drag to highlight the text you want to copy and paste it to any app you like.
11.Focus mode
Focus mode could easily be its in depth feature and video. However, briefly, if you head to Settings > Focus you can create dedicated scenarios where only specific apps and people can interrupt you at specific times or locations.
You can set up one scenario for Personal mode and another for Work mode. Going through the process might take a bit of time, but essentially just involves adding dedicated people who can contact you and choosing which apps to allow. It’s really straightforward.
Once that’s set up you can schedule when you want it to come on. Whether it’s time and date based or location based. You can even customise the home screens that appear during each focus time.
12.Limit the screen frame rate
By default the iPhone 13 Pro and 13 Pro Max have their screens set to go to a maximum of 120Hz refresh rates. If – for whatever reason – you would like to limit that you actually can, but you won’t find it in the Display settings. Go to Settings > Accessibility > Motion. Now toggle on the “Limit Frame Rate” option, and it won’t go over 60fps.

13. How to create your own Photographic Style
One other camera feature on the new iPhone models is something called Photographic Styles. Unlike a simple filter, this adjusts things like warmth, brightness and contrast to create an aesthetic that will be applied to all of your photos when you snap them. Open Settings > Camera, and scroll to “Photographic Styles”. Swipe through the options until you find a look that you like. Once you’ve found one, hit the blue tap at the bottom.
14. How to change the music on your Photos Memories
In the new Photos app, Apple automatically sticks a backing track on the photo and video memories it creates for you in the “For You” tab. But you can change that. Open up Photos and tap “For You” and choose one of the Memories at the top.
Once open, tap on it again and tap the little music icon in the corner. Now you can swipe across and it changes the filter and the music as you do. Or you can tap the musical note icon in the bottom right to see a larger selection of options, including a search button which – when pressed – lets you go through your entire library for a specific song.