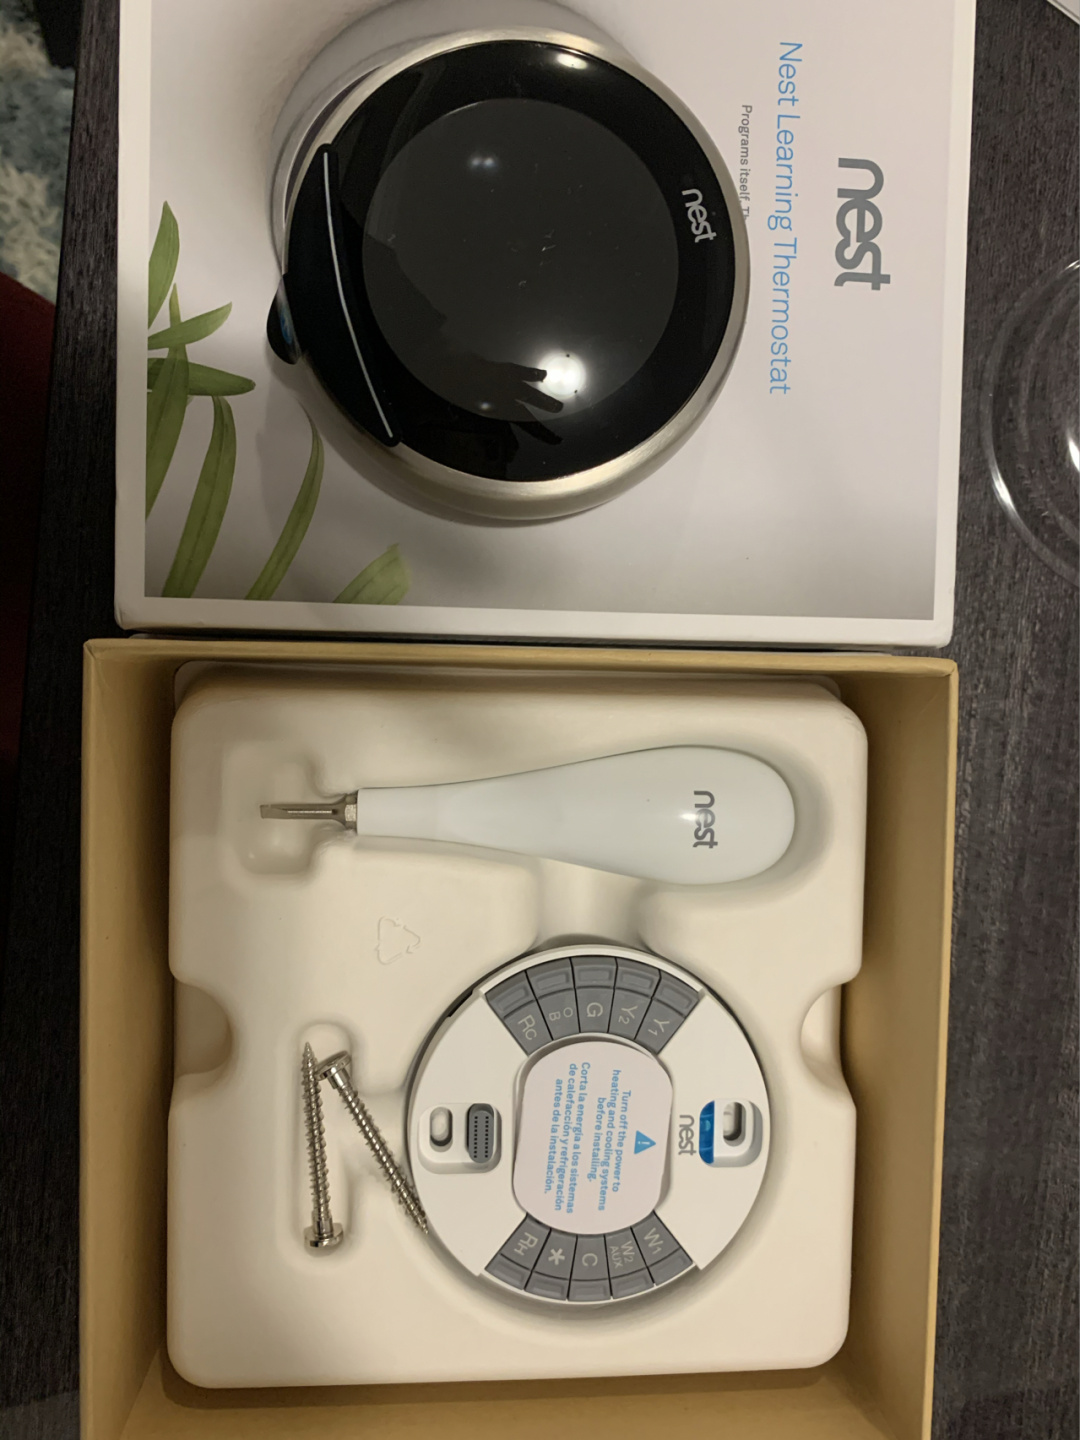
The box is opened and divided into two pieces, a black panel, and a white bottom plate.
It also provides a small screwdriver very intimately, I only need to prepare a hammer.
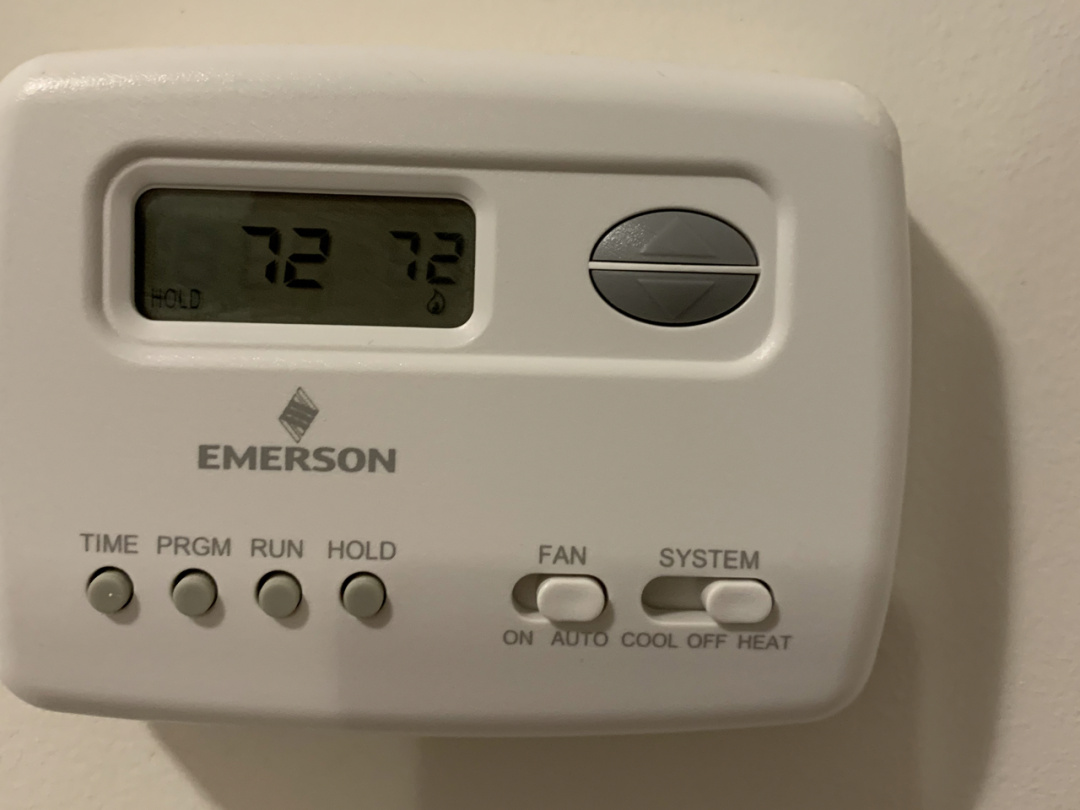
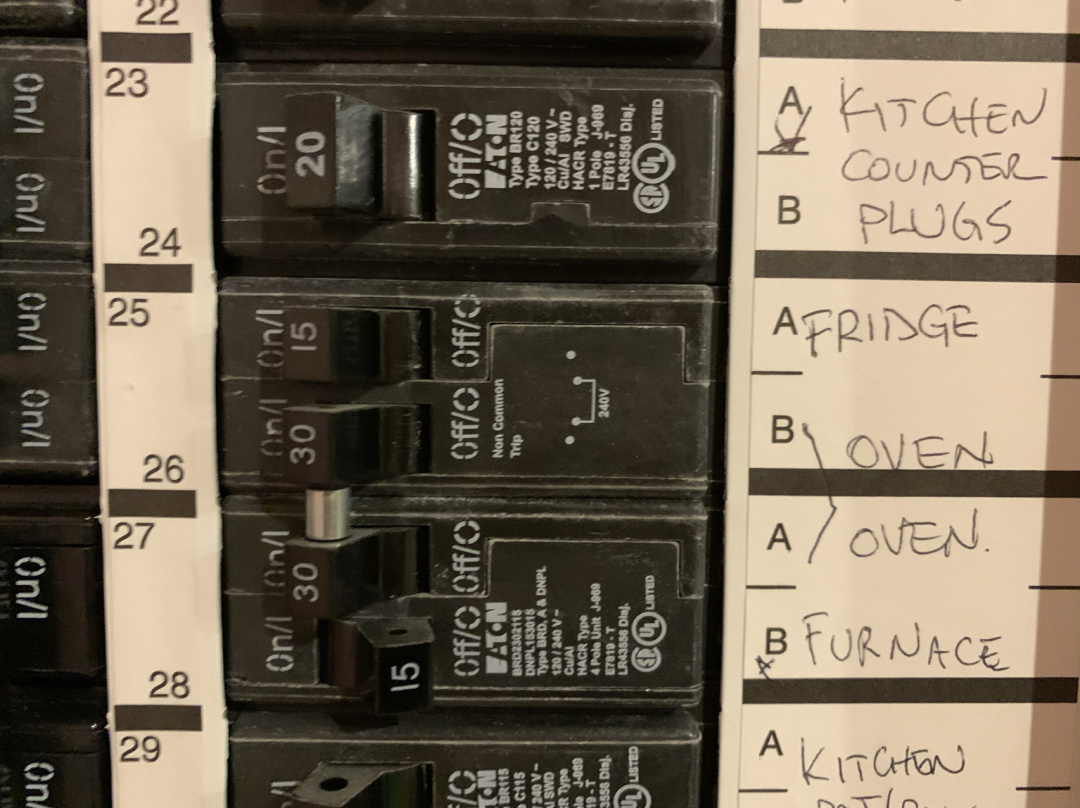
Turn off the heater and air-conditioning switch before dismantling
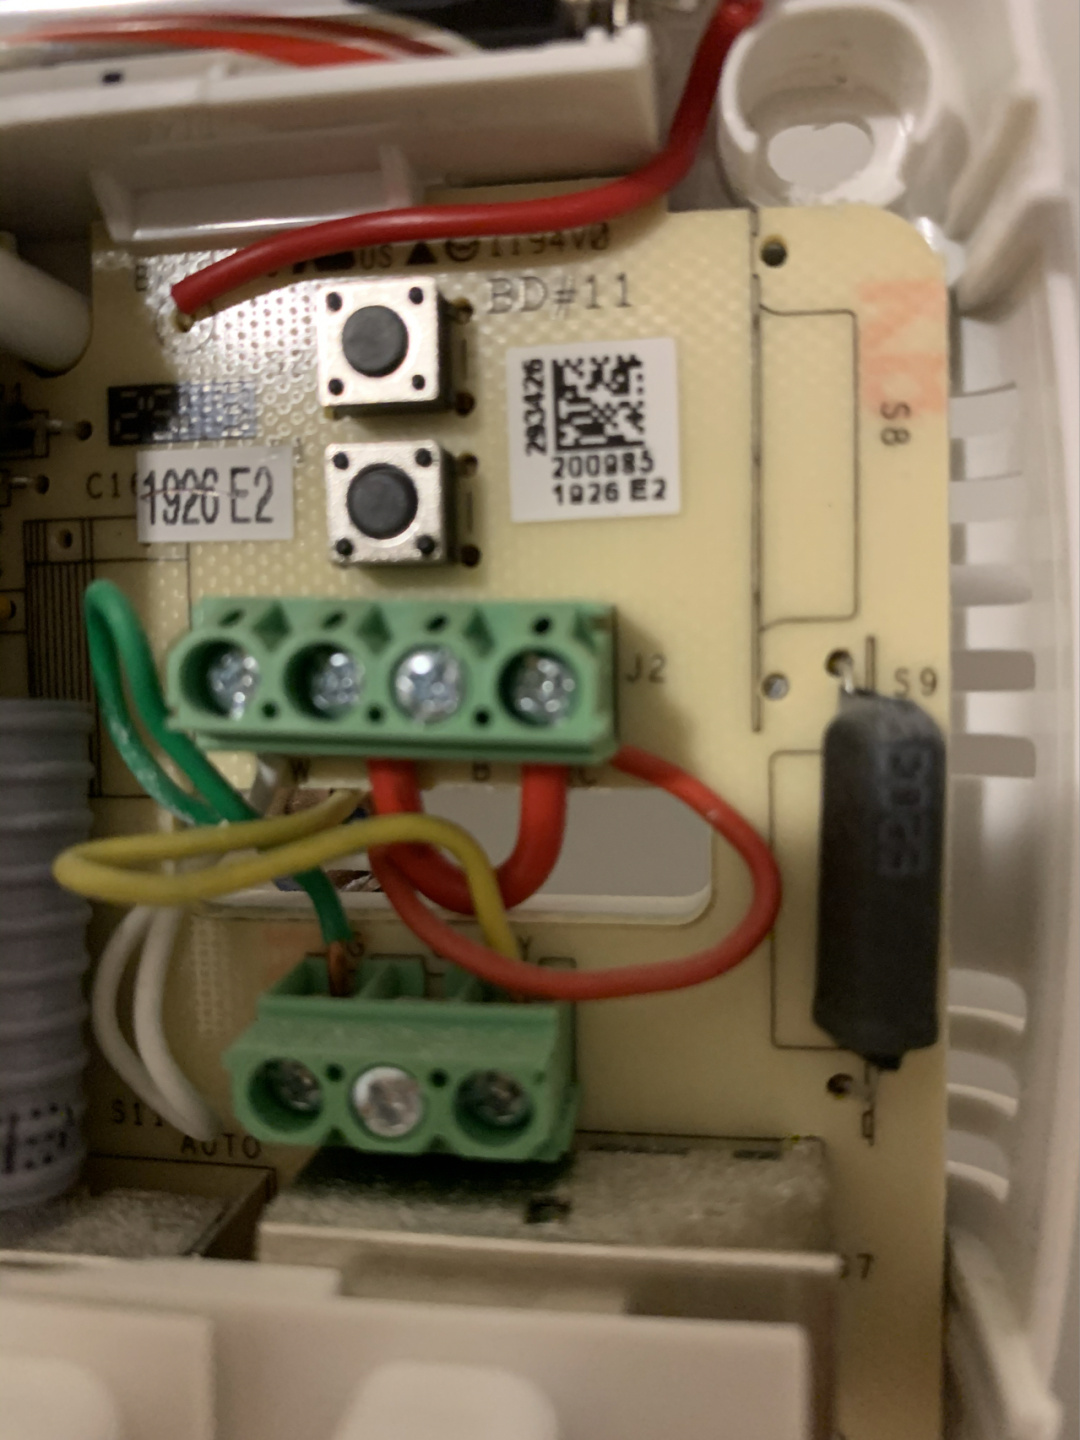
Remove the old temperature control shell, revealing the wires of different colors, I first unscrewed the screws, and finally removed the wires.
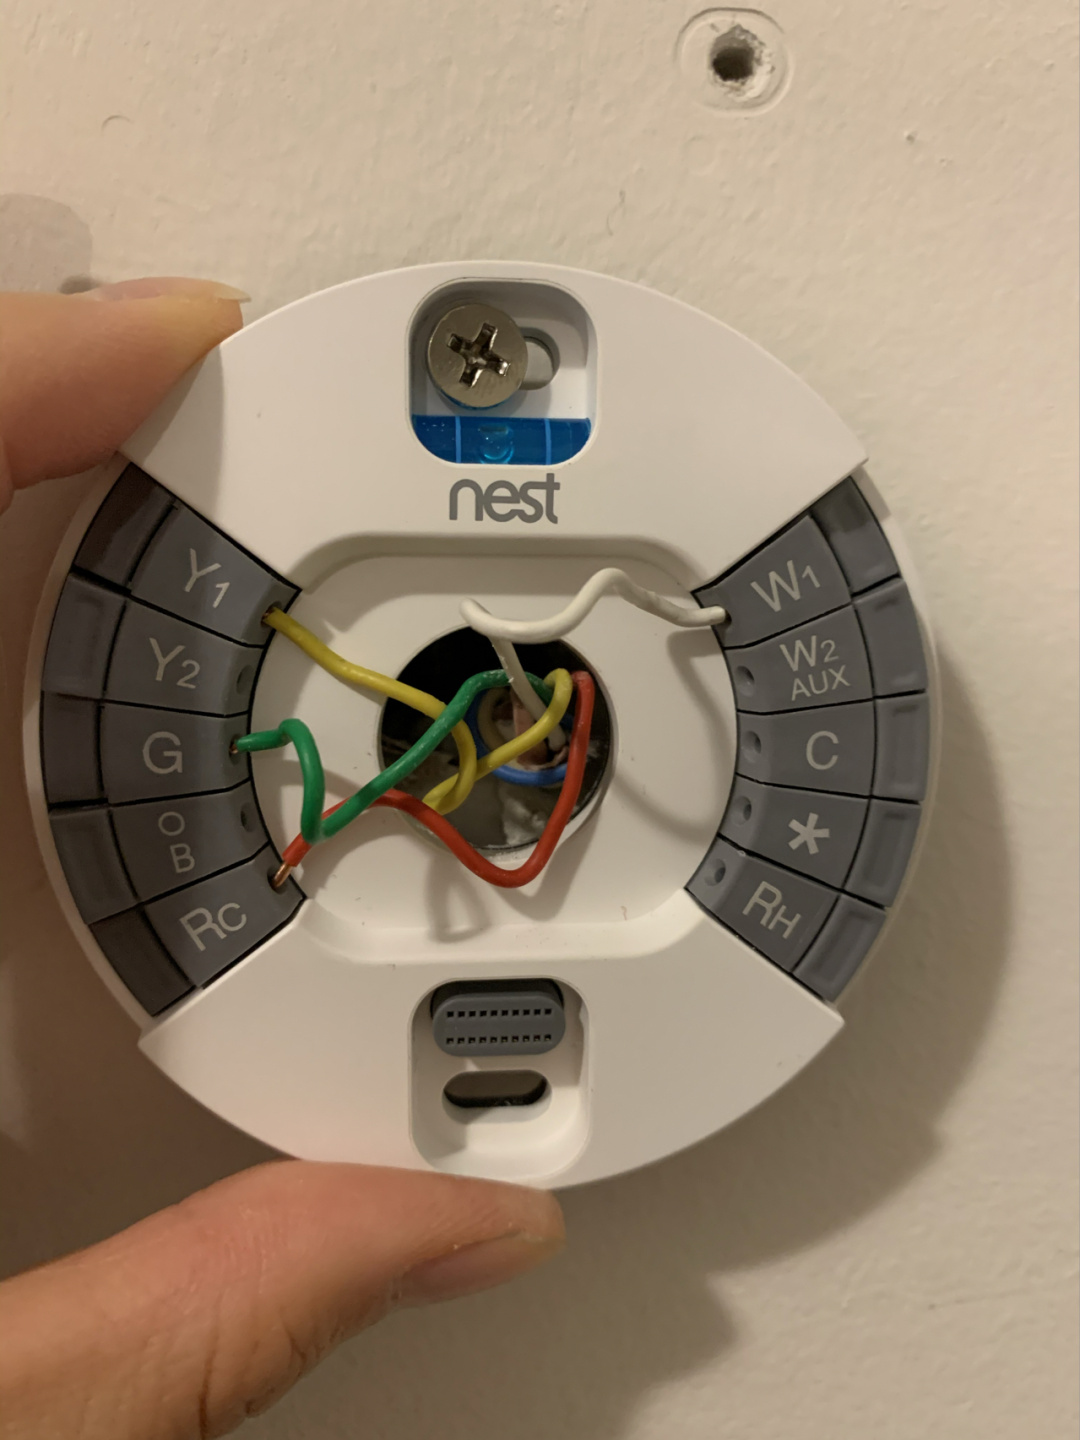
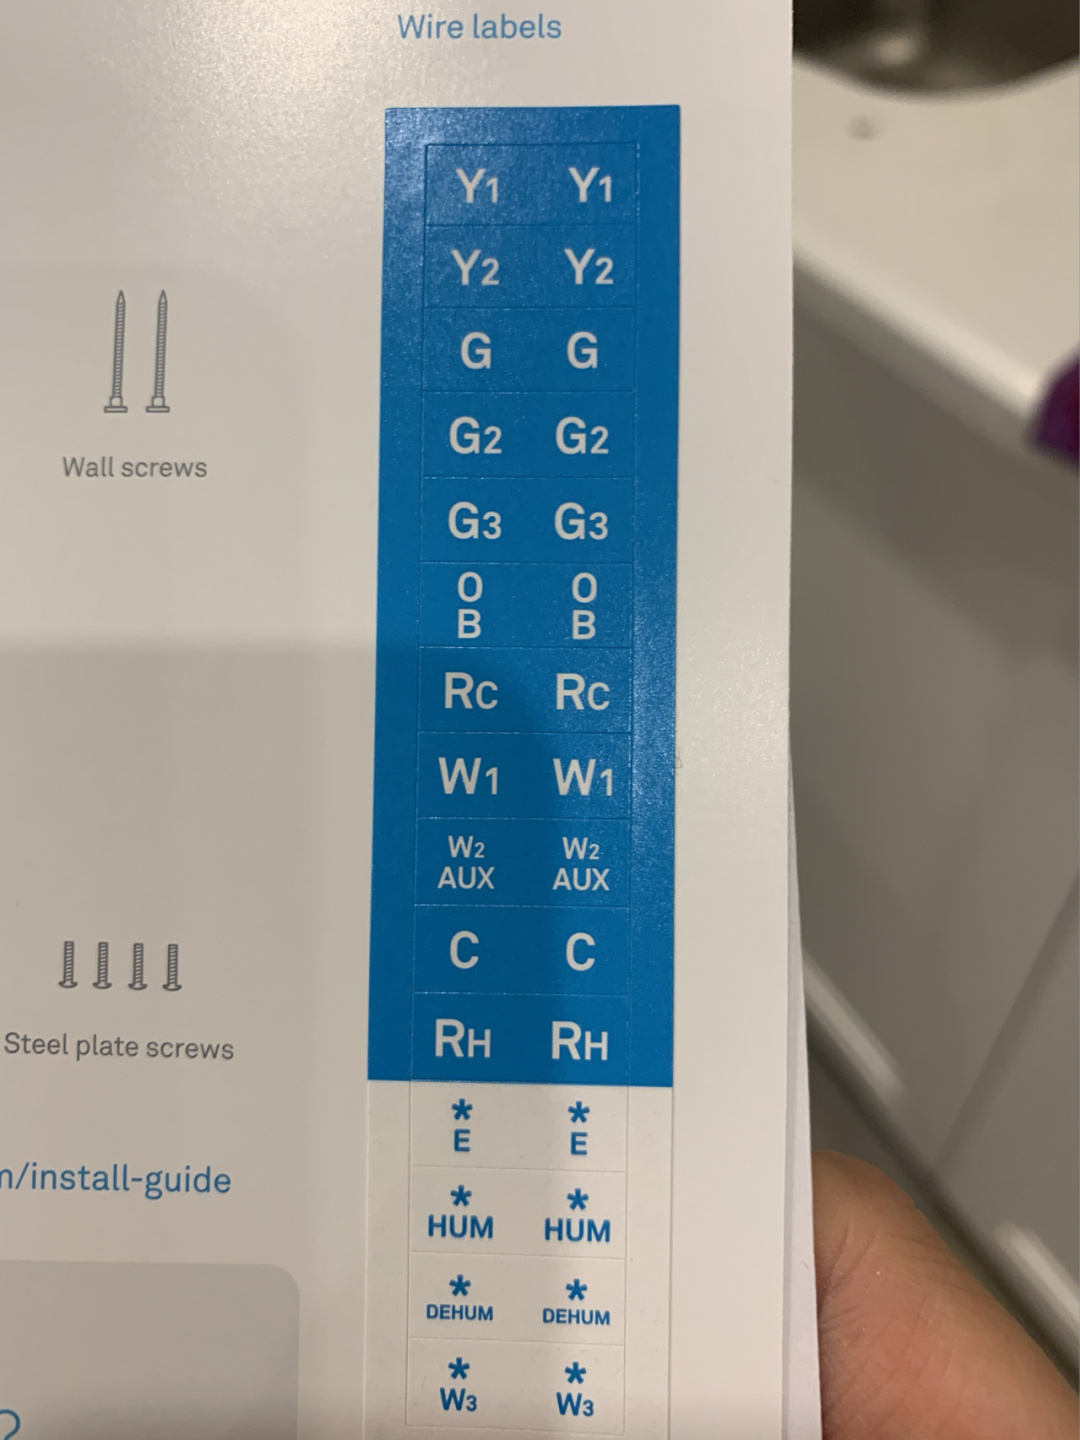
Green is G, yellow is Y, white is W, and red is RC.
It is particularly worth noting that in addition to these four lines, there is also a U-shaped jumper that connects Rc and Rh. Nest has a built-in jumper, so this jumper can be removed.
Then take off the old temperature controller and pass the bottom of the nest through it.
Sorry I don’t know the difference between Y1/Y2 and W1/W2, because I plug it in 1, and the red color is because Rc was removed, so I plug it back in Rc.
Finally, there is G, which is the easiest and no need to choose, and then two screws up and down to fix the floor, there is a built-in level, which is about level.
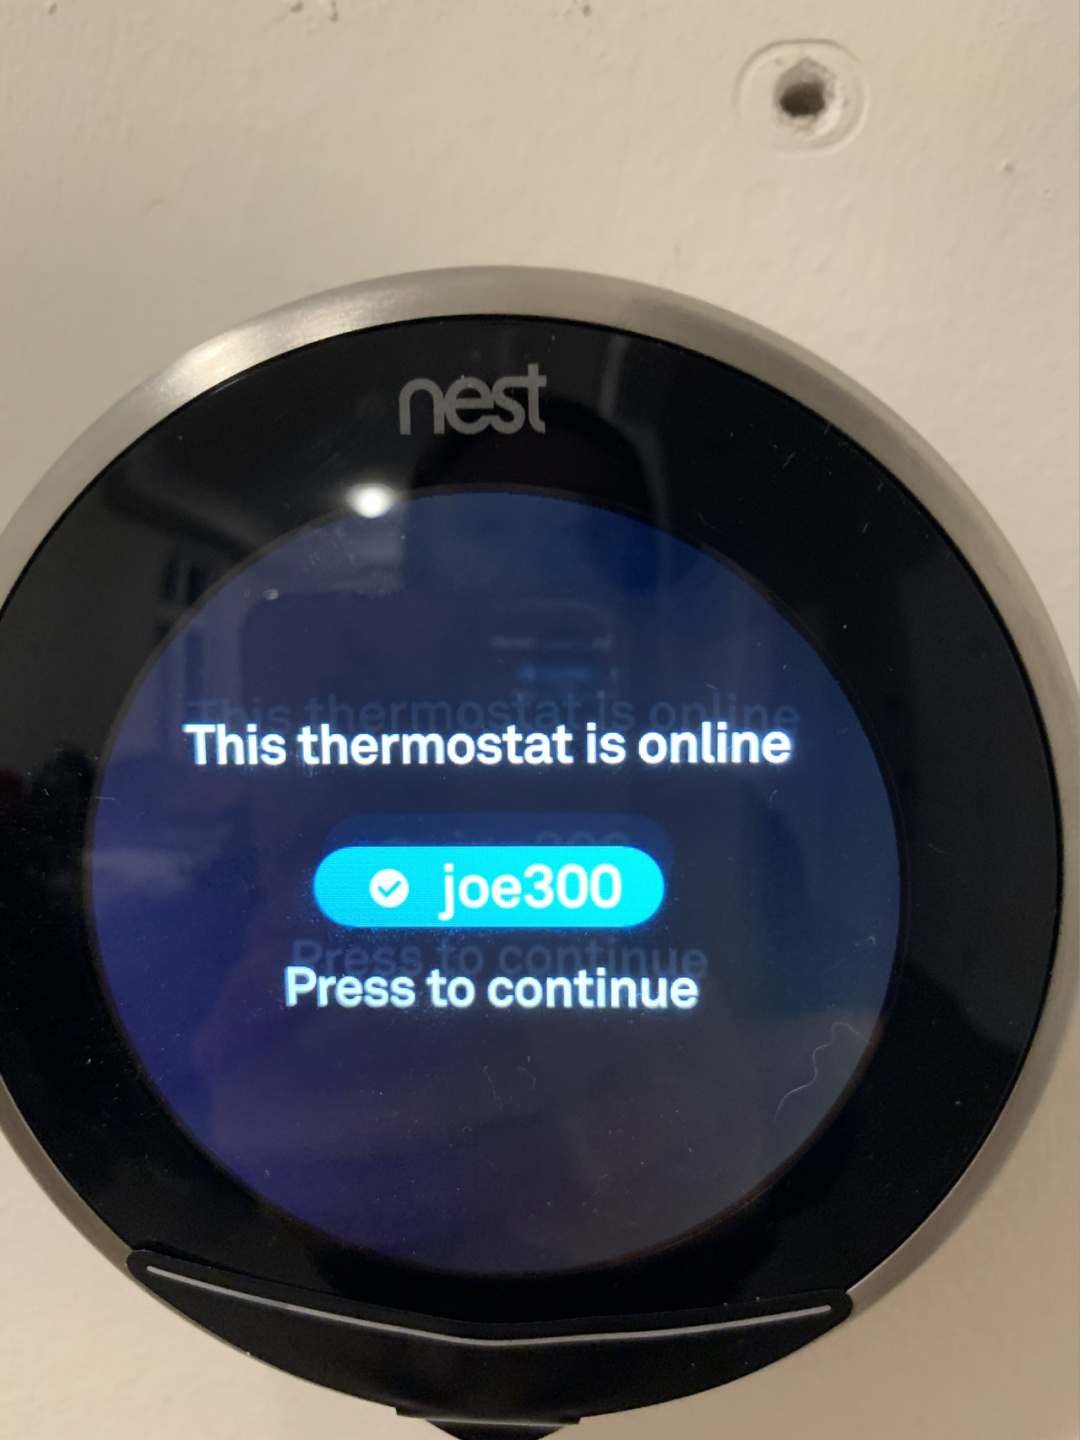
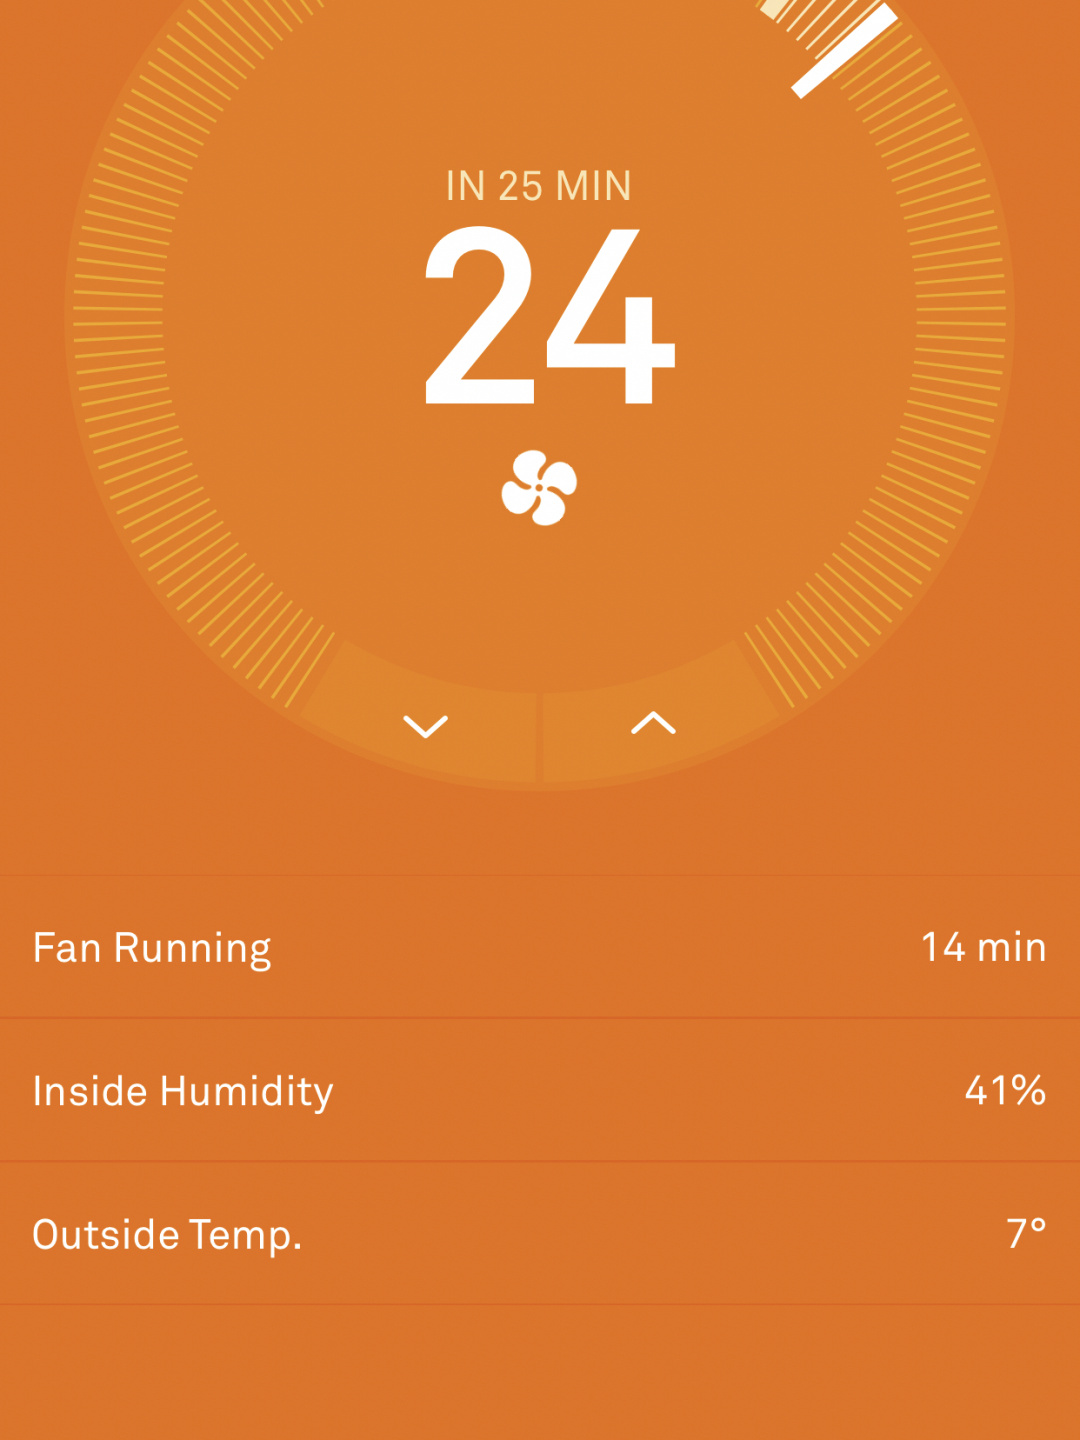
The black cover is plugged in and it is powered on. Follow the instructions to connect to the internet and test.
Download the nest app on your mobile phone, and when you set it up, it will give you a code, connect to the mobile app, and it’s done in a few clicks.