First of all, guys, just settle on a structure for your notes
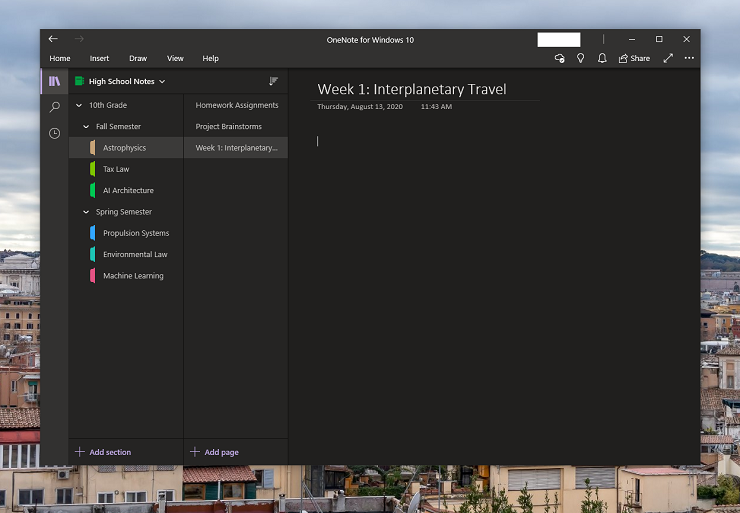
OneNote’s hierarchical structure is simple. At the top level are notebooks, which break down into sections, and then pages. You can also create dedicated section groups within a section and subpages under a page. Think of a notebook as the largest collective organizational group, and move down one level from there with each step.
For instance, you could start by giving a notebook your school’s name or level. You could use your year or grade level as a section name and then create section groups for each quarter or semester for that year. After that, create a section for each of your classes and use individual pages for notes. If your classes do not change each semester or quarter, you don’t need to create section groups.
Alternatively, since there is no practical limit to page sizes in OneNote, you could just endlessly update one page with related information. For example, you could use one page to create checklists for each day’s homework assignment, one for taking notes, and one for brainstorming project ideas.
That setup will get messy quickly, though, so we recommend settling on a strategy that falls somewhere in the middle. Keep the organization structure but add specific ongoing pages for homework assignments and project brainstorms. Just preface the name of these sections with a numeral to make sure it’s always at the top of the list.
You are also able to sort pages chronologically, which is likely an easier way to find notes from different points in the school year. Provided you really could not find a note, OneNote’s search feature can help you find matching text at any level.
Remember: Formatting a OneNote page for note-taking
Pages in OneNote can be intimidating. Unlike Word documents, OneNote pages have few rules of structure. You can just click anywhere and start typing. This makes it easy to jot down notes quickly, but a collage of random notes isn’t helpful when you need to study or find information.
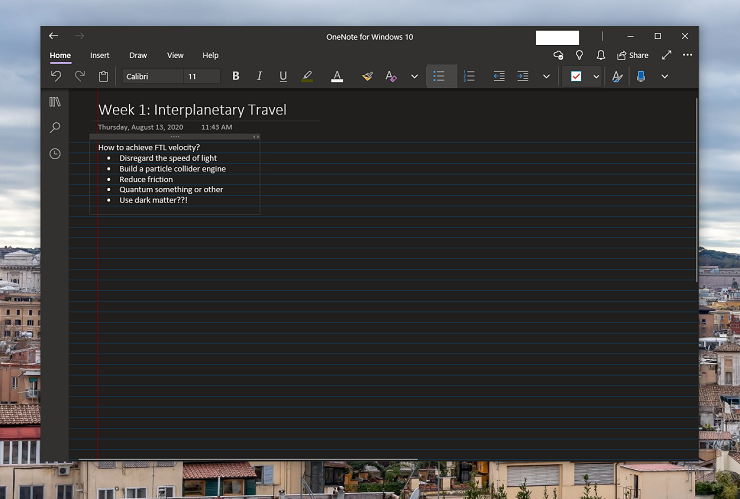
One layout tip I’ve found useful is to enable Rule lines. Click the View Tab > Rule Lines > Narrow Ruled. I recommend using the Narrow Ruled setting since those guidelines match up best with the default font size in OneNote.
If you prefer a larger font size, try to match it with one of the other line-spacing options. These rule lines also help you ensure that you are typing in the left-most space on a page. Just click to the left of the red vertical line, and your cursor moves to the left-most position on a rule line automatically. After that, you can just start typing.
Another practical benefit of enabling the Rule Line view is that the page looks more like a physical piece of lined paper. Depending on your preference, you can even switch the background of each page, with a variety of page colors to choose from in each mode.
The lines are not a permanent part of your document, so if you copy and paste text or graphics from a page, they won’t show up in the destination.