Hey! My friends, congratulations! Perhaps you’re the owner of a new iPad these days. If so, you’ve come to the right place. The iPad isn’t that hard to set up, but getting to know its extra settings, and discovering what apps are available that can transform your experiences with it, can take some serious time investment.
The suggestions may be obvious; others might not. Regardless, here are the first things what I do when I take a new iPad out of its crisp white box before I put it through its paces for a review. I think you should do the same. At the least, these tips should help you get on your feet.
1. Restore your old backup if you have one, and get to know iCloud.
If this is your first iPad, you have nothing to restore. But, if you have an iPad already and are upgrading, you can get your basic settings and saved data on your new iPad by restoring from a backup on iTunes, or wirelessly via iCloud if you’ve already set that up. The initial set-up screens you see when you start your iPad for the first time ask if you’re restoring from a backup. Be prepared to pick the right answer, but don’t worry if you accidentally forget to do it properly: you can always erase all content in settings and begin the initial set-up process again later on.
However, if this is your first iPad but you already have an iPhone or a Mac, iCloud will help ease the pain a bit. Apple’s connected cloud services, known as iCloud, have gotten a fair amount of criticism because they’re often finicky and don’t offer a lot of deep user control, but iCloud’s still a pretty essential set of services. You use your existing Apple ID for syncing contacts, cloud-stored documents, mail, calendars, Safari bookmarks, photos in Photo Stream, and notes taken on the built-in Notes app. You’ll get FaceTime calls and iMessages via that same Apple ID, but you set up both (and deactivate both) via separate app settings. And, of course, your Apple ID connects your already-purchased iTunes and App Store content. But, you can use a different Apple ID if you’re sharing, say, a family member’s iTunes account: just enter that different ID into iTunes or the App Store, and you can still keep a separate iCloud ID for everything else.
2. Get your free iWork and iLife apps.
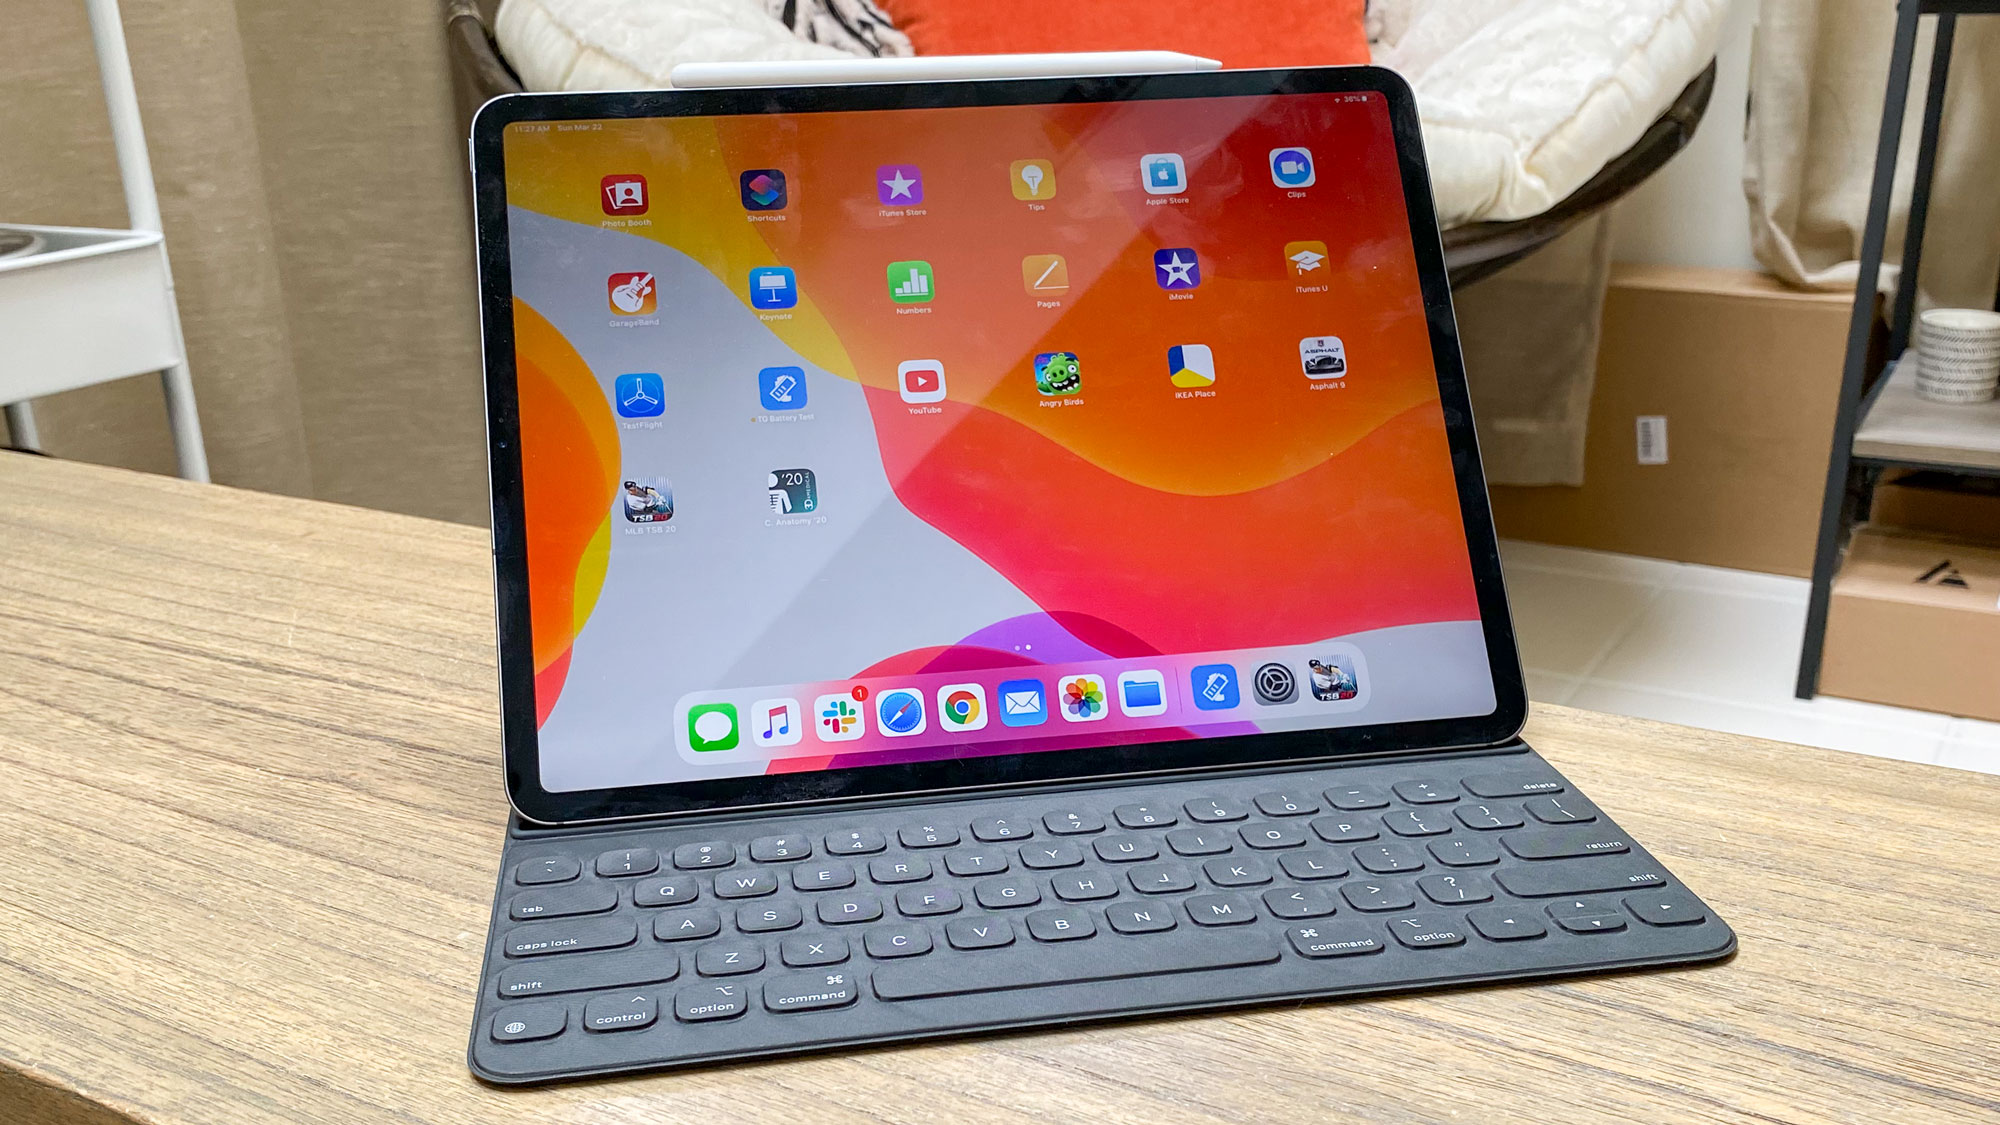
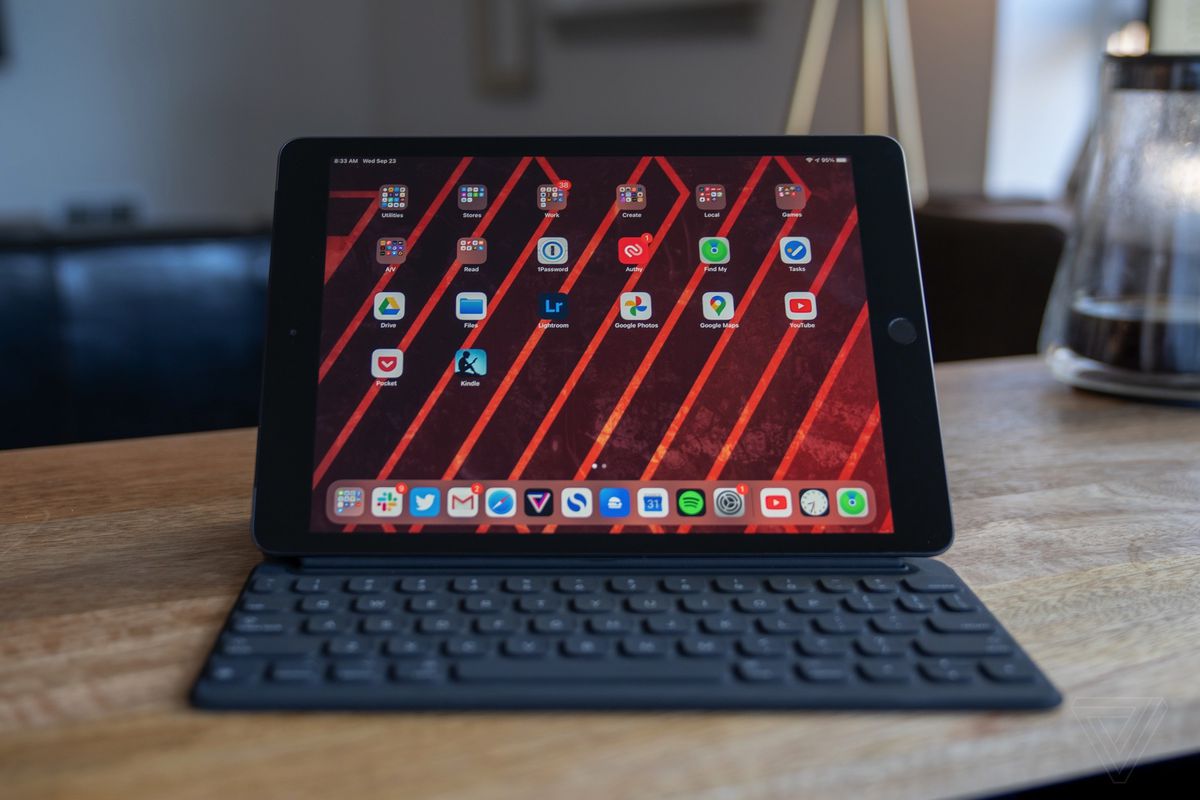
iPhone, iPod and iPad buyers now get a suite of Apple productivity and media-creation apps for free that used to collectively cost a fair amount of money. Definitely download these — in fact, when you’re setting up your iPad for the first time, you’re prompted to begin downloading all the free Apple-created software. All the apps are universal, so if you got them already by buying a new iPhone, you’ll be able to redownload the iPad versions for free via your Already Purchased apps on the App Store if you bought a used iPad. Pages, Numbers and Keynote are very good word processing, spreadsheet and presentation-creation apps, and they even sync via iCloud and to Macs that own these apps in OSX Mavericks. There’s no reason not to use them. iPhoto, iMovie and GarageBand are similarly good photo editing, video editing and music creation tools. Other apps match the features of iPhoto, but few solutions out there can beat iMovie or GarageBand.
3. Find your other free(ish) stuff.
I bet you have plenty of grandfathered-in “free” content that’s ready to go on your iPad — free because you already paid for it elsewhere. First, go to your iTunes or App Store apps and browse under “purchased” (it’s usually hidden away under the “More” tab, or it’s under “Updates” in the App Store). It’s an ugly way to browse what you’ve already bought, but make sure you stock up on any iPhone apps you already own that are universal for iPad, and in iTunes download music, movies, and books you already have.
4. Pick your cloud to live in.
Apple has a variety of iCloud services, including iTunes Match for storing and streaming all your music on the go, but that’s not the only way you can set up your iPad. Thanks to Google’s excellent apps, you could live off Gmail, Google Docs, and lots of other Google services instead — Chrome, Gmail, Google Drive, Google Maps, YouTube, and Google Play Music (available as an iPhone app, but it plays on the iPad) make this easy. Or, you could store and stream your music and videos via Amazon Cloud Player and Amazon Instant Video.
5. Add Twitter and Facebook.
You can bake in your Twitter and Facebook log-in so that you can share directly from your Camera Roll, or post links that you link directly from Safari. Twitter and Facebook are the social networks to fill the gap that Apple, unlike Google, doesn’t natively provide. Go to Settings and look for the separate listings for Facebook and Twitter, and enter your info. Downloading any related apps will usually automatically log you in, too. But a word of advice: deactivate the Contacts and Calendar syncing with Facebook, otherwise your appointments and address info will suddenly become Facebook-ified with events and people you may not want on your phone. It’s easily undone by unchecking these boxes at any time.
6. Tweak your notifications and privacy.
All apps like to scream out all its information all the time via banners and other annoying pop-ups on your home screen. You can override this by going to Notifications and unchecking all the various notifications options. There are many, but I’d suggest removing them all for apps you don’t consider essential. Make sure banners are off and the notifications don’t appear in the lock screen, and you should find yourself less pestered. Similarly, make sure you examine your Privacy settings, and deactivate (or activate) any location or information sharing you’d like on certain apps. You may not want your photos to be geotagged on social networks.
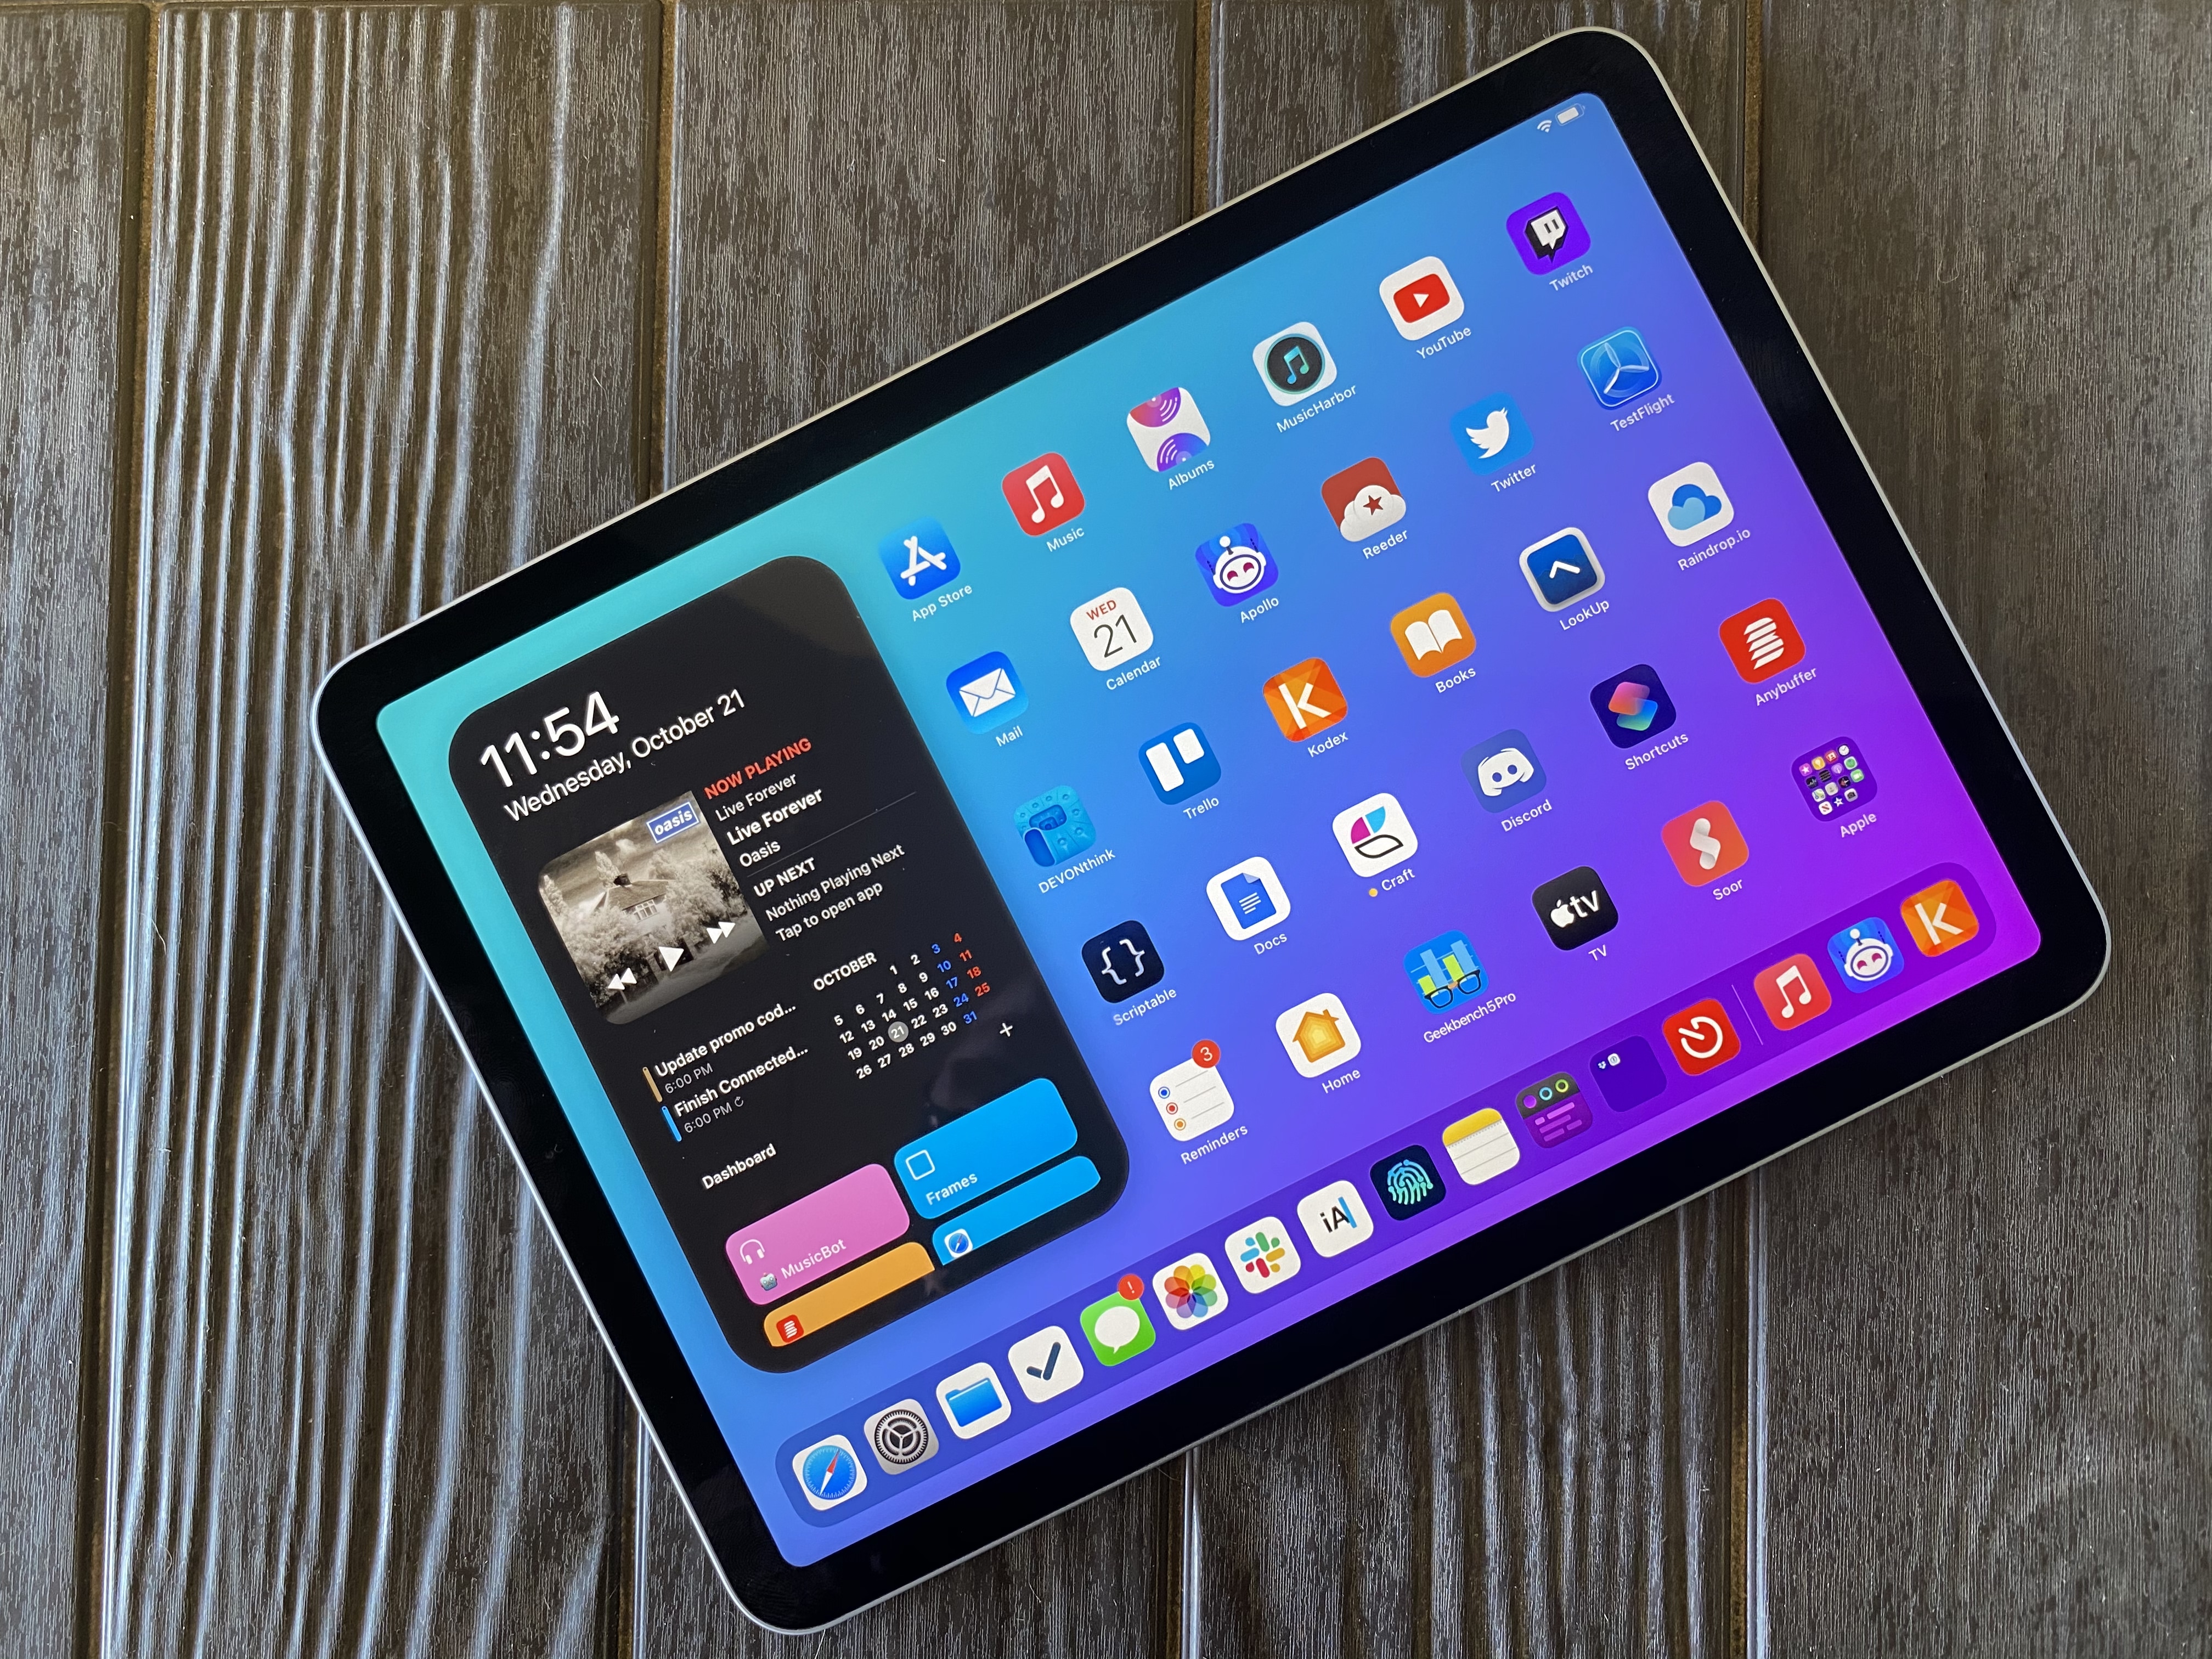
7. Make folders.
Until there’s a better way to organize apps on iOS, folders are there for you. You can drag over a hundred apps into a single folder in iOS 7, which at least means fewer folders cluttering the screen. Name them after categories you use a lot (Video, Games, Writing), or by user (Son, Wife, Mom). Properly named, folders can help you feel less cluttered.