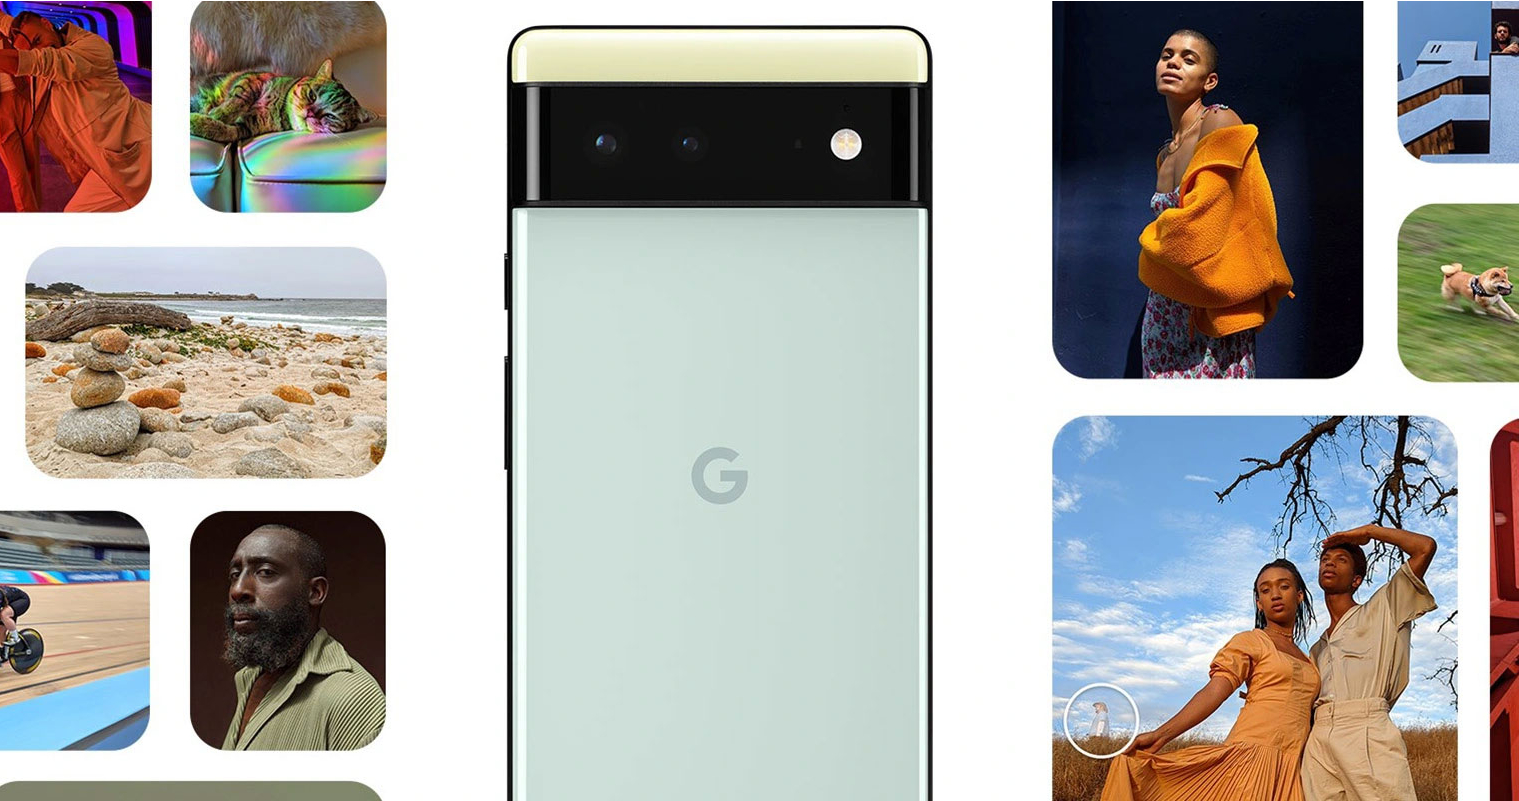
Quick Launch the Camera
It’s one thing to have the time to open the Camera app on your Pixel 6 or 6 Pro and get everything lined up properly. But sometimes you just need to quickly take your phone out of your pocket and snap a picture before the moment is passed. Luckily, you can do so with a quick double-tap of the Power button on your Pixel 6 or 6 Pro.
![]()
Open the Settings app.
Scroll down and tap System.
Select Gestures.
Tap Quickly open camera.
Enable the toggle for Quickly open camera.
Turn off Shutter sound
Those who live with their phones set to vibrate (or even silent), may want to get rid of any sounds that the phone could potentially make. This includes the shutter sound when snapping a picture, and this is one of those settings that Google gives you the option to turn off.
![]()
Open the Camera app.
In the top left corner, tap the Gear icon.
Tap More Settings.
Toggle Camera sounds to the Off position.
How to add a grid for better framing
You perhaps think that you are pretty good with lining things up when hanging a picture or even taking a picture. But chances are that your eyes are deceiving you a bit, which is why grids are so useful when it comes to capturing photos and videos. And while grids are turned off by default, if you want to make sure you line things up just perfectly with your Pixel 6 or 6 Pro, you can add a grid to the camera viewfinder.
![]()
Open the Camera app.
In the top left corner, tap the Gear icon.
Tap More Settings.
Under Composition, tap Grid type.
Select from one of the following:
No grid
3 x 3
4 x 4
Golden ratio
Exit the Camera app.
Quick Tap
When the first Android 11 developer preview was released, a back tap gesture was revealed, allowing you to double-tap the back of your phone to perform various actions. This was, unfortunately, removed before the final version of Android 11 was released. But it’s now available in the final version of Android 12, and has been named “Quick Tap”.
![]()
Open the Settings app.
Scroll down and tap System.
Select Gestures.
Select Quick Tap.
Toggle Quick Tap to the On position.
Tap Open app.
Next to Open app, tap the Gear icon.
Scroll down and select Camera.
Tap the Gear icon next to Camera in the list of apps.
Select one of the following:
Open app
Take a video
Take a selfie
Quick Tap can prove to be a quick and useful way to activate the camera in a jiffy, but the real benefit will arrive later this year. During the Pixel 6 announcement, Google confirmed that it has partnered with Snapchat to bring a new “Quick Tap to Snap” feature to users later this year. Once the feature is available, users will be able to access Snapchat right from the Lock Screen just by using Quick Tap.
How to use Action Pan or Long Exposure with Motion Mode
Another new feature only available on the Pixel 6 and Pixel 6 Pro is Motion Mode. From here, you have two different options, providing you the ability to add a blur to the background or to the subject. But unlike some of the other camera features, you’ll first need to switch over to Motion Mode from within the Camera app.
![]()
Open the Camera app.
Swipe to the right to switch to the Motion mode.
Select one of the following:
Action Pan:
Add a creative blur to the background.
Long Exposure:
Add a creative blur to a moving subject
Google also provides a few tips for those who want to get the best results with either Action Pan or Long Exposure:
Action Pan
The subject is a person with a visible face.
The subject is moving. Photos of still or very slow-moving subjects may show no or little effect.
There’s one obvious main subject. Try to keep the main subject in the foreground and in front of any other people in the photo.
The subject is a large part of the photo and has been in the viewfinder for more than a second before you tap capture.
Long Exposure
Long Exposure works best when you hold your phone still.
Long Exposure photos start when you tap Capture.
The length of exposure adapts to motion in the scene depending on size and speed of the item in focus.
How to take RAW + JPEG photos
Although the Google Pixel has featured support for RAW images for years, we used to have to rely on third-party camera apps in order to actually take pictures in the RAW format. Those days are long-gone and if you want to snap photos in RAW on the Pixel 6 and 6 Pro, here’s what you would need to do:
![]()
Open the Camera app.
In the top left corner, tap the Gear icon.
Tap More Settings.
Tap Advanced.
Toggle RAW+JPEG control to the On position.
Exit the Camera settings.
As a reminder, RAW image files are MUCH larger than the standard JPEG photos that your Pixel 6 takes by default. This, paired with the fact that you’ll have both RAW and JPEG files saved to your phone could result in your storage getting filled up much faster than you would normally expect. So we recommend going through and backing up the photos that you want to keep to Google Photos, just to keep your phone storage cleaned up.
Save storage space
As for the saving storage space, Google has implemented a tool into the Camera app that will automatically change a slew of settings in an effort to help you get the most out of your phone’s storage. Since the Pixel 6 and 6 Pro don’t have a microSD card slot, you’ll definitely want to keep an eye on your storage levels throughout your time, so you don’t unexpectedly run out of storage at a bad time. If you want your phone to help out a bit, here’s how you can save storage space on the Pixel 6 and 6 Pro:
![]()
From the Camera app settings, tap Device storage.
Toggle Storage Saver to the On position.
After you enable Storage Saver, these are all of the settings that will be changed within the Camera app:
RAW – Photos will be saved as JPEG only
Store videos efficiently – Videos will be saved as H.265/HEVC
Top Shot – Photos will be saved as still images
Camera photo resolution – Photos will be saved in medium resolution
Social media depth features – Depth data won’t be saved
Snap photos of the stars
One of the defining features of the Pixel 4 and Pixel 4 XL was the ability to use its cameras and Night Sight to take beautiful pictures of the stars in the sky. Other phone makers had attempted to do something similar, but fell flat when it came to the final result. While the feature has since moved to other Pixel devices, those phones don’t include the upgraded camera hardware offered by the Pixel 6 and Pixel 6 Pro. So if you want to have some fun or take a picture of the Big Dipper at night, here’s how you can do so with Google’s latest phones:
![]()
Go to a dark area outside or in your home.
Open the Google Camera app.
Swipe to the right until you reach Night Sight.
Prop your phone up to keep it steady.
Wait a few moments until your phone says “Astrophotography on”.
Tap the Shutter button.
Wait until the timer reaches 0:00.
Turn on Time Lapse for Astrophotography
It’s pretty awesome to be able to take beautiful pictures of a clear night sky with just your smartphone, but if you have a tripod and want something even more incredible, you can take a time lapse of the night sky. But unlike Night Sight and Astrophotography mode, this feature is not enabled by default. Here’s how you an enable time lapse for astrophotography:
Open the Camera app.
In the top left corner, tap the Gear icon.
Tap More Settings.
Tap Advanced.
Toggle Enable time lapse for astrophotography to the On position.
Now, whenever you take a photo using Astrophotography mode, your Pixel 6 will also record a time lapse, providing a pretty awesome video as the best picture is being taken.