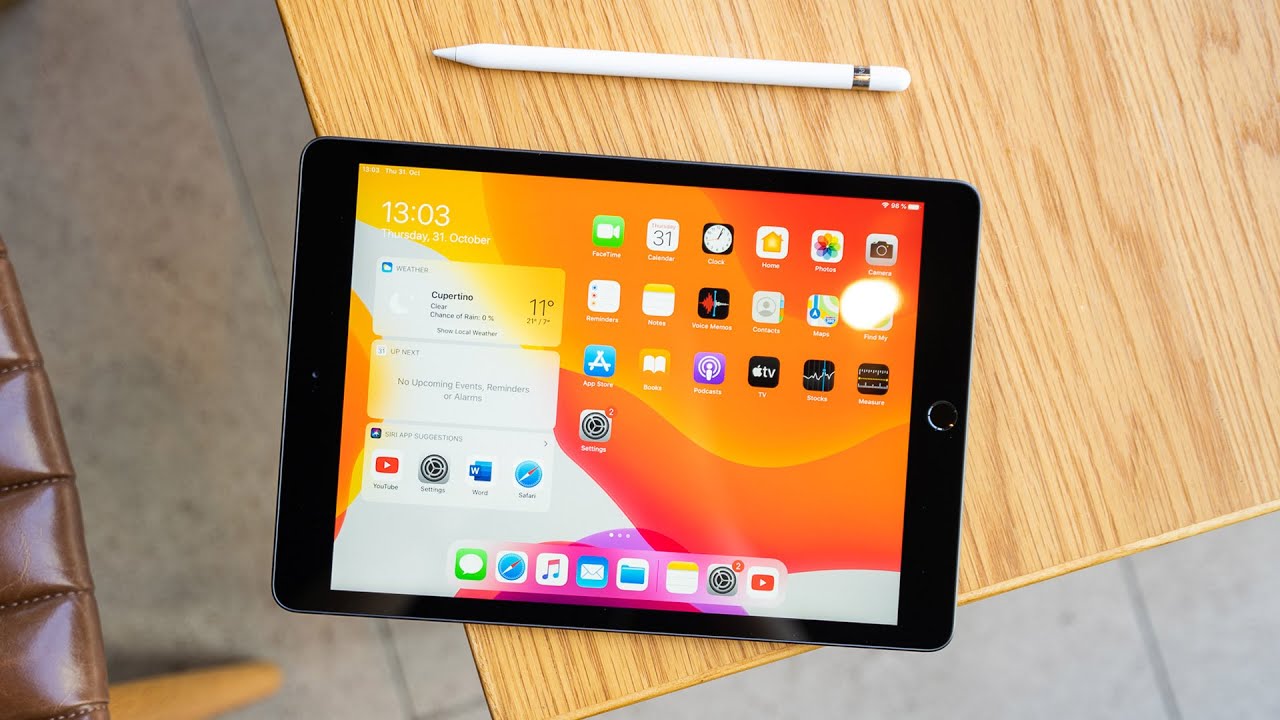
It is known that Apple computers have always consciously aspired to the symbol of expensive accessories. Just look at how the Apple Watch uses the terminology of expensive timepieces.
No different is the aura surrounding the company’s high-priced Mac personal computer line. Though the selection of form-factors isn’t quite as wide as for Windows 10 PCs.
The Mac line makes up for that in its refined hardware that includes appealing members such as the all-in-one iMac, the slender MacBook Air, and the upcoming, extremely powerful, and surprisingly upgradeable Mac Pro.
If you’re a longtime Windows user, there will be adjustments to make in your computing behaviors and procedures. People used to claim that macOS was more intuitive than Windows, but if you’re used to working in Windows, you’ll probably find just the opposite. For example, there’s no Start menu, so where do you start? For me, it’s not a huge paradigm shift, but rather some furniture is rearranged, and some operations differ. The tips below can get you started with your journey to Apple land.
Start-Free
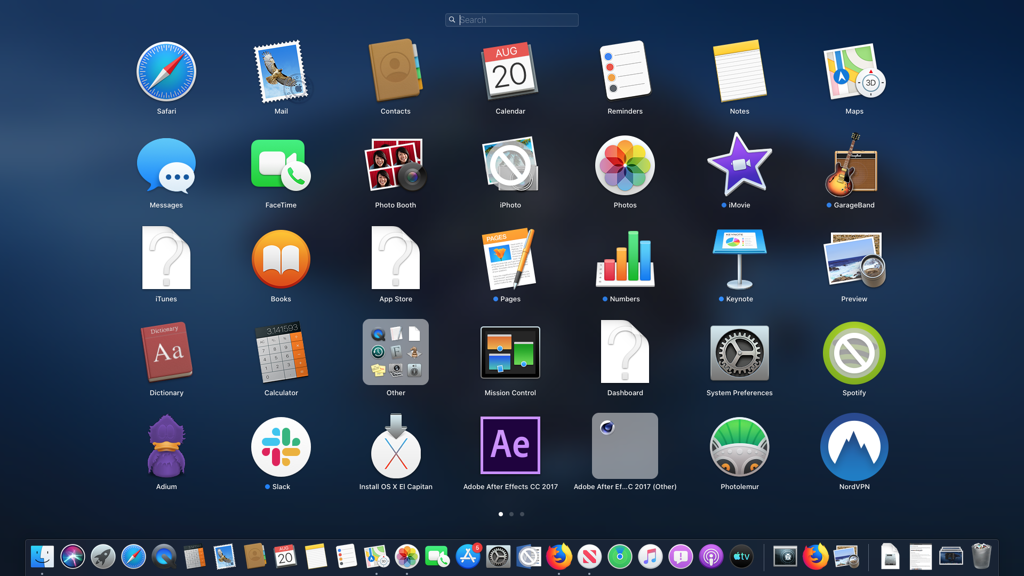
Windows users are accustomed to initiating computing activity from the Start button, which pops up the Start menu. There’s nothing similar on macOS. You start by clicking an icon on the desktop, using Spotlight search to find what you want to start doing, choosing an option from the top menu bar, invoking the Launchpad by icon or shortcut key, or tapping a Dock icon.
The Launchpad is an attempt to give Macs an iOS benefit, though it doesn’t make a whole lot of sense with a non-touch screen. Another program-launching option that some Mac users have found helpful in streamlining OS use is the Alfred app, which includes a set of automation utilities and a program launcher that adapts to how you use your Mac.
The Menu Is Usually Not in the App
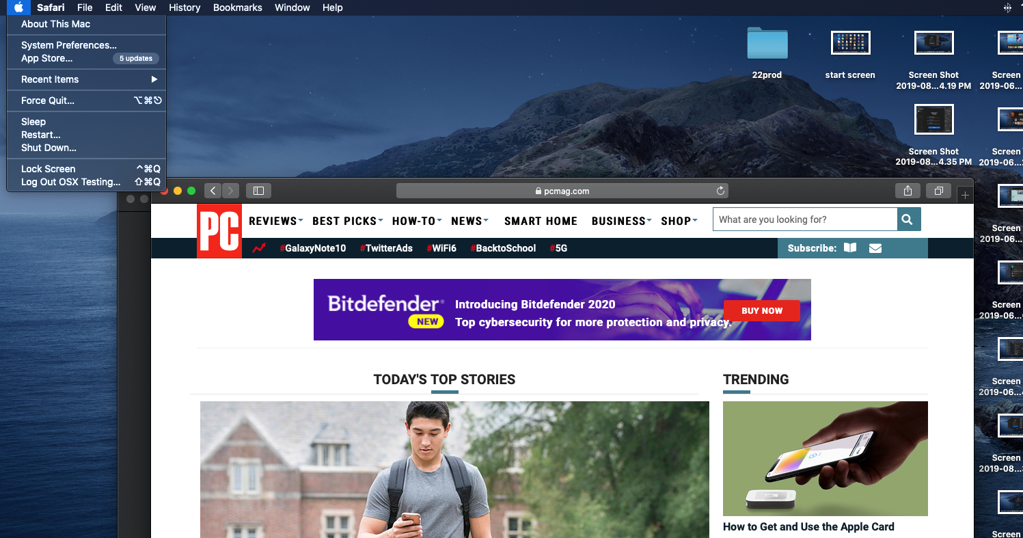
Windows users are used to looking for the main application menu along the top edge of the program window. On Macs, for many apps you won’t see the program menu there; instead, it will appear as part of the OS rather than part of the app, occupying the top margin of the desktop.
The idea is that macOS windows are documents belonging to an app, rather than the application itself. All that said, occasionally an app will actually include a menu in its window, but that usually duplicates what’s in the main menu bar.
Minimizing and Maximizing Windows
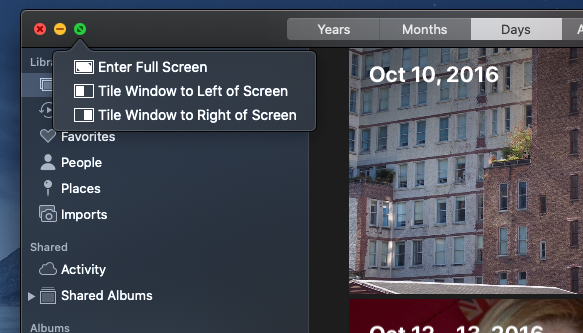
macOS puts these window controls at the top left of the window rather than the top right and uses colors rather than icons to indicate function. It’s intuitively based on traffic lights: Green is full screen, yellow is minimize, and red is close window. Windows users may, however, find it to be counterintuitive to tap the same green icon to reduce the size of a full-screen window, but that’s how it is in Macland. Note also that closing all the windows of an app doesn’t close the app itself: You can hit the red circle on all of your Safari windows, and the Safari menu will remain on the top menu—something that may perplex Windows users.
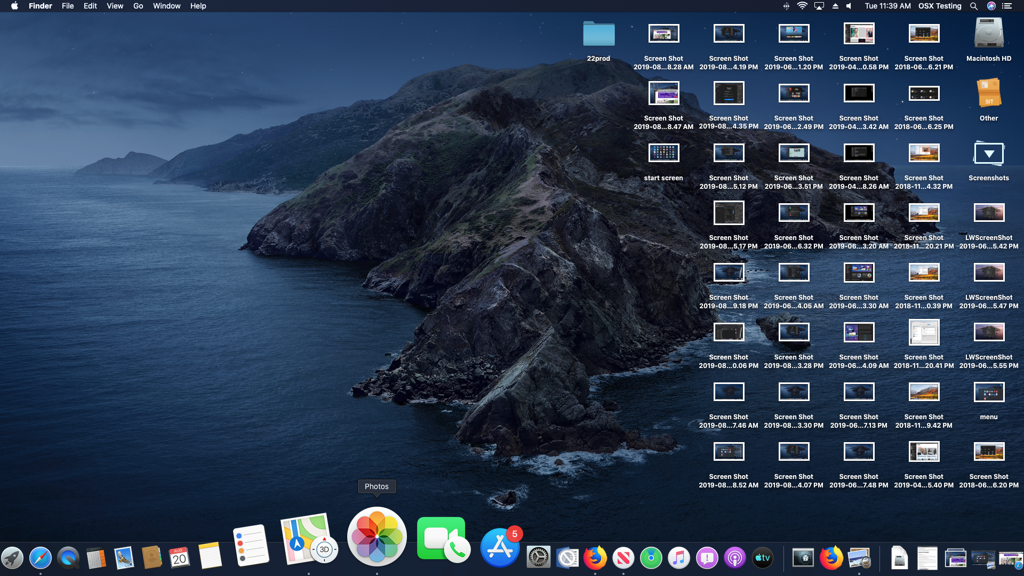
The Dock, Not the Taskbar
Along the bottom of your Mac screen you see a row of icons that resembles the Windows Taskbar. Indeed it does function similarly—with some key differences. The Dock is split between two main sections. Most of it is dedicated to app and system utility shortcuts on its left side. On the right, past a thin line, are document icons. When you download a file, it usually appears in the latter area, and clicking on its icon springs up an arc of other previously downloaded file icons.
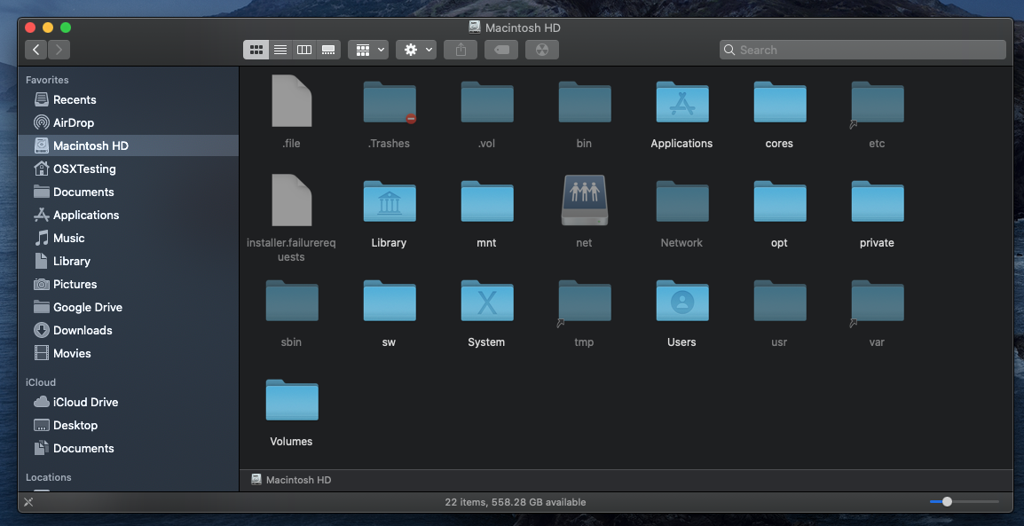
Get to Know the Finder
The Finder isn’t all that different from Windows’ File Explorer. One difference, however, is that its main left-hand sidebar doesn’t show you the folder tree the way Windows does, and indeed the items in this left panel don’t correspond to everything in your drive—they’re just shortcuts, or Favorites. You can see the folder hierarchies in the main, center panel in List view.
In its benefits, Finder offers tabs for those who would find them useful. It also offers a Column view and a Slideshow view for files. Finder lets you organize files by color codes and keyword tags.
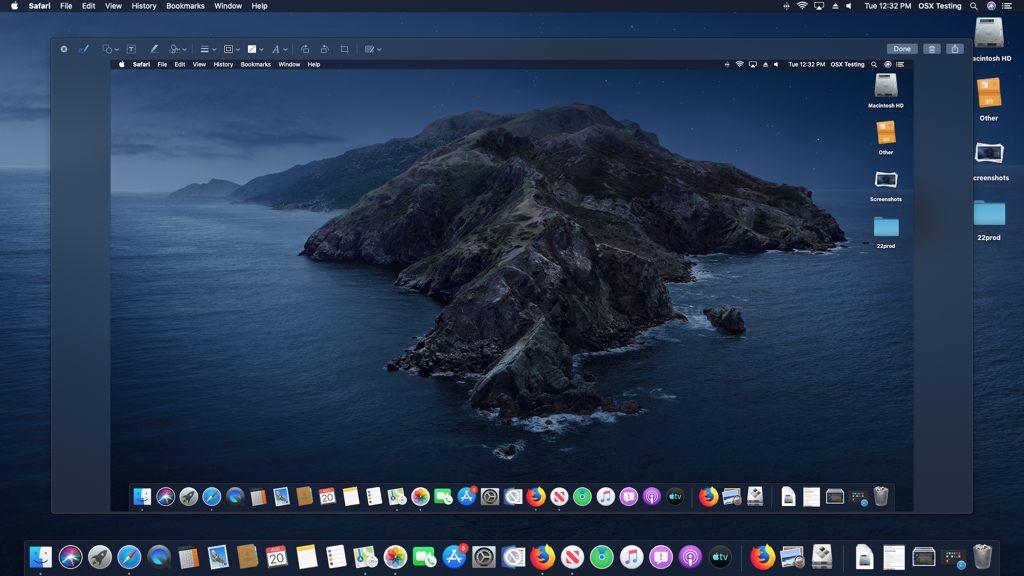
Taking Screenshots
The Mac’s operating system has had great screenshot tools that Windows has finally caught up to with Snip & Share. On the Mac, you press Command-Shift-3 shoots the whole screen and Command-Shift-4 gives you a crosshair for selecting a rectangle to capture. If you want a shot just of the active window, hit the Shift key after Cmd-Shift-4. These combos don’t capture the image to the clipboard; for that, you substitute Ctrl for Cmd.